...
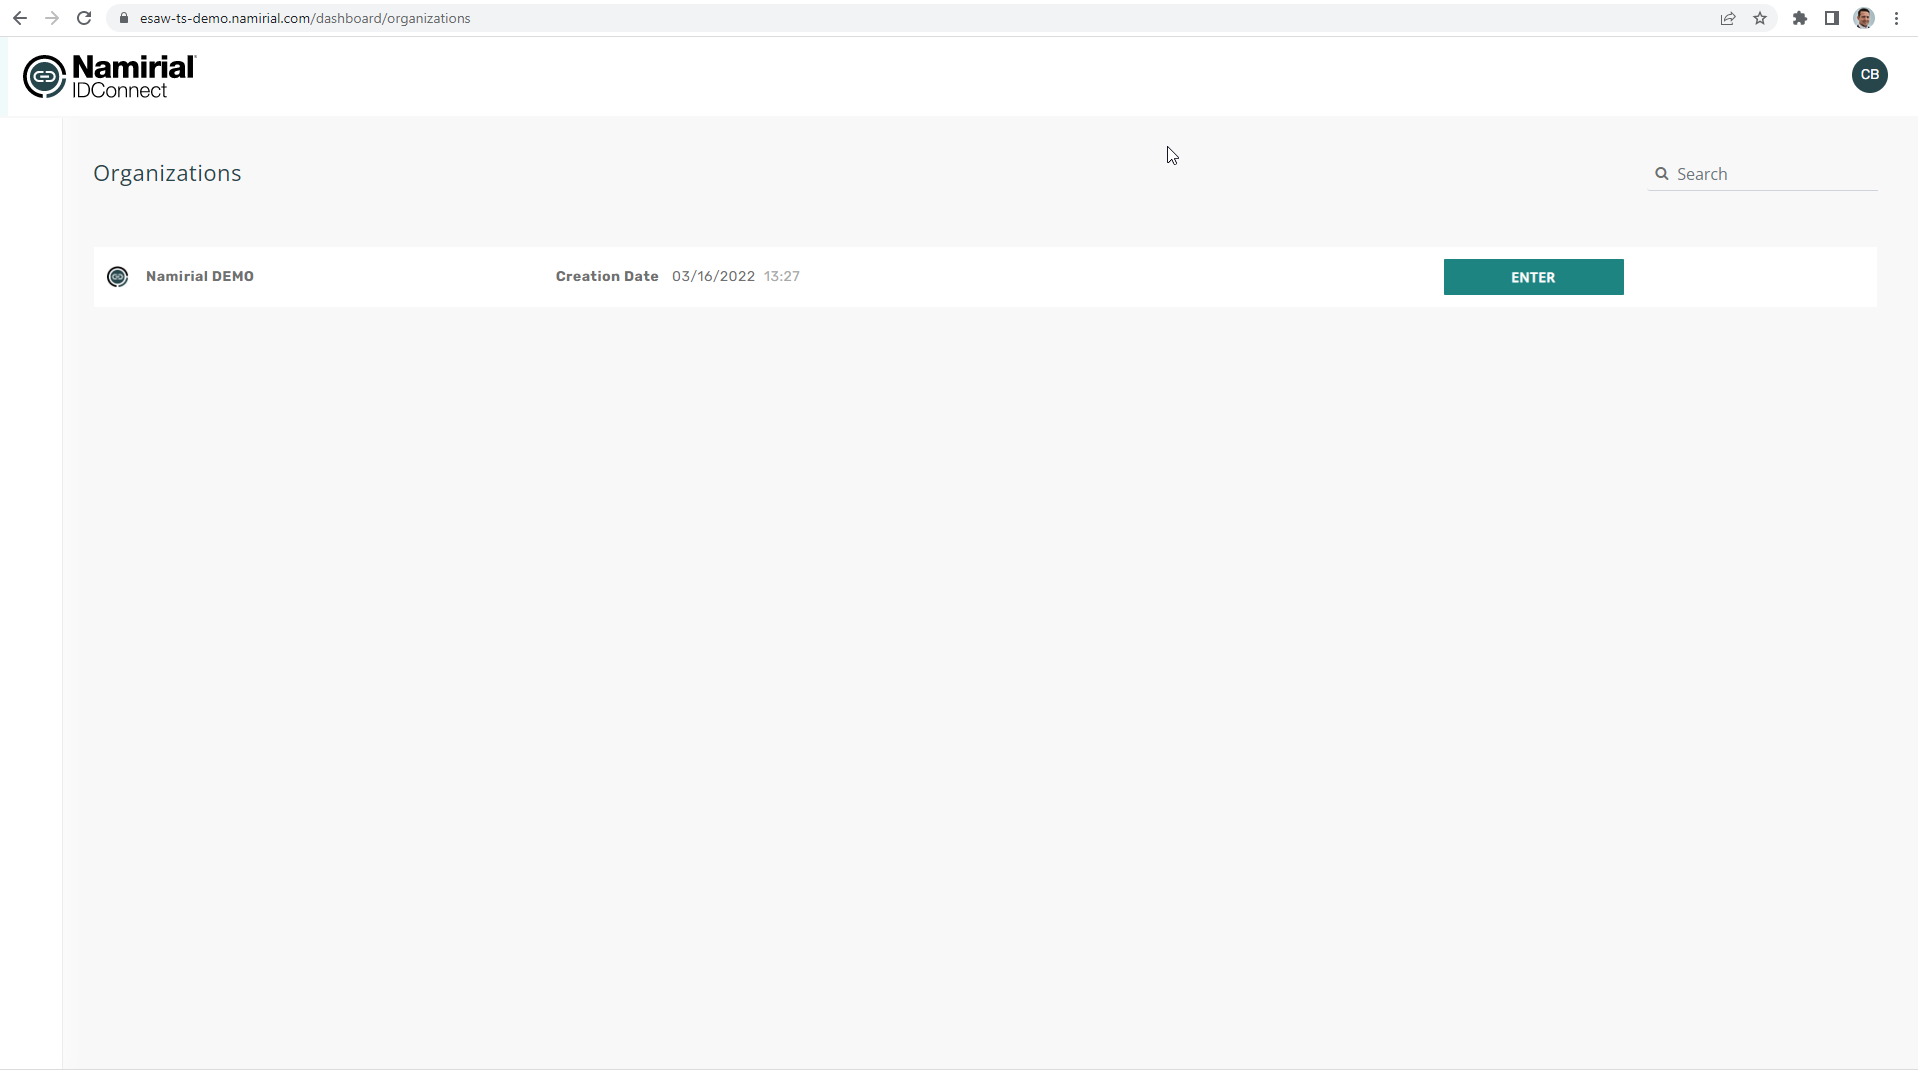
Login: MyNamirial account (but user has to be added to the IDHub backend by an admin first)
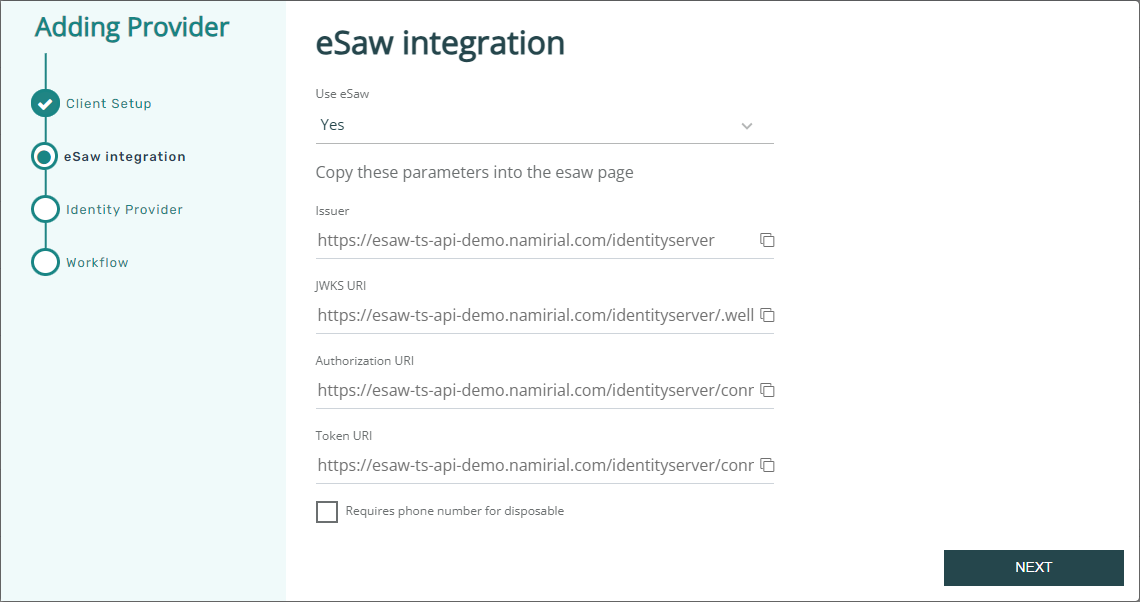
If it's a newly created organization, fill necessary connection data to connect from IDHub to SPID. For the DEMO spid environment e.g.:

Go to "Identity Providers" and configure your new identity provider for the specific business case.
The identity provider is the specific configuration which eSignAnyWhere later uses, and which knows by configuration which workflow of SPID to be used.
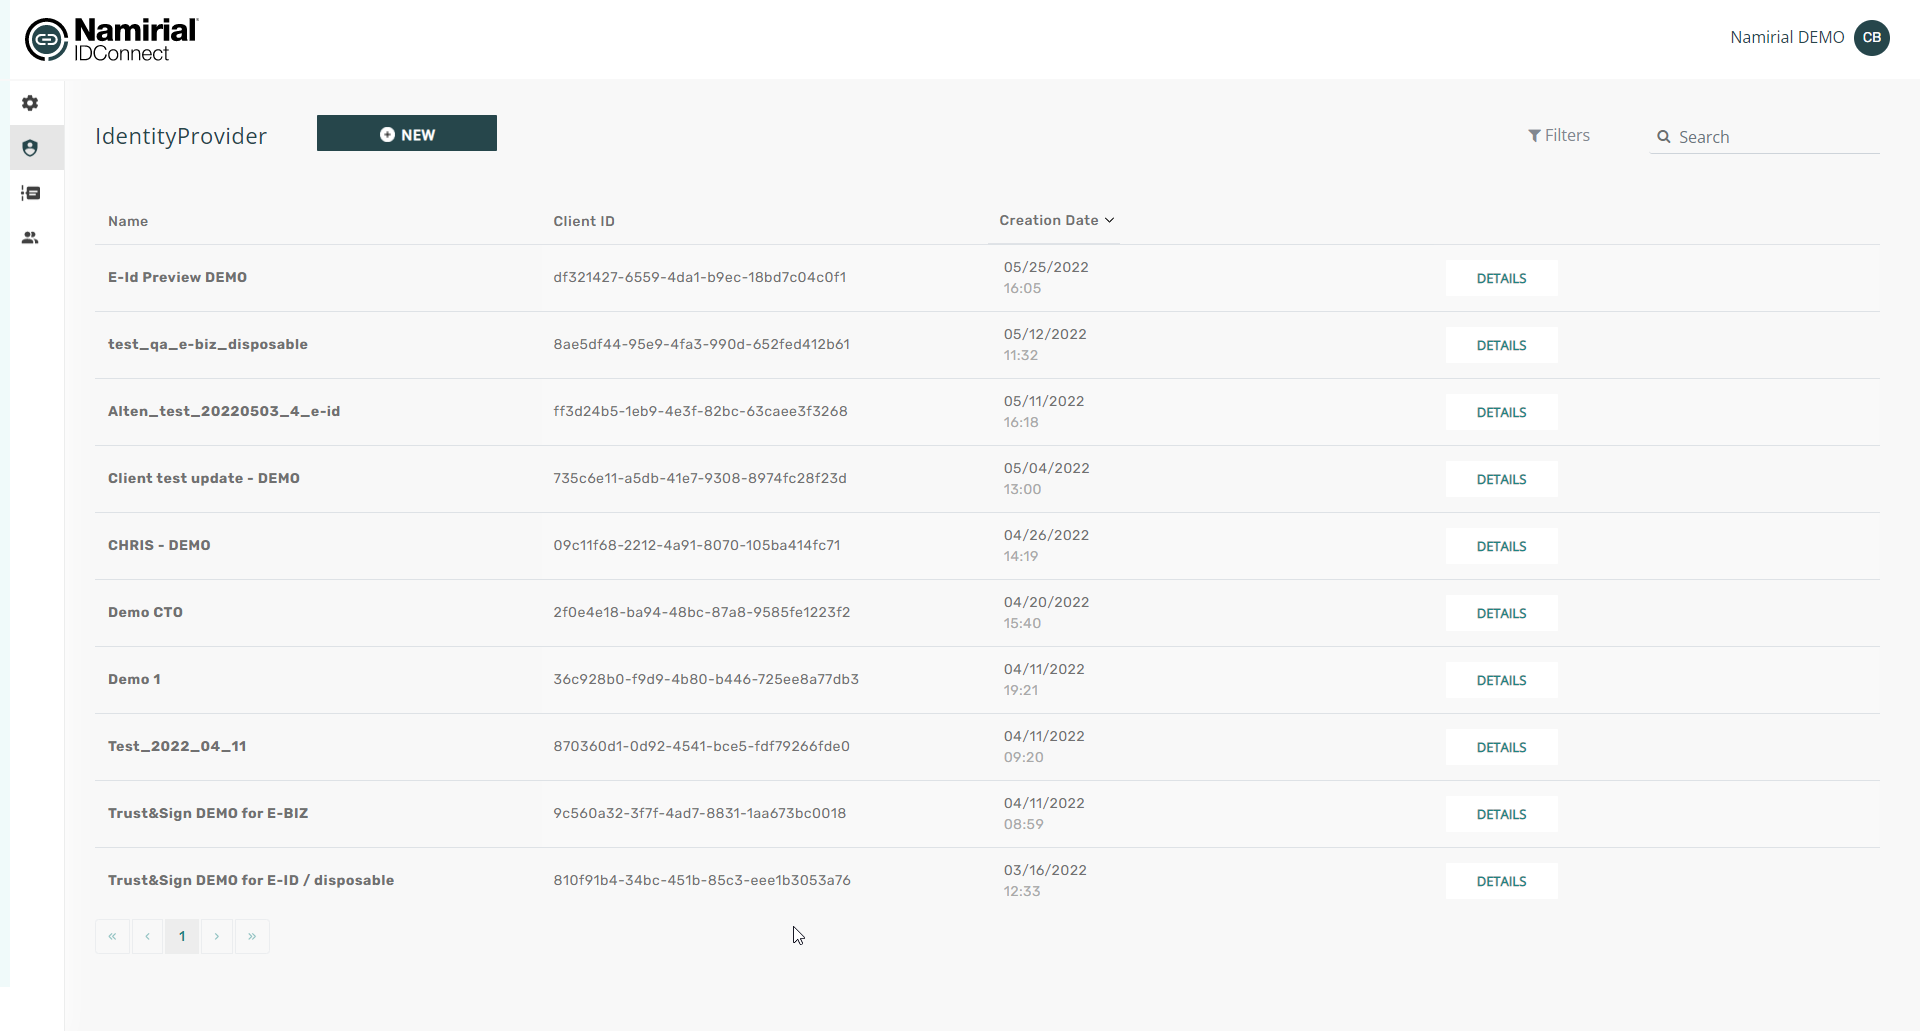
Create a new identity provider:
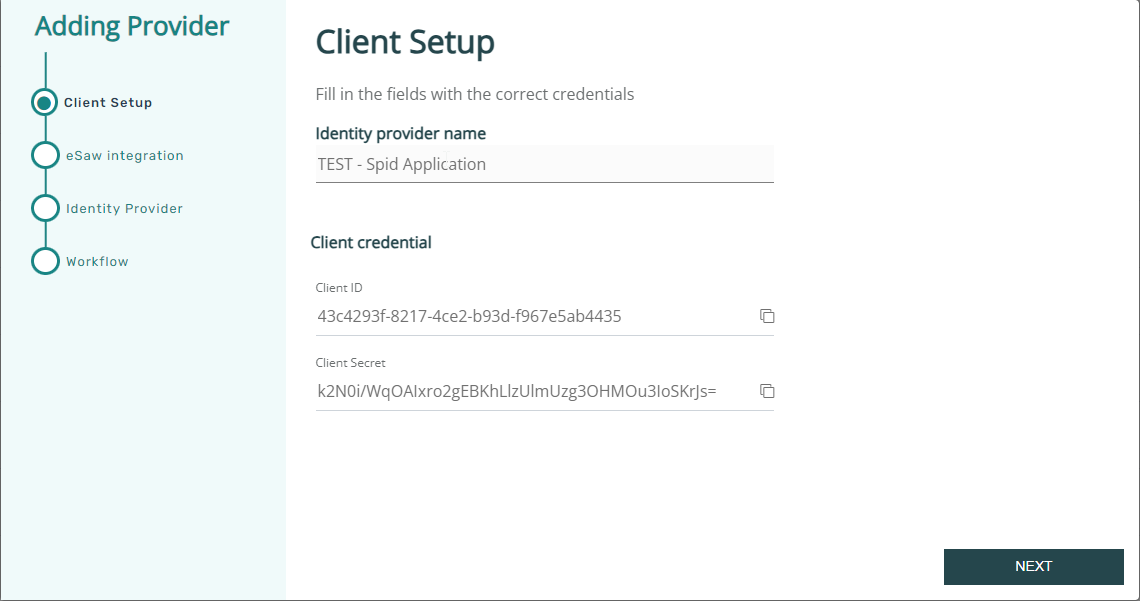
→ note down or copy the client id and client secret to your eSAW configuration!
Define that eSignAnyWhere is used. This allows the integration to access data provided by eSignAnyWhere already.
...
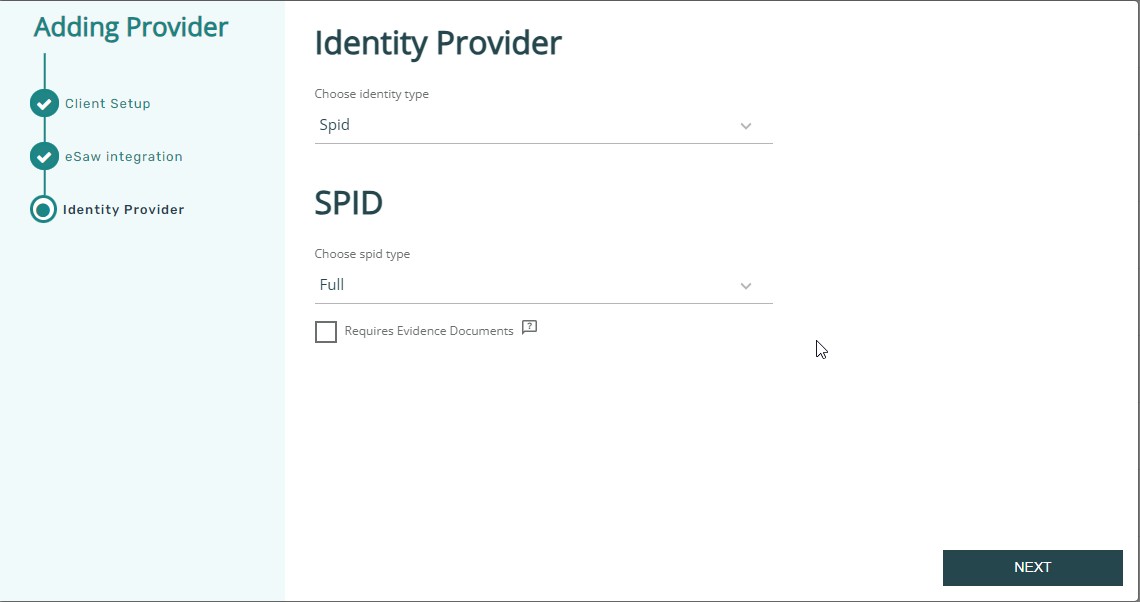
In the next page, select Spid as identity type, and choose if the Spid Full or the Spid Base profile should be obtained from Spid.
Complete the wizard and save the just created Identity Provider.
After completing the wizard, define some properties and provide additional static values which the integration needs. This can be e.g. an information of a specific LRA handling to be used:
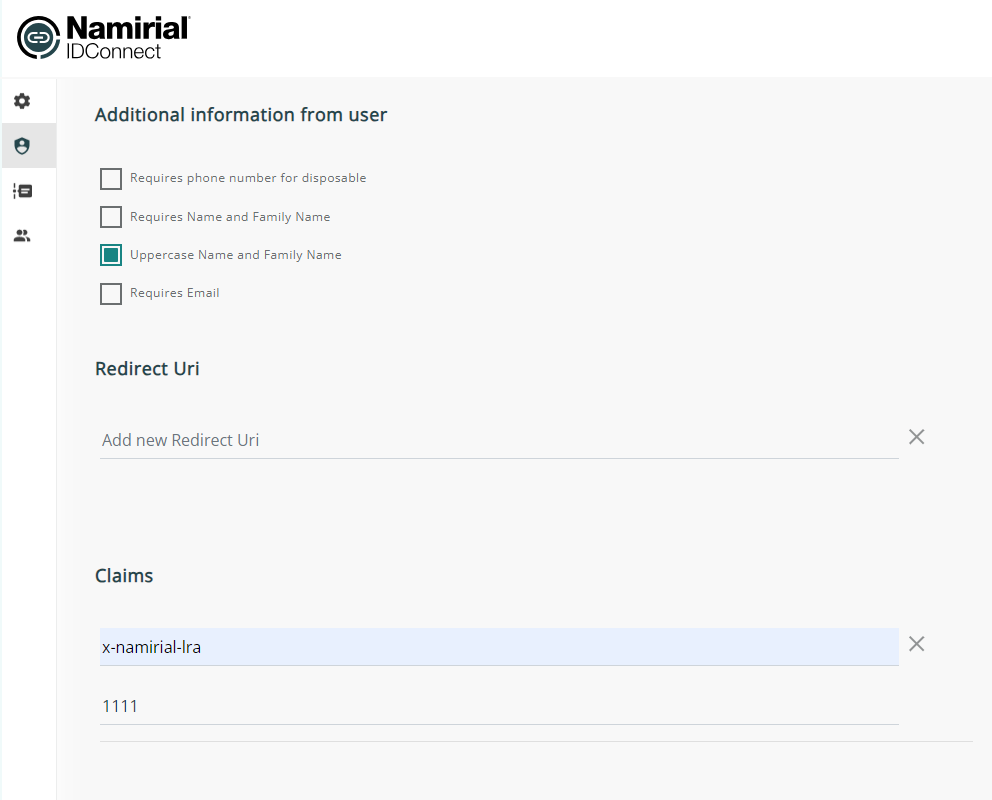
For Spid, ensure to define in the provider also a static claim with a value indicating that the LRA overwriting has to be used.
...
(a specific LRA number will be necessary, even if in any case Namirial will be the LRA, because it will require "technical LRAs" per customer to distinguish and invoice correctly the disposable certificates)

Finally, press the save button.
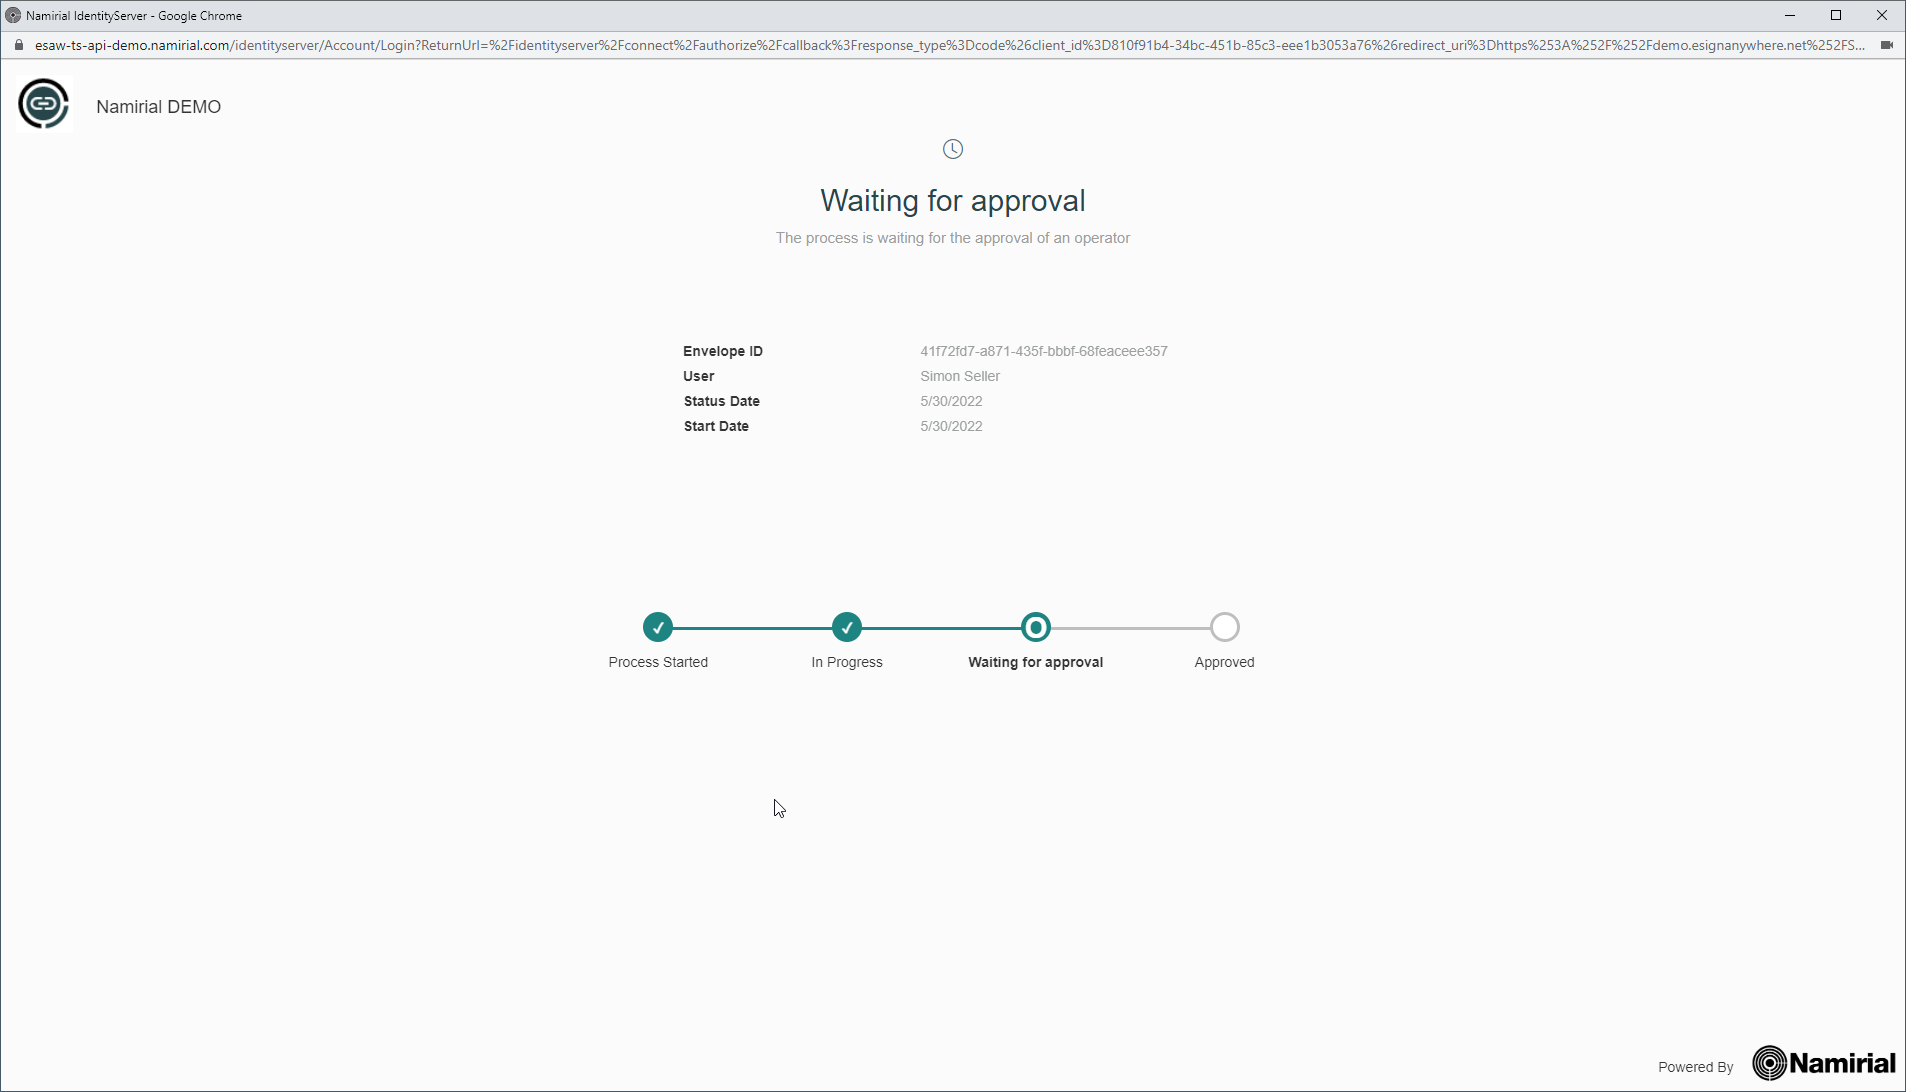
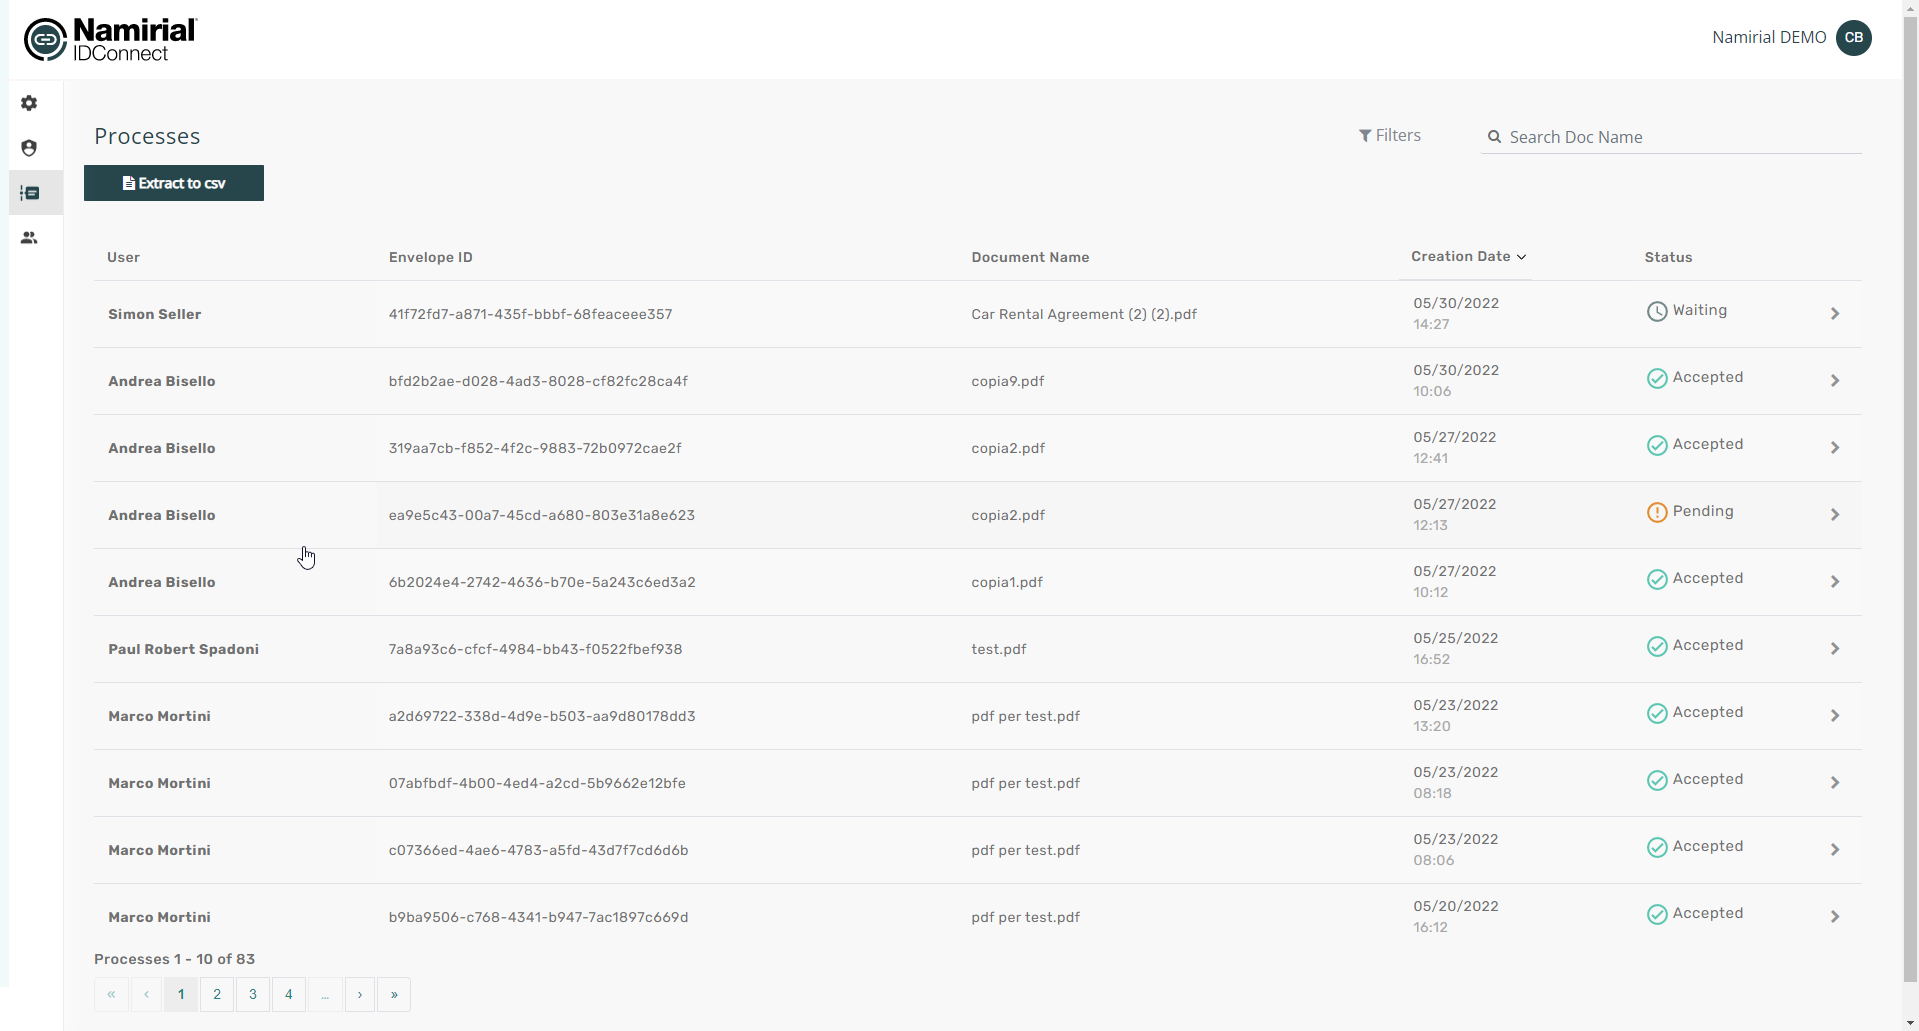
In the processes tab, you see ongoing and completed identification processes (i.e. instances of identification).
Step 3: Configure eSignAnyWhere Identity Provider Configuration
...
| Info |
|---|
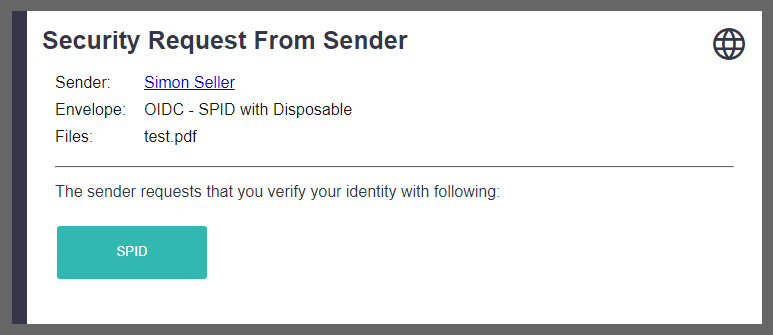
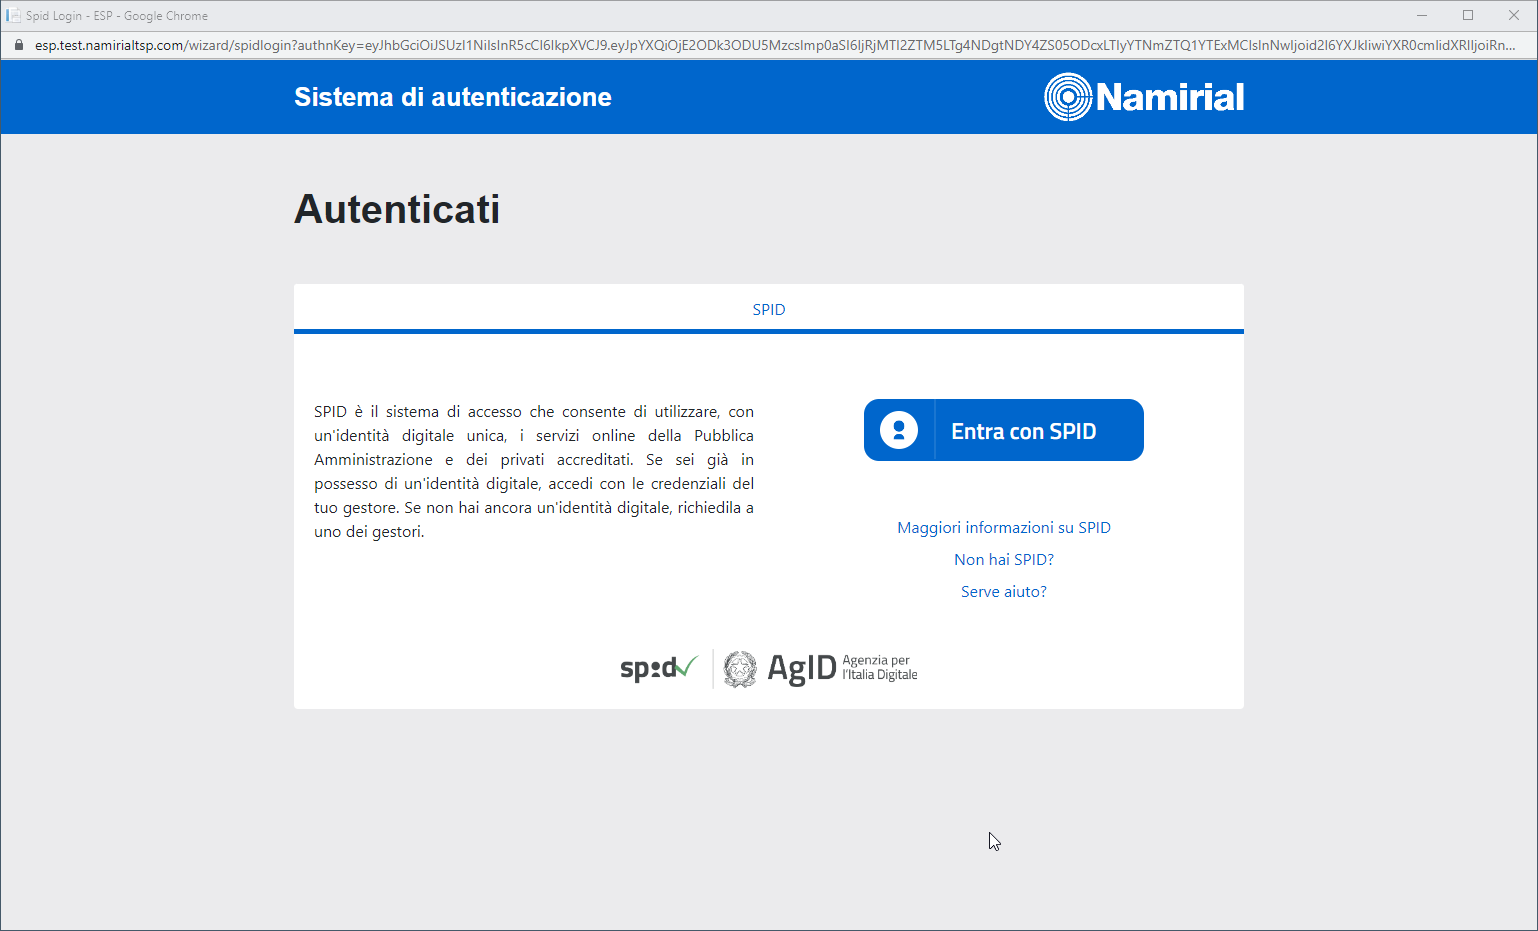
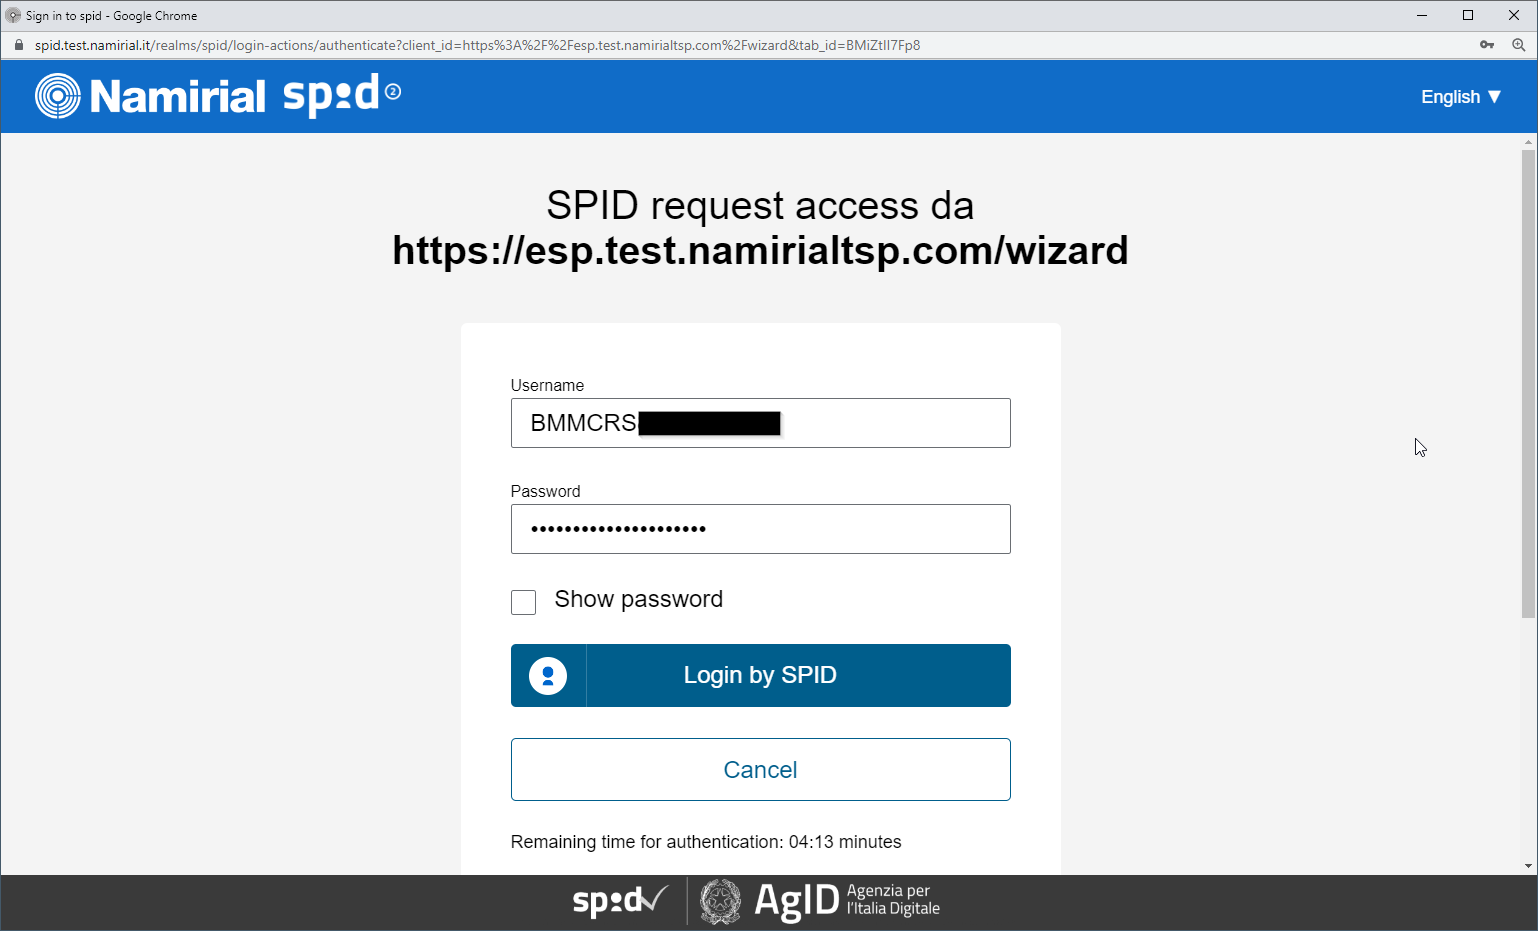
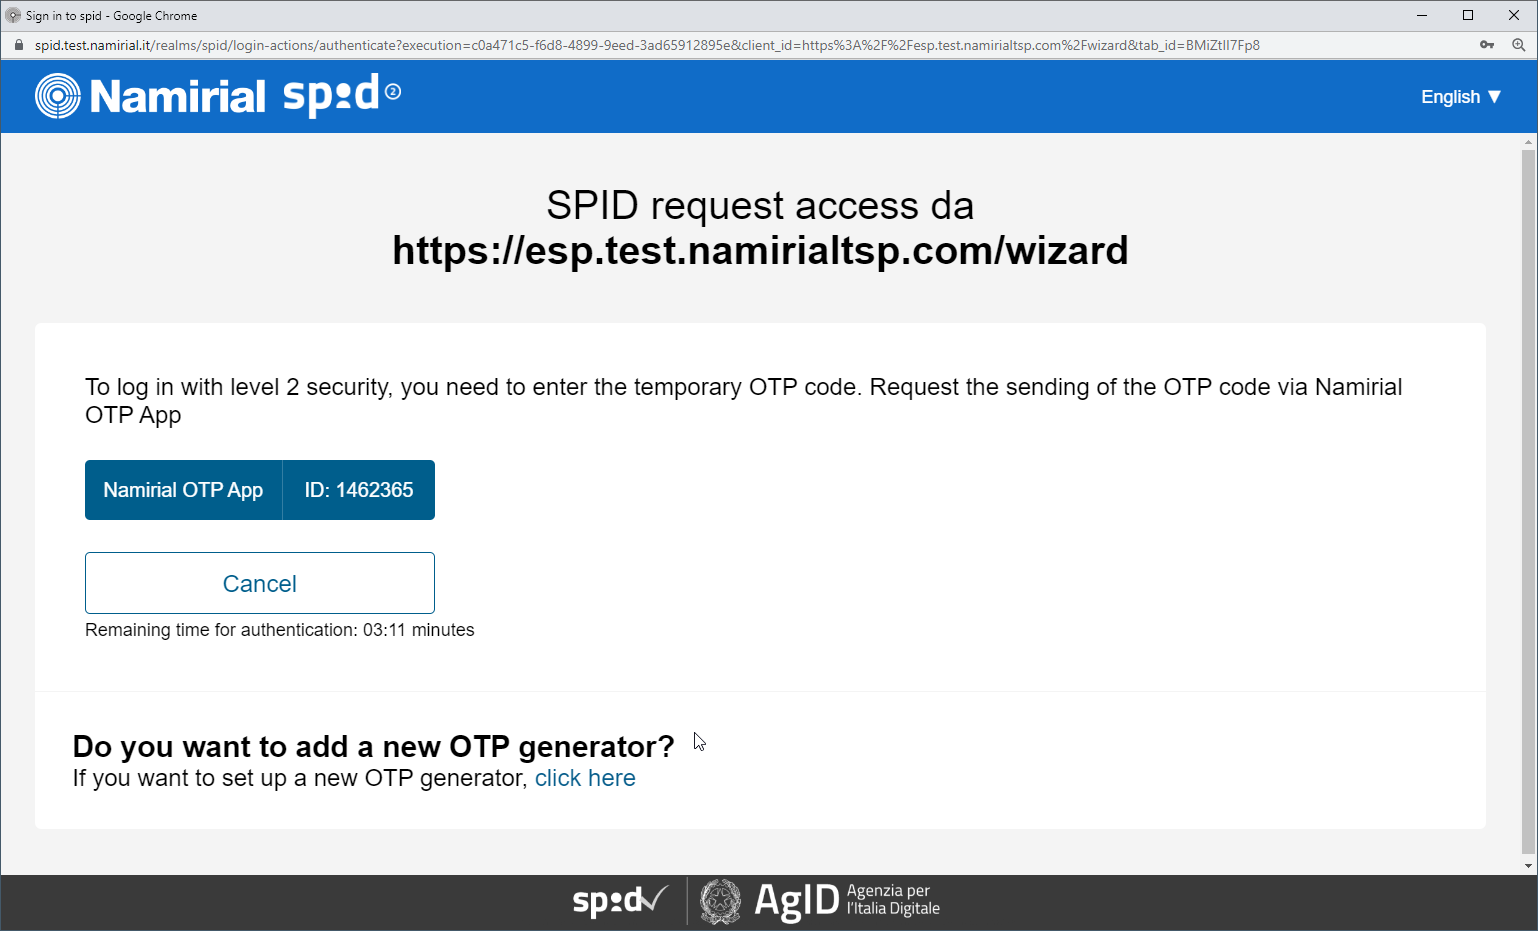
The screenshots below show an example use case of using SPID Full. In this case, the phone number is retrieved from the SPID data, so no phone number input page is shown. |