To send an envelope starting from a Salesforce object, you have to configure it following these steps:
Open Setup
Figure
Description
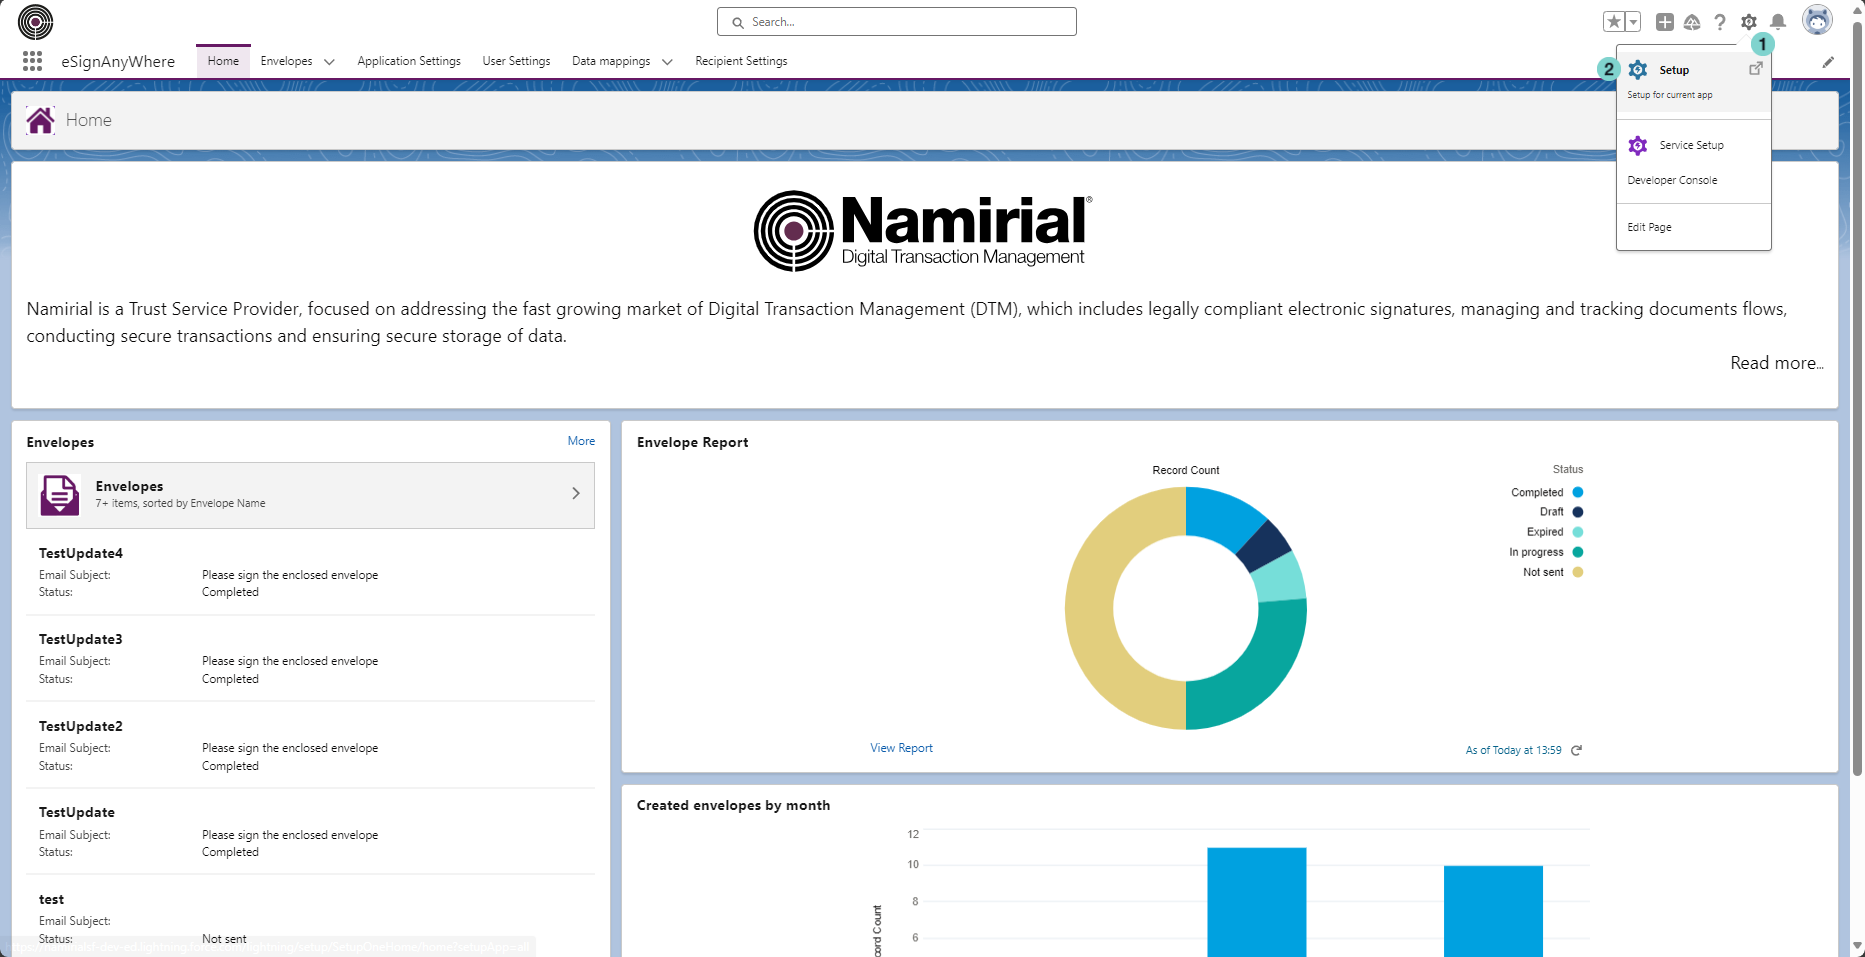
- Setting Gear Icon
- Setup option
Open 'Object Manager'
Figure
Description
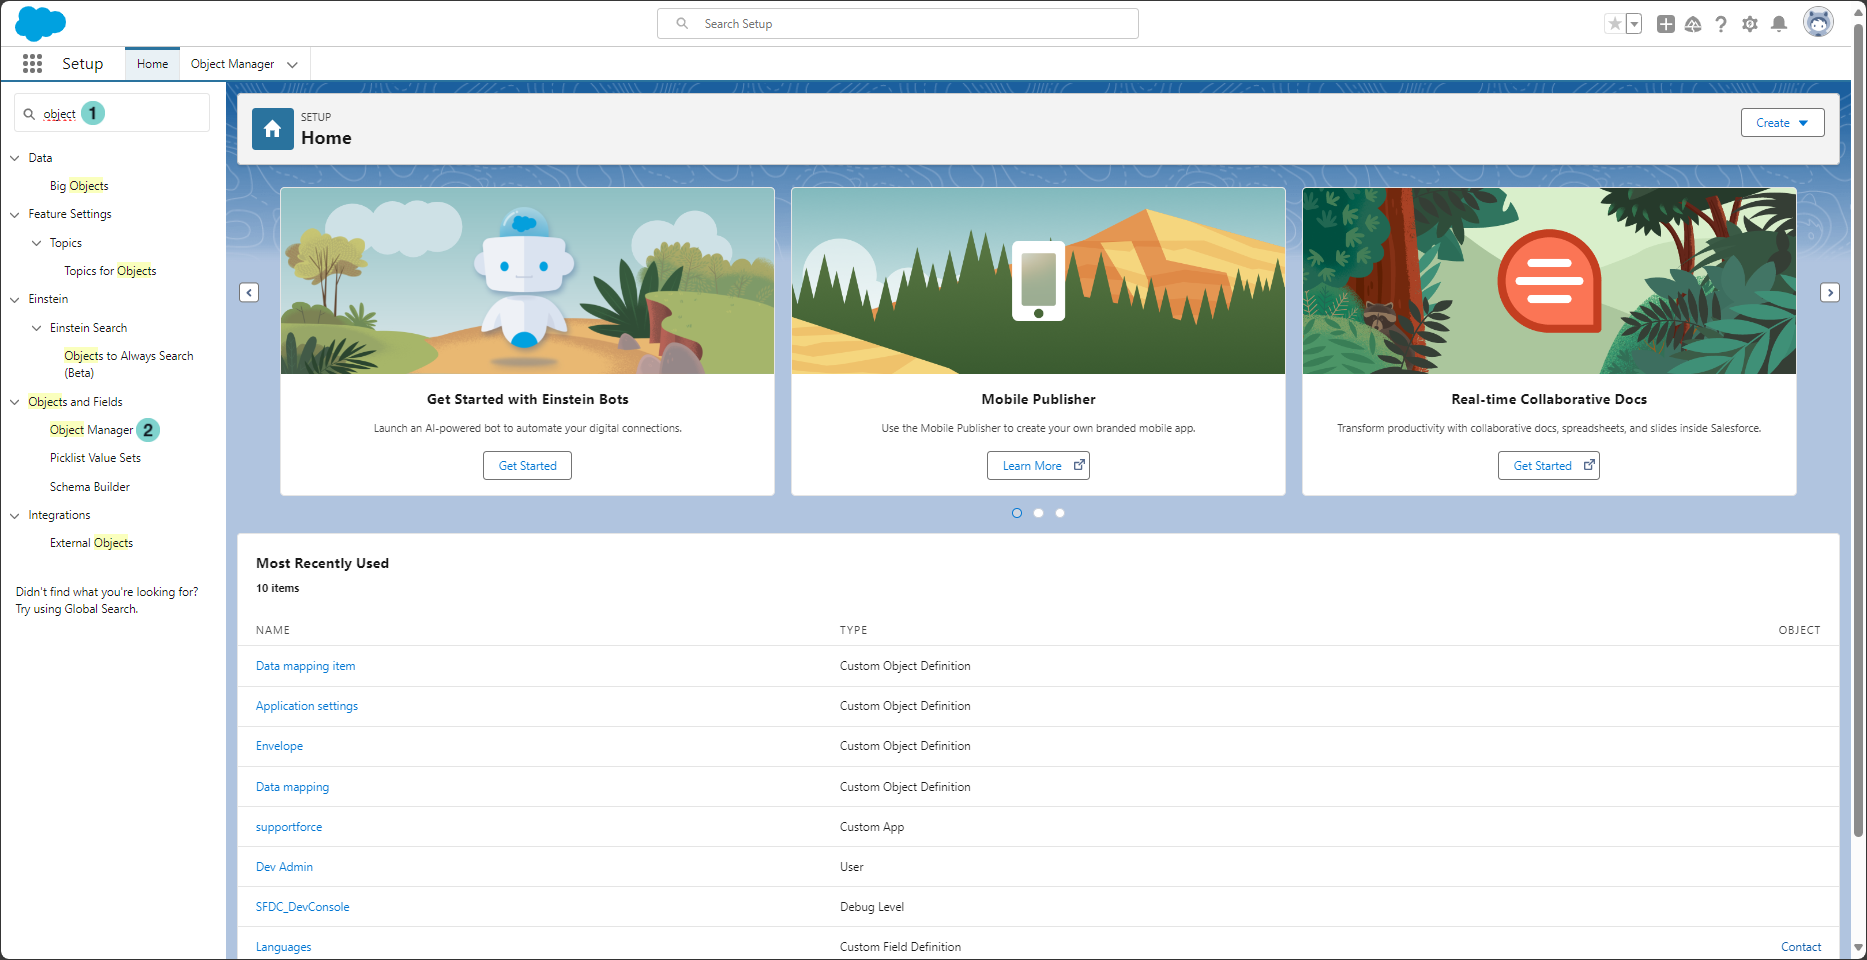
- Type 'Object' in search field
- Click 'Object Manager' option
Choose the Salesforce object to configure as starting point to send envelope
Figure
Description
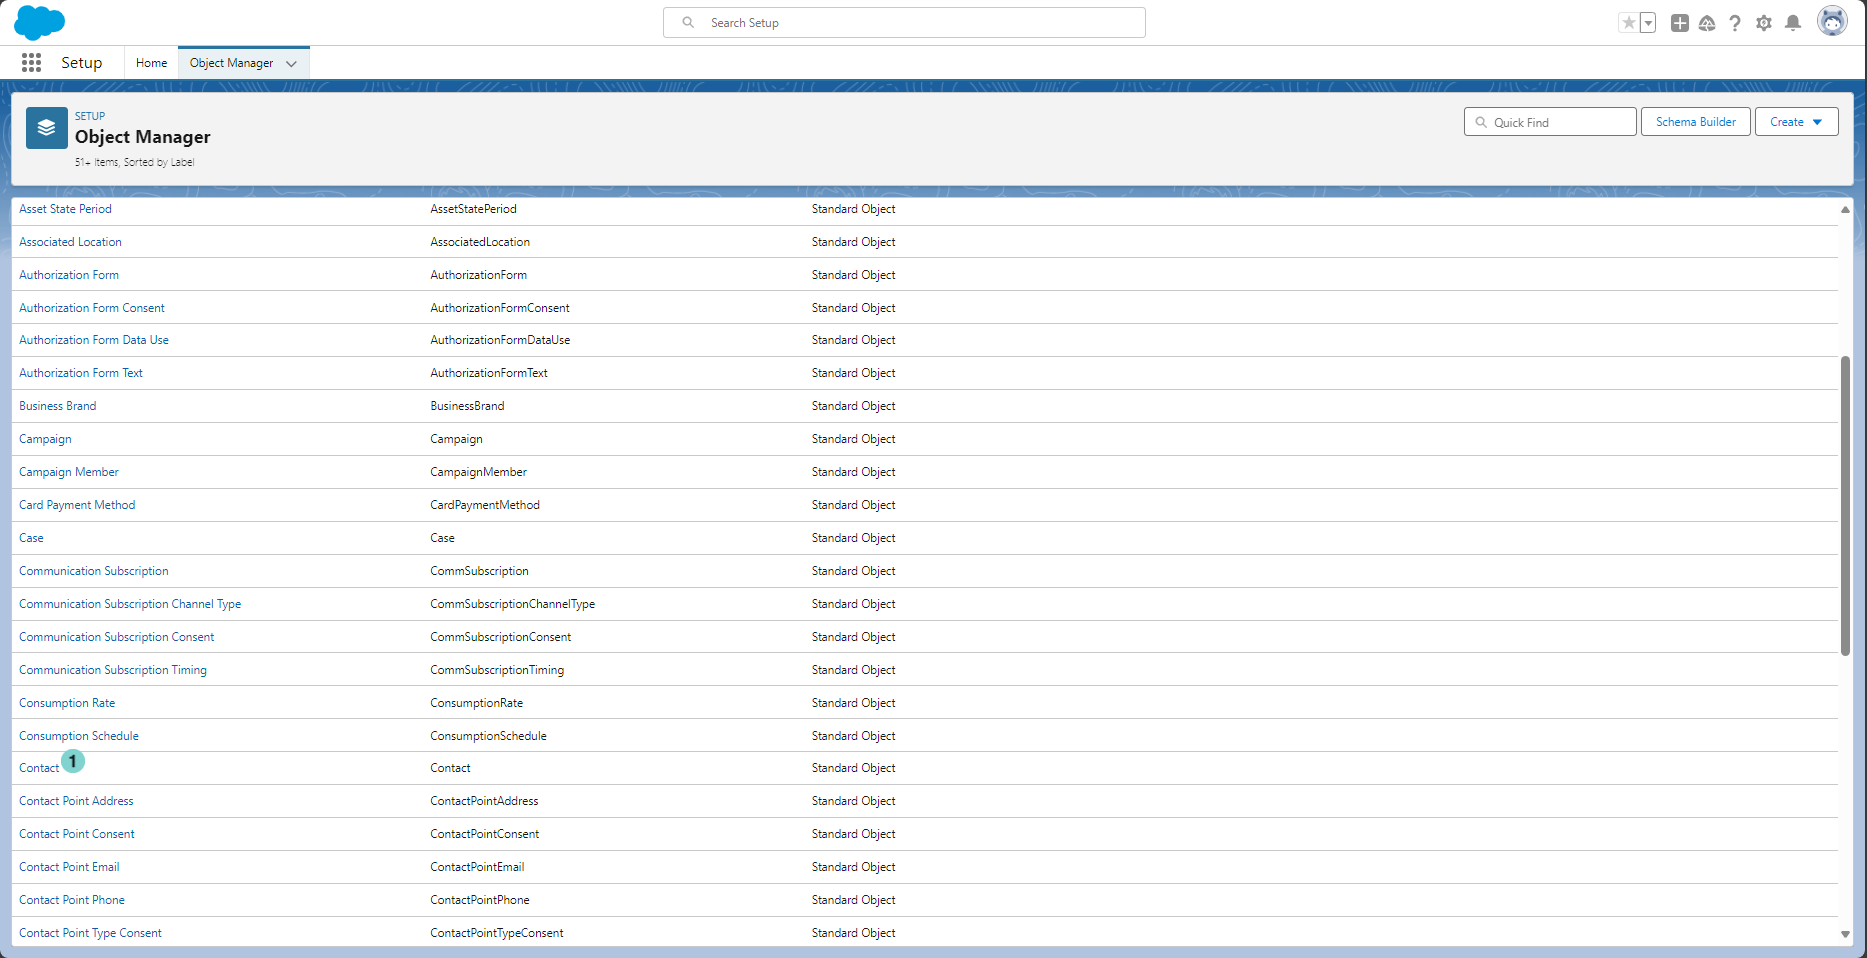
Click on the Salesforce object that you want to configure as starting point to send envelope. In the sample: 'Contact'
Verify if you have the 'Send For Signature' action in your Object
Figure
Description

- Select the 'Buttons, Links and Actions'
- Verify if you have the 'Send for Signature' action in the list. If you already have the button configured, go directly to the step: 'Choose the layout where you want to add the 'Send for Signature' button'
- Add a new action
Create the new 'Send For Signature' action.
Figure
Description

- Select the 'Lightning Component' Action Type.
- Select the 'namirialSF:SendForSignature' Lightning Component.
- Set Send for Signature' label
- Set 'Send_for_Signature' name
- Save the new action.
Choose the layout where you want to add the 'Send for Signature' button
Figure
Description
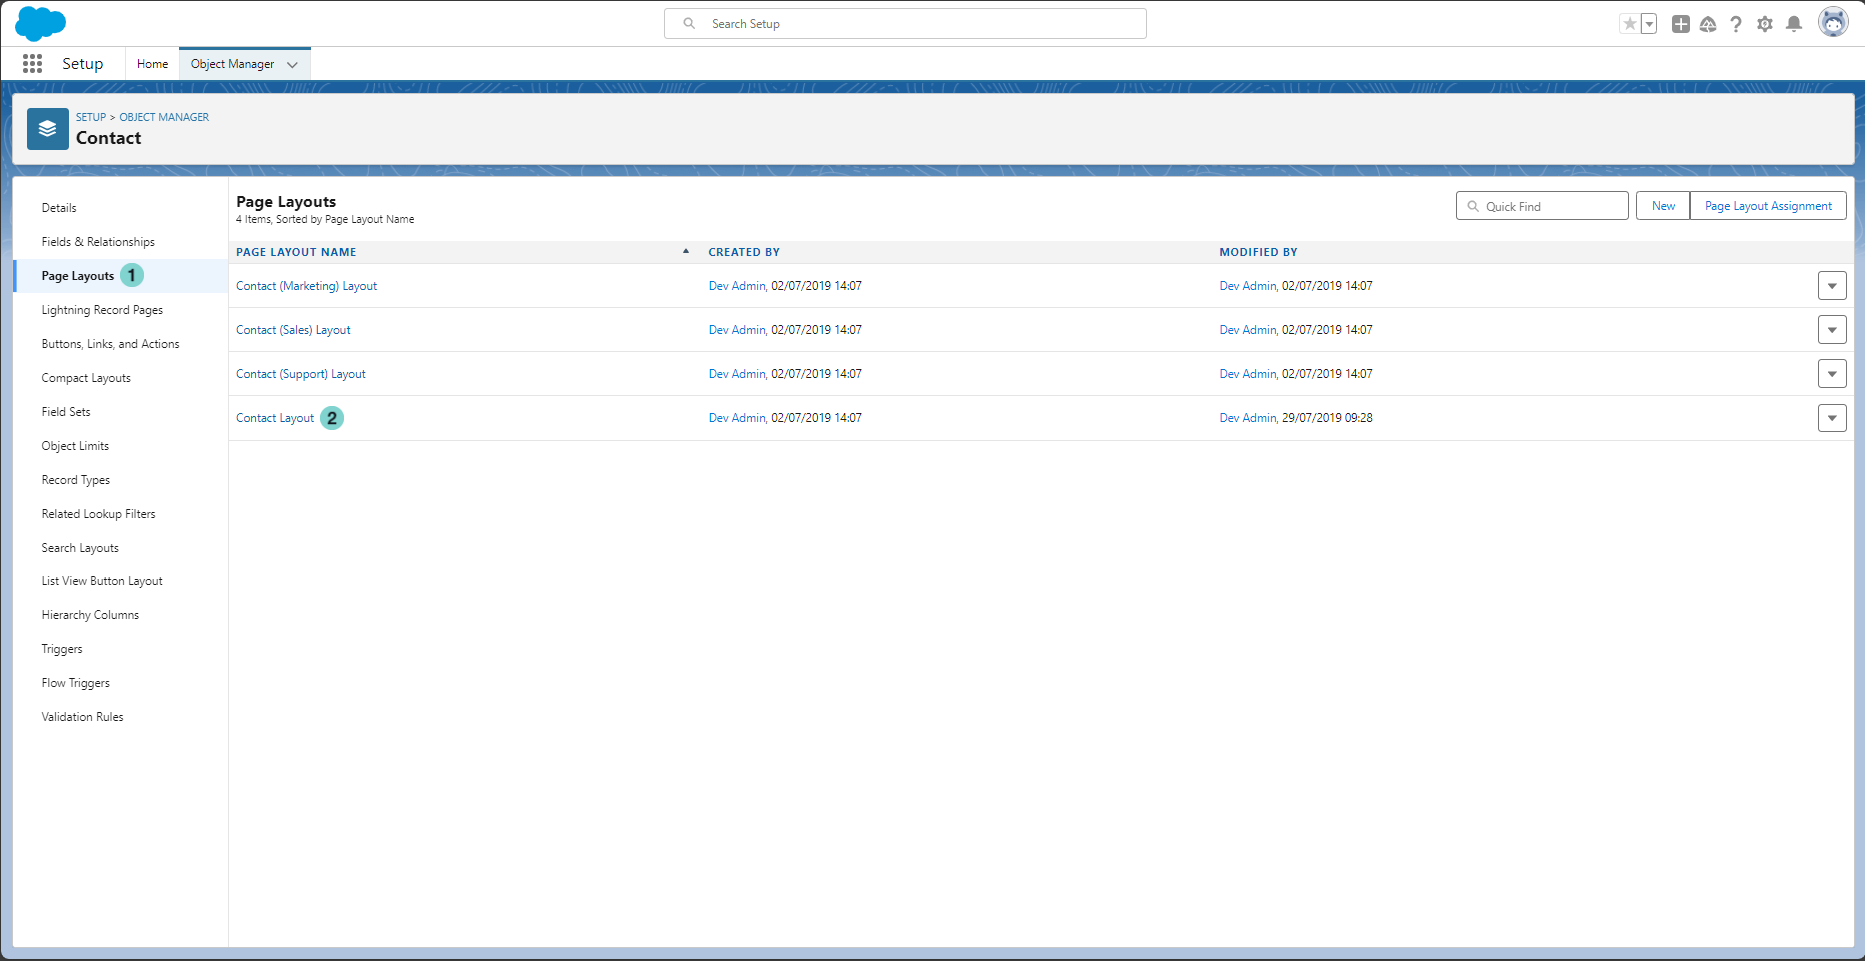
Click on 'Page Layout'
Choose the layout where you want to add the 'Send for Signature' button
Drag and Drop the 'Send for Signature' button
Figure
Description
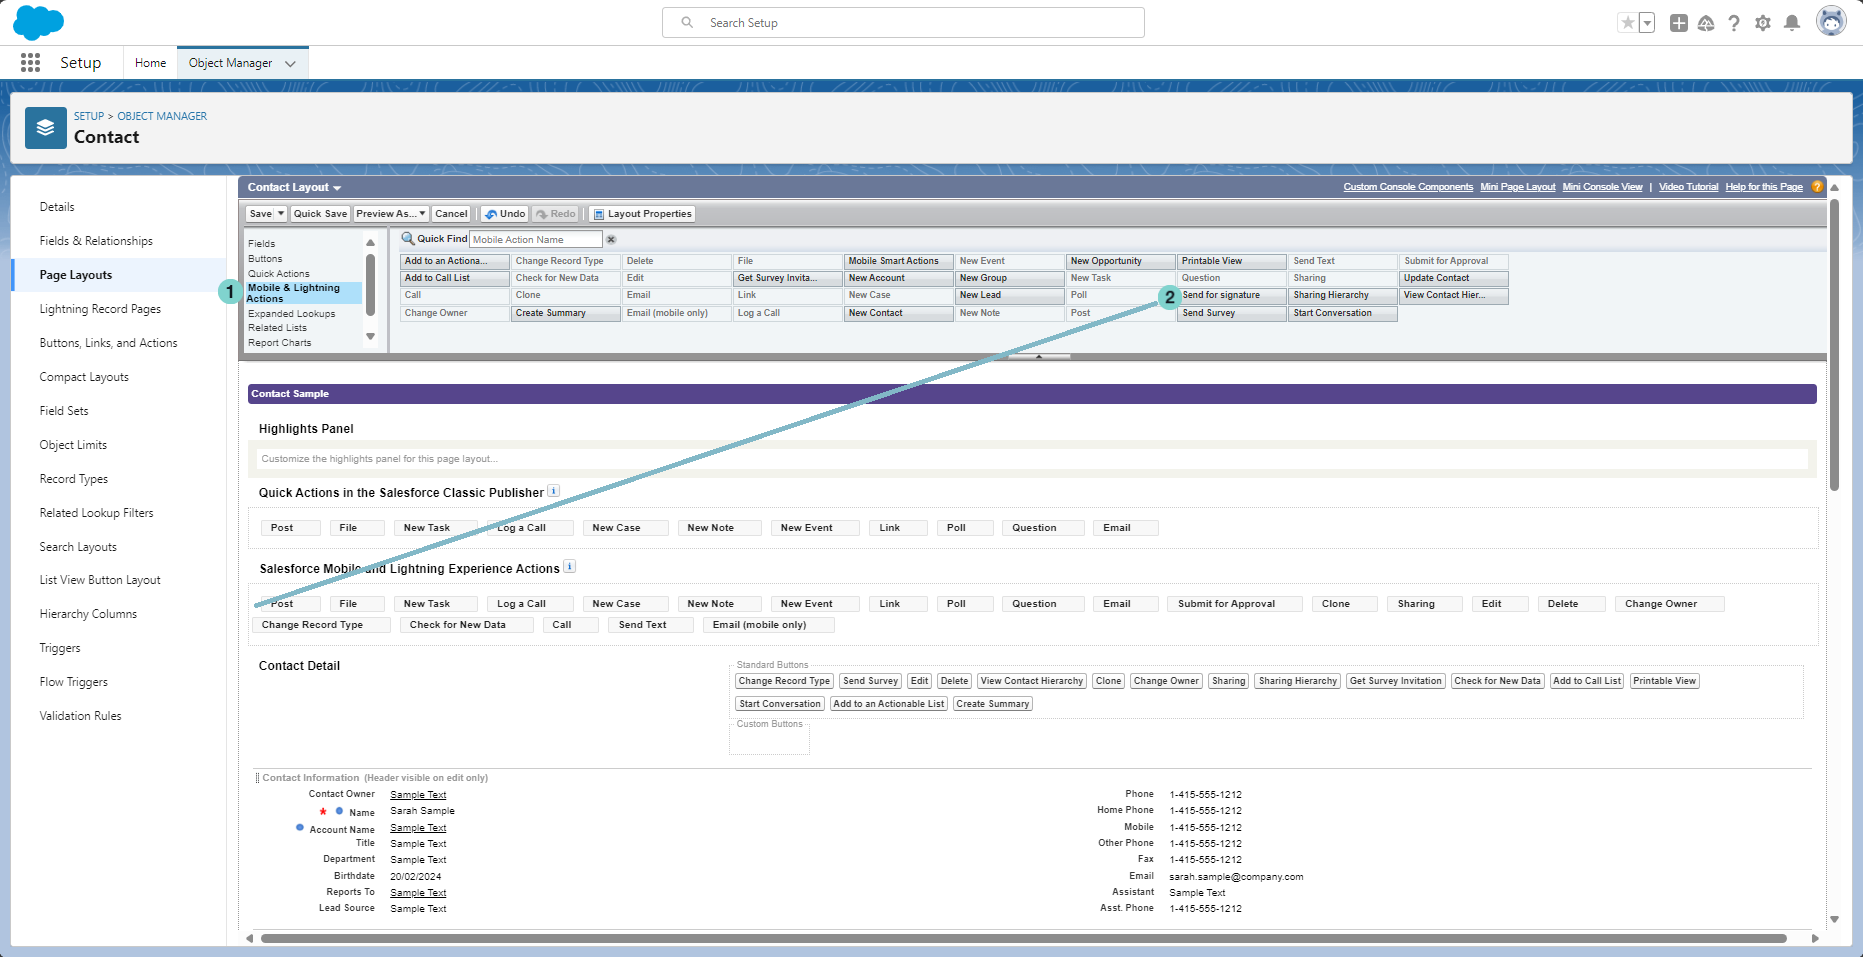
- Select the 'Mobile and Lightning Actions'
- Drag and drop the 'Send for Signature' button into 'Salesforce Mobile and Lightning Experience Actions' section
Save the configuration
Figure
Description
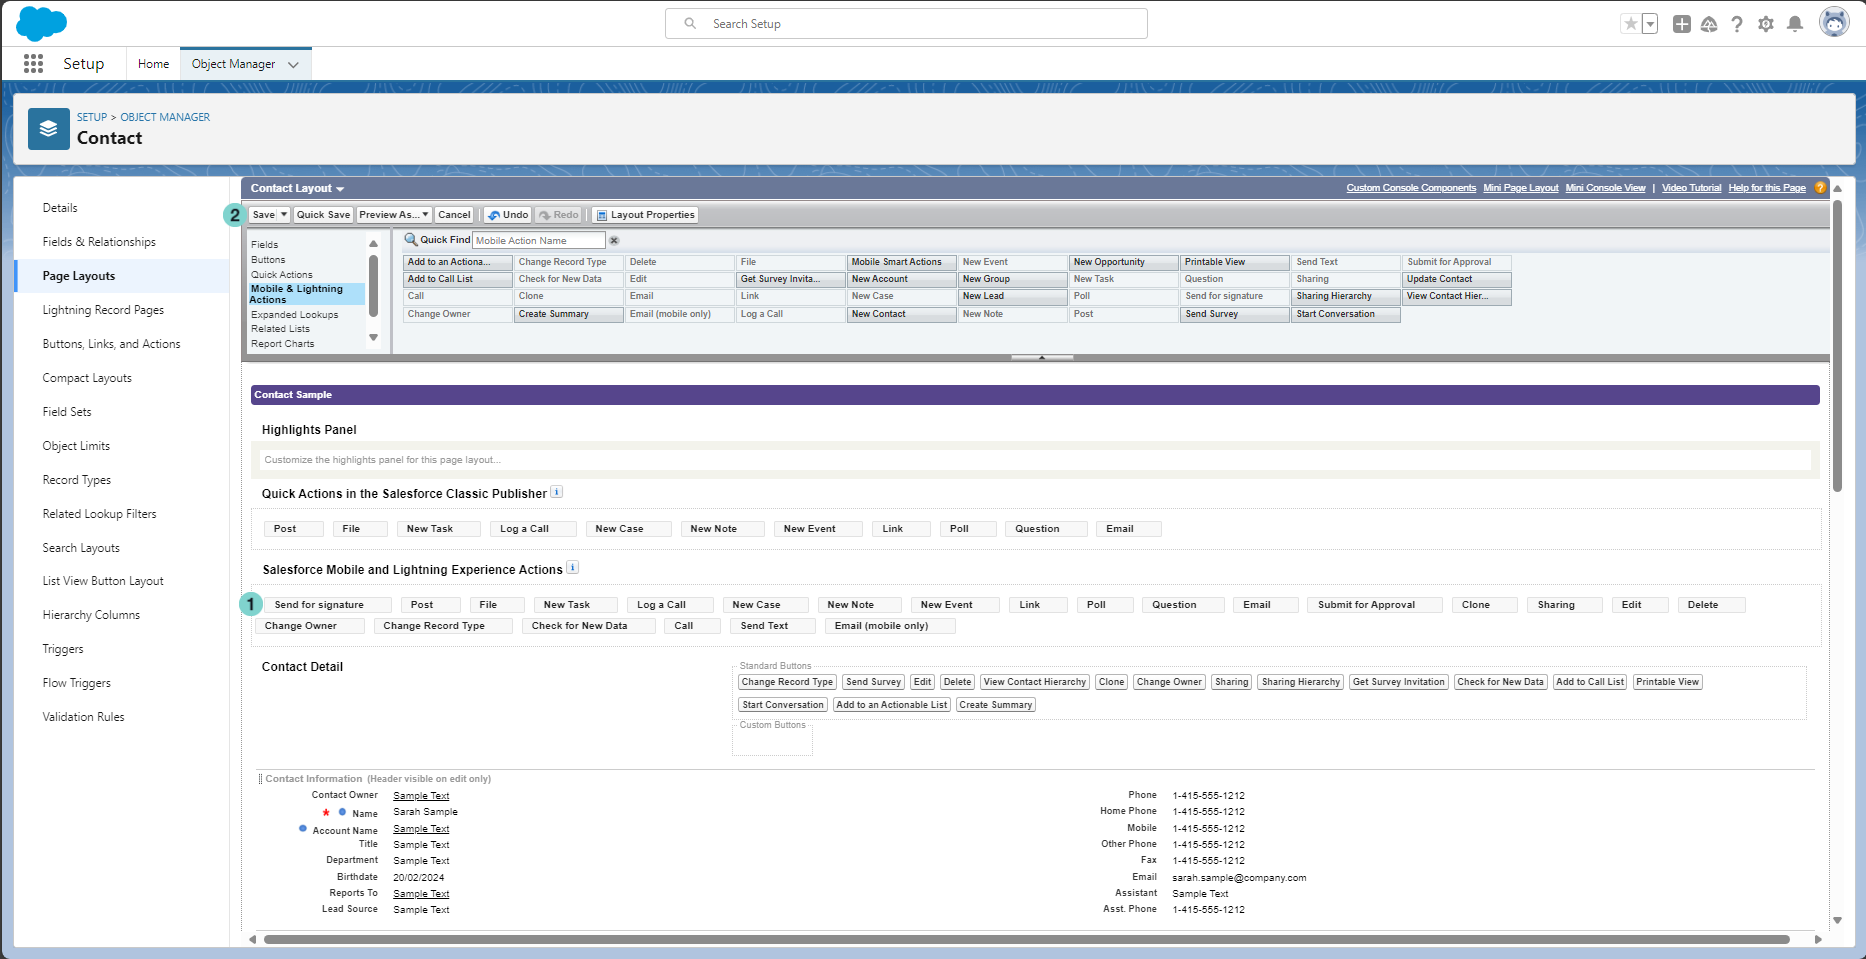
Now the button is visible in the 'Salesforce Mobile and Lightning Experience Actions' section
Click Save Button
Navigate to configured object, now the 'send for Signature' button is configured and visible.
Figure
Description

- 'Send For Signature' button