The application reference describes the application features in the structure as they are accessible for the user through the user interface. Some items described in the application reference may be invisible due to different instance configuration, configuration of feature flags, organization configuration or user permissions.
General Structure
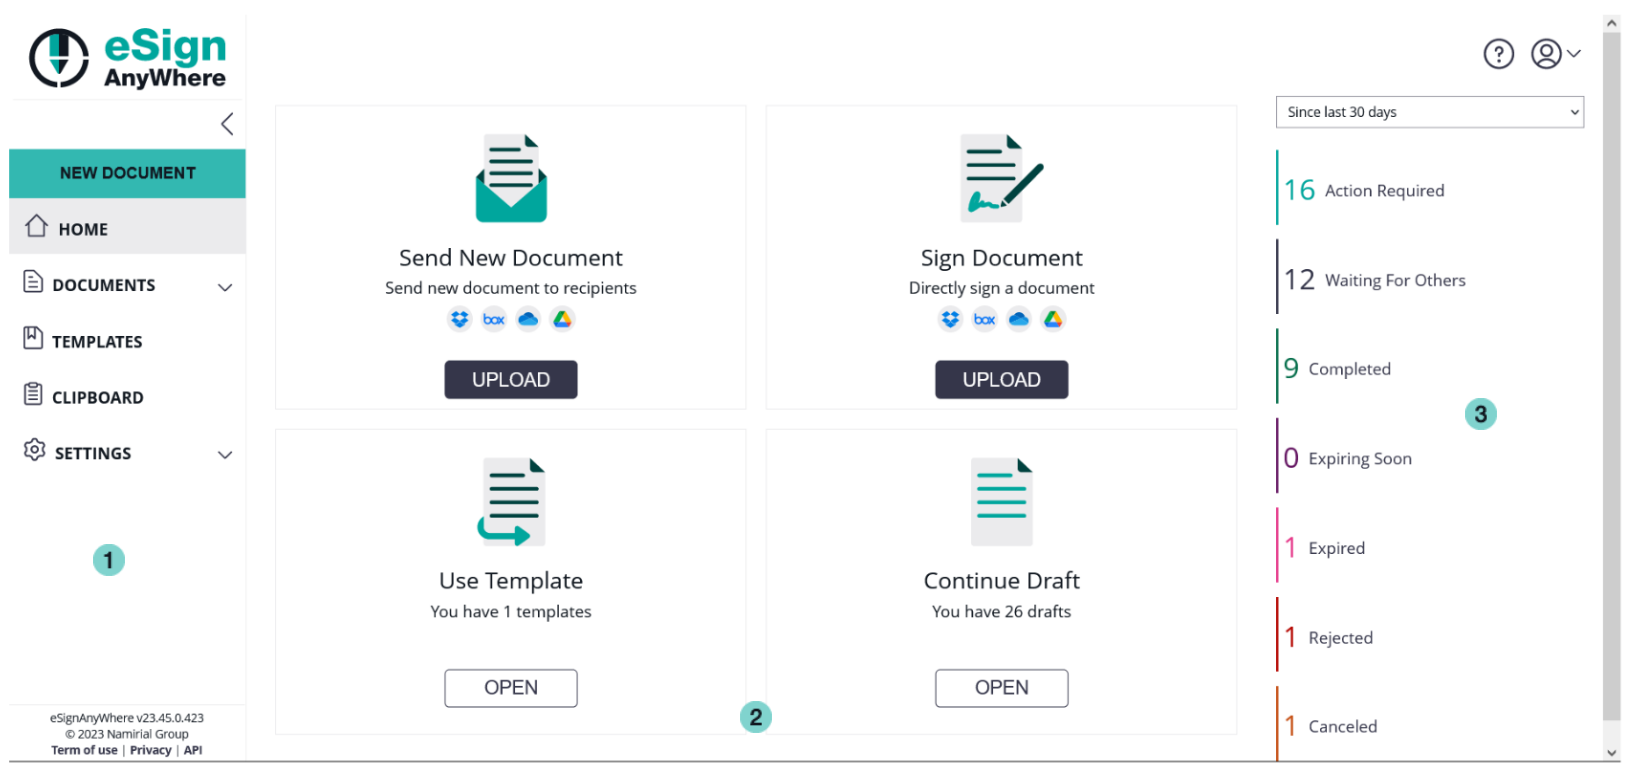
The eSignAnywhere user interface, with standard appearance of a user having "Power User" and "Administrator" role:
- Menu: on the left you find the menu
- new Document: create a new document
- Documents: your (or our teams) sent documents and documents you have to sign
- Templates: your available templates
- Clipboard: if you install the MS Office Plugin (available in the menu top right), you are able to directly upload documents to MS Word to your clipboard in eSignAnyWhere.
- Settings: change your account or organisation settings
- Main Area: different views, depending on which item has been selected in the menu, are shown in the main area. The different views are described in detail in the next chapters.
- Help: The questionmark icon on top-right, directly next to the account-menu, allows to open the context specific product documentation.
- Account-Action: also at the top right you find the account menu for account settings, issue reporting, Microsoft Office Plugin and log out
Figure | Description |
|---|---|
 |
|
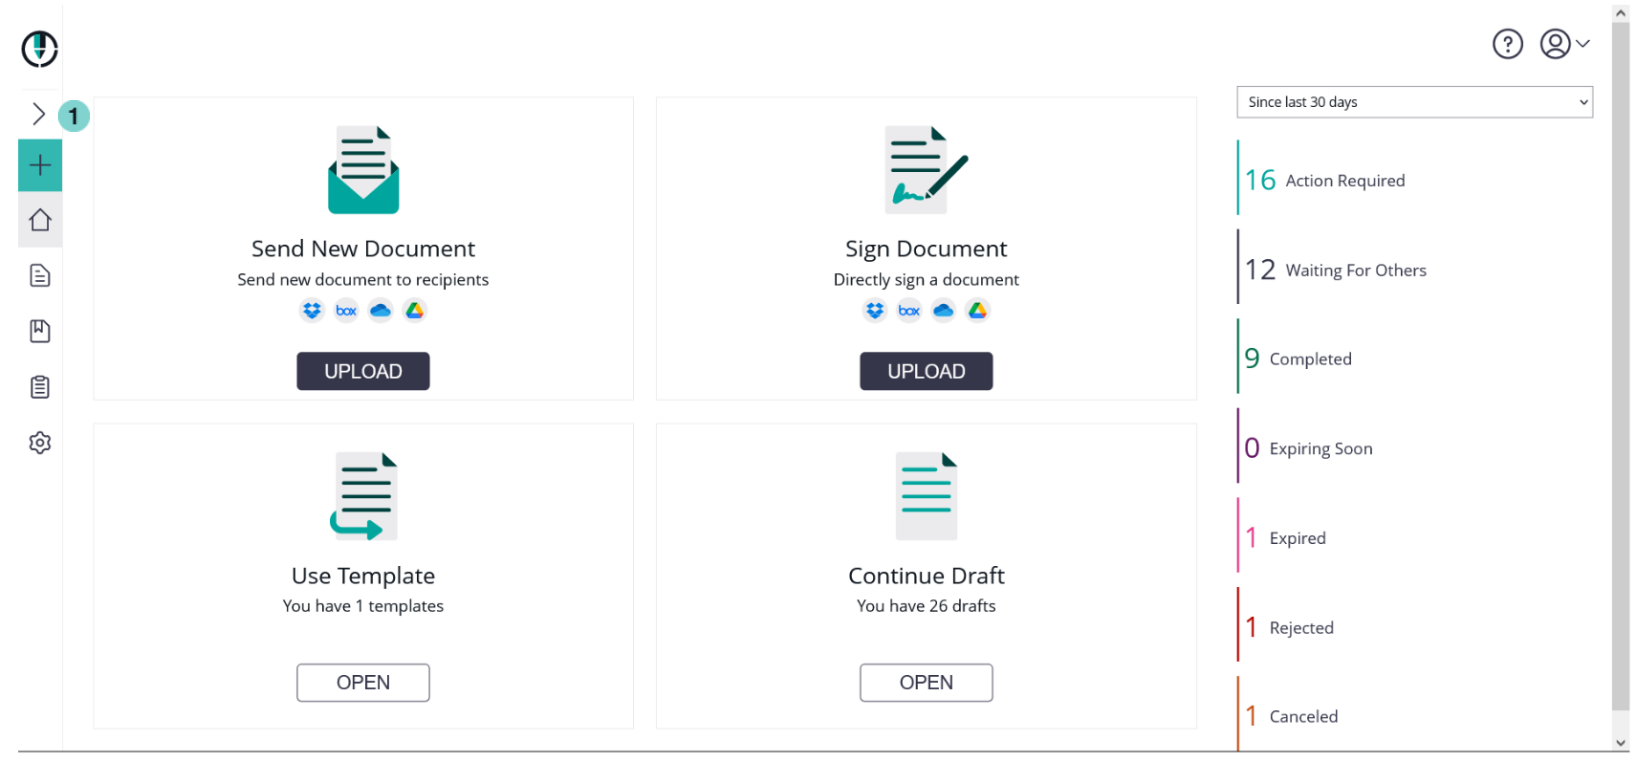
Compact View
If you want to have more space for designing documents, you can enable a compact view by collapsing the menu. Just click on the arrow symbol in the menu bar at the top.
Figure | Description |
|---|---|
 |
|
The different views of the main area, which are accessible using the menu bar on the left side, are explained in detail in the following sub chapters:
- Home (Dashboard)
- Documents (Envelope Filter Views)
and, related to envelopes: - Templates
- Clipboard
- Settings and Customizing