Introduction
The custom sealing certificate feature empowers users to secure their organization's data using personalized certificates for sealing operations. This documentation provides a comprehensive guide on configuring and utilizing this feature effectively.
By following the steps below, users can successfully configure a custom sealing certificate and manage changes as required to maintain robust data security within the organization.
Workflow
Configuration notes:
- Ensure the uploaded certificate contains the required permissions and validity for seamless sealing operations.
- Verify the uploaded certificates and their chain to ensure proper functionality within your organization's data encryption workflows.
Please note the following information referring to deletion of a custom sealing certificate:
- Deletion of a custom sealing certificate is only possible if the there is no envelope left which is still in progress and using the custom sealing certificate.
- Feature flag "AllowUsingCustomSealingCertificate" must be enabled (see Feature Flags#AllowUsingCustomSealingCertificate)
- Before proceeding, ensure that the feature flag is enabled for your organization. This setting is crucial for using custom sealing certificates
- Access Organization Settings
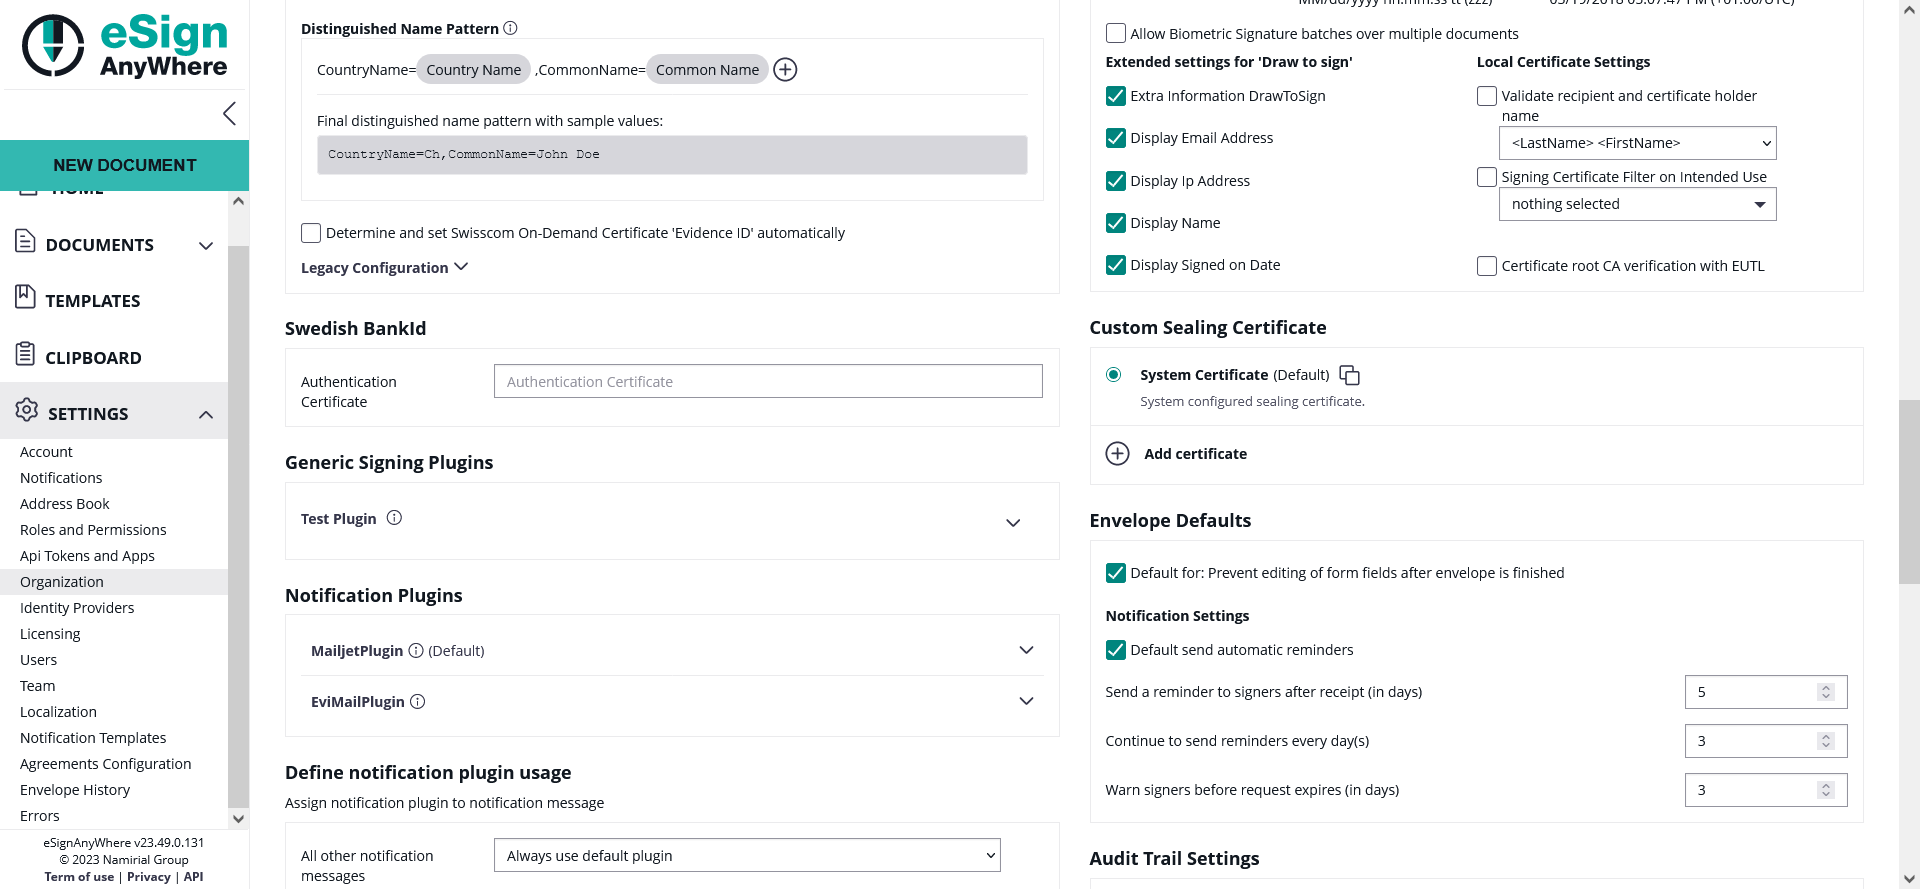
- Navigate to the organization settings page within your organization and navigate to the section "Custom Sealing Certificate"
- There you can already find the system certificate which is enabled and used by default
- Add a new certificate
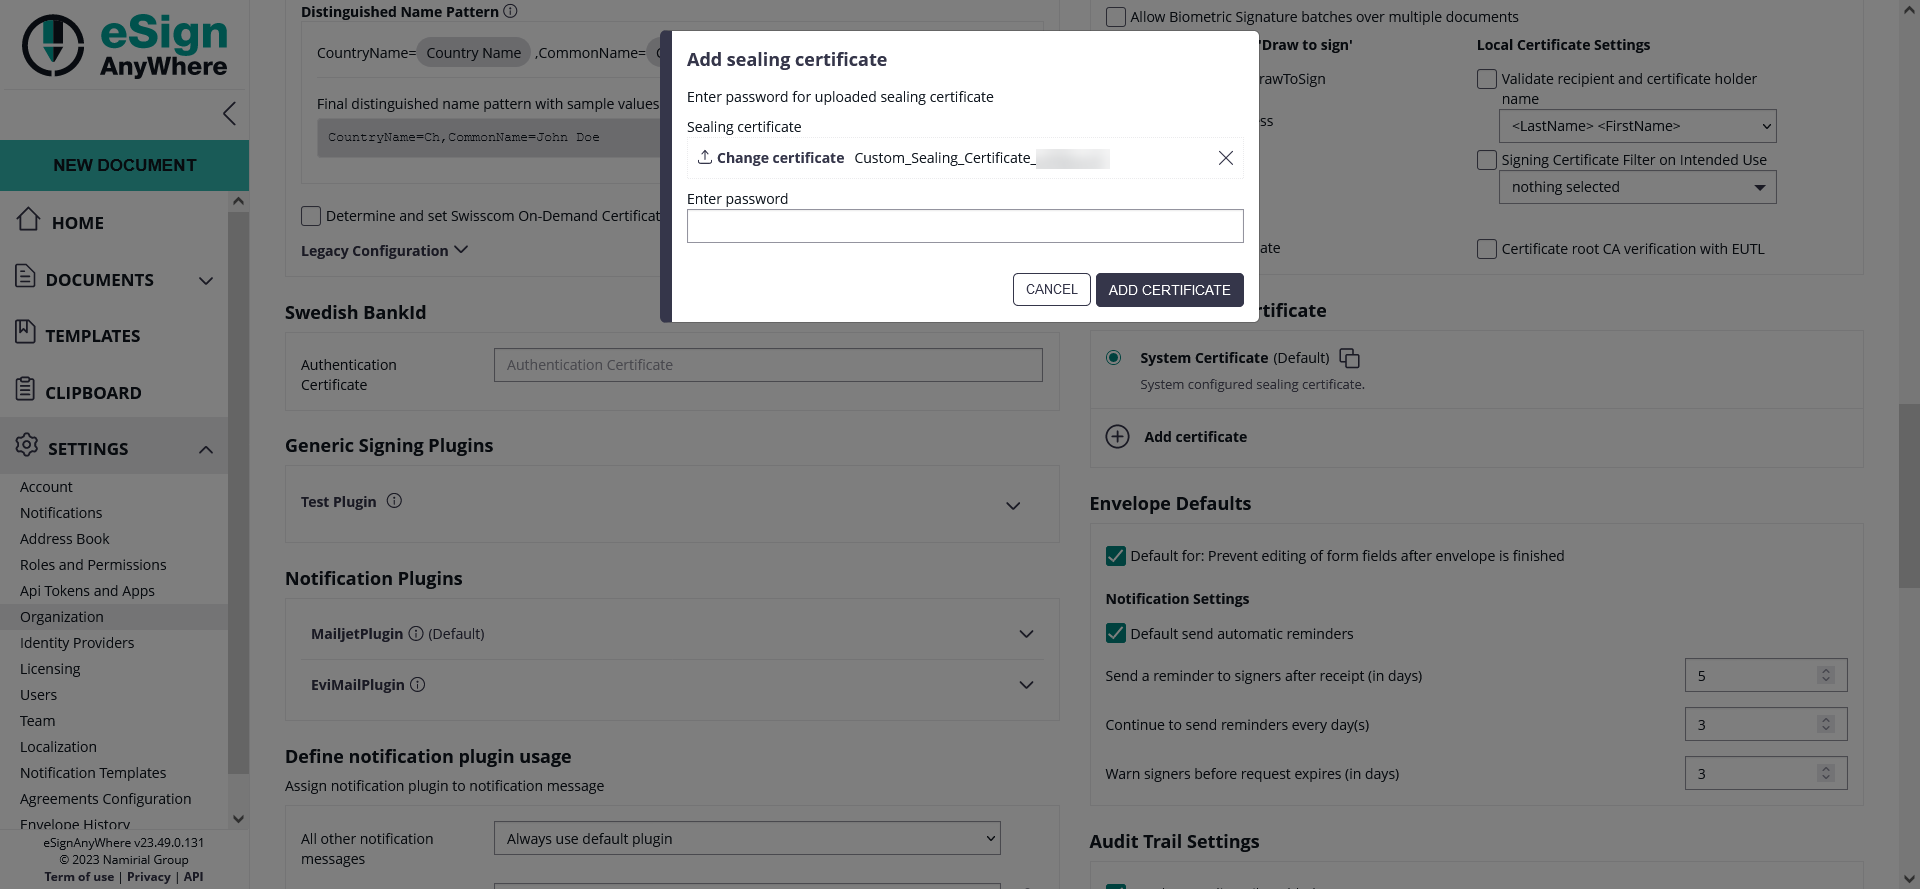
- Upload certificate
- Begin by uploading the desired certificate containing the associated private key.
- Password insertion (optional)
- If a password is required this step allows you to protect the certificate with an additional layer of authentication
- Upload intermediary certificates
- To establish a complete certificate chain, upload any intermediary certificates necessary to fulfill the chain. This ensures seamless validation and encryption processes.
- Upload certificate
Reasons for changing certificates
Certificates may need to be changed due to:
- Expiration: Certificates have a validity period, and changing them becomes necessary upon reaching expiration to maintain secure operations
- Revocation: In situations where a certificate is compromised or no longer trustworthy, revocation necessitates the replacement of the existing certificate.

