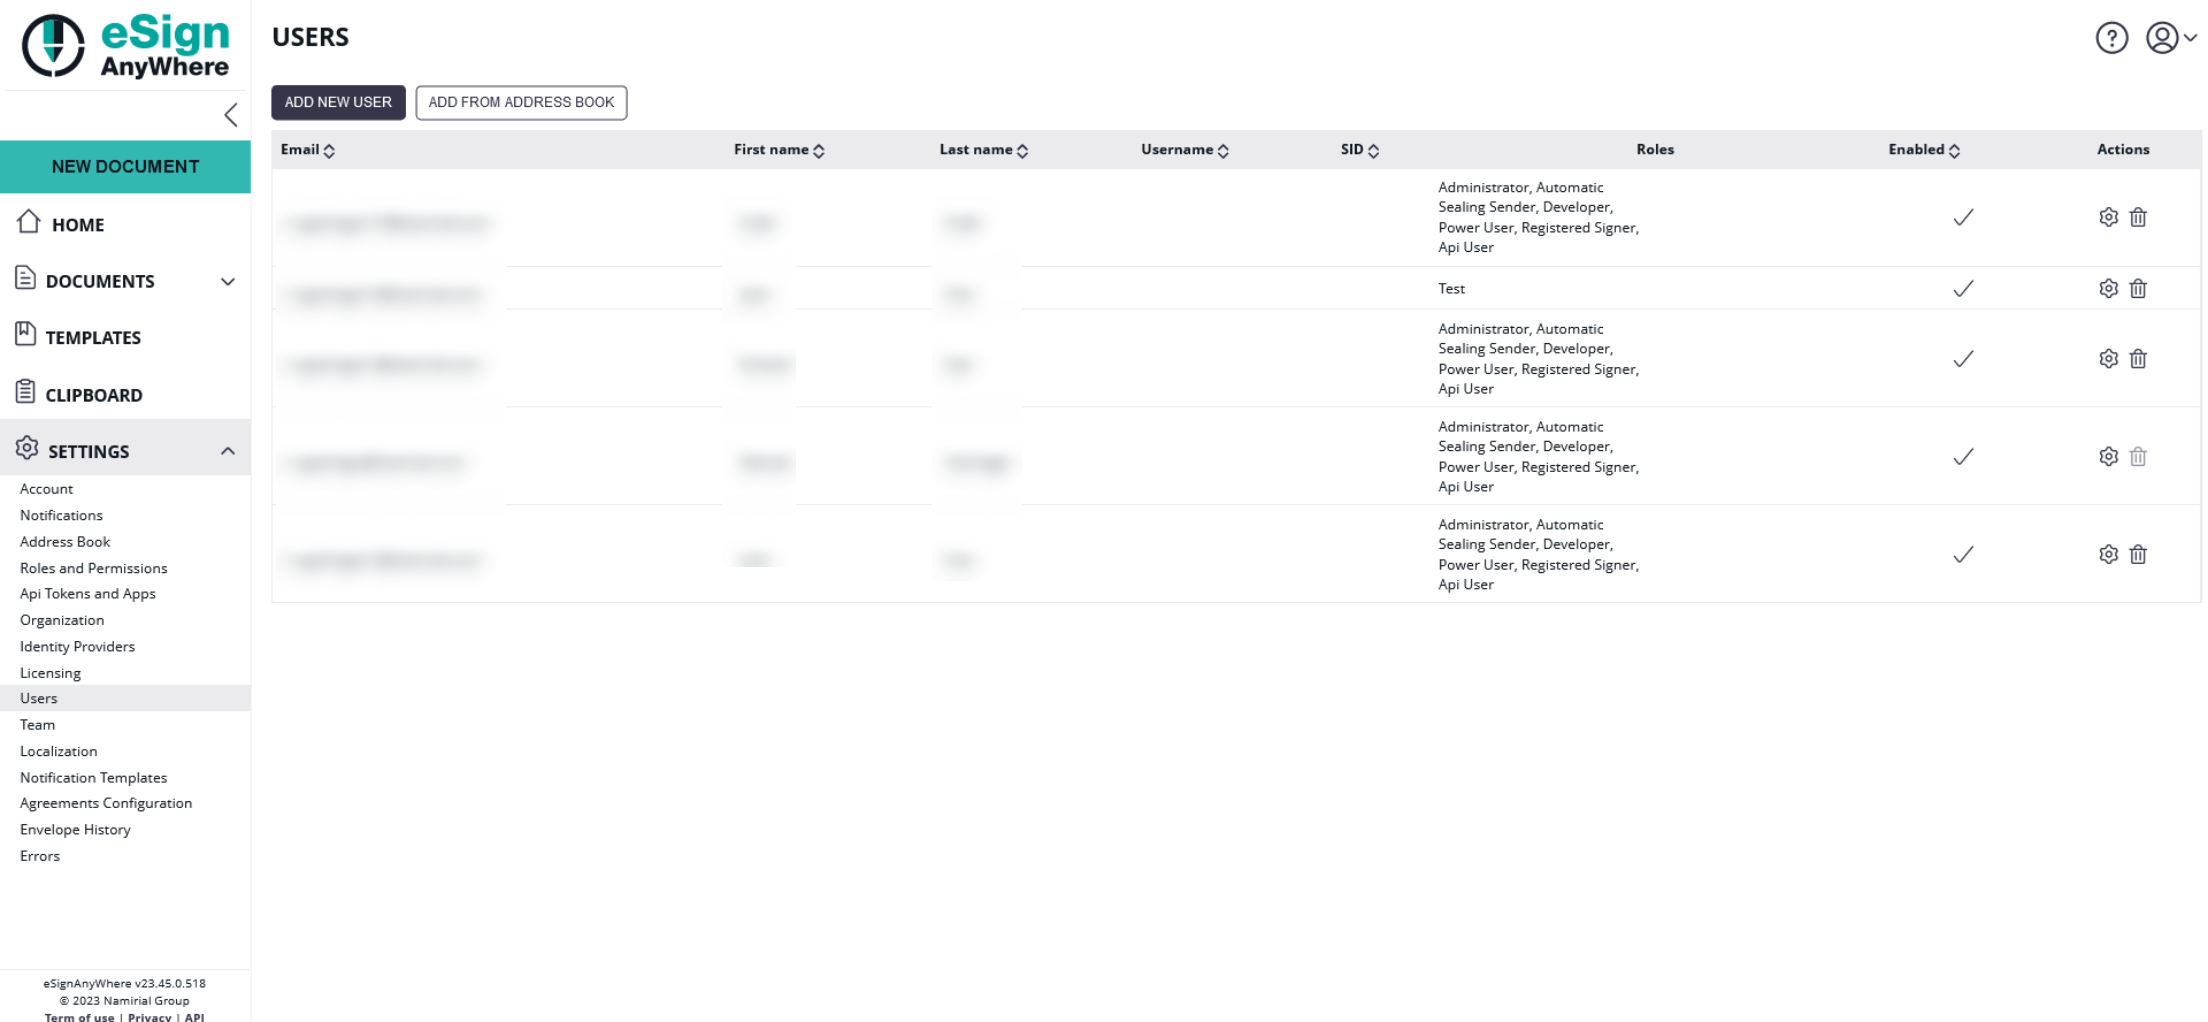
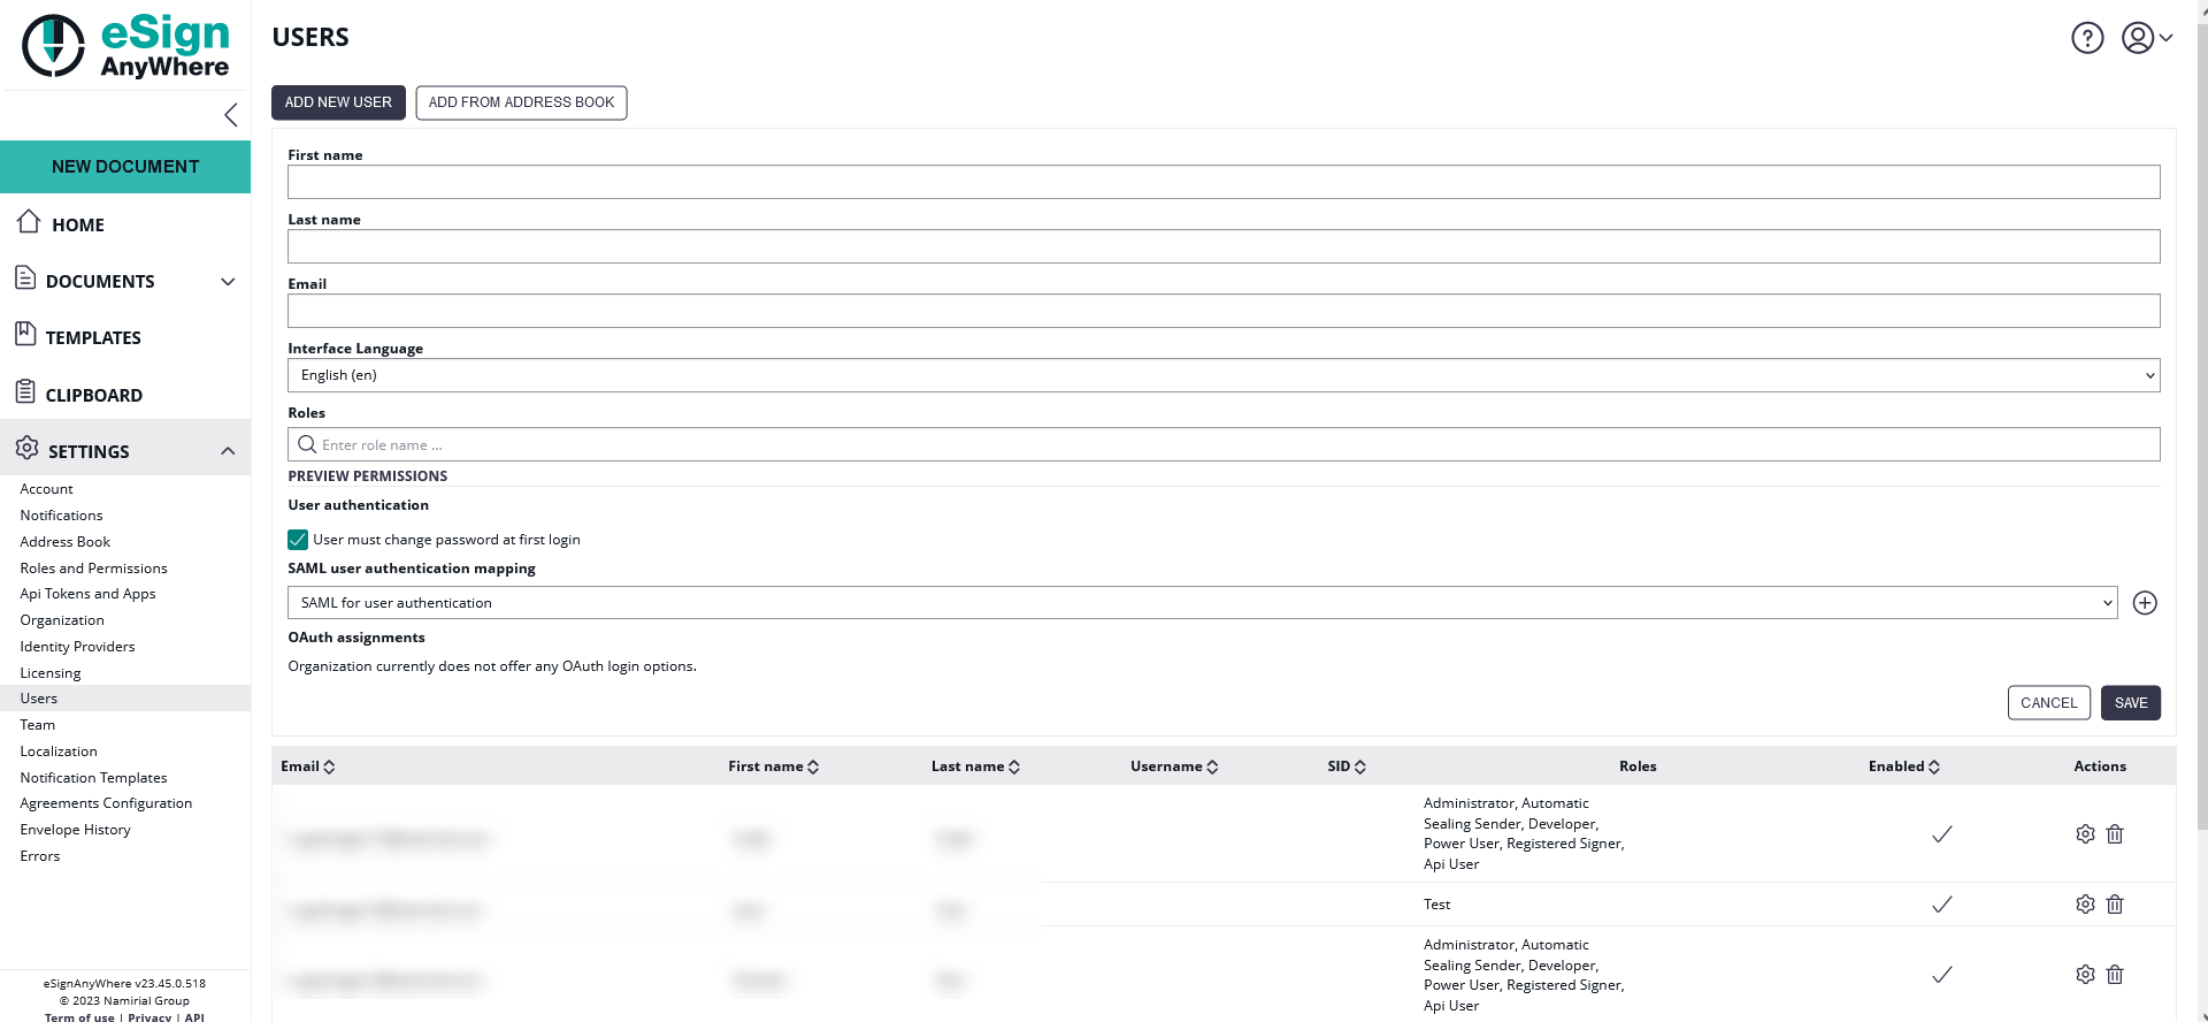
In this section you can manage the users of your organization. You can add new users and manage the user rights.

The columns "Username" and "SID" are visible only if one of the following is fulfilled:
|

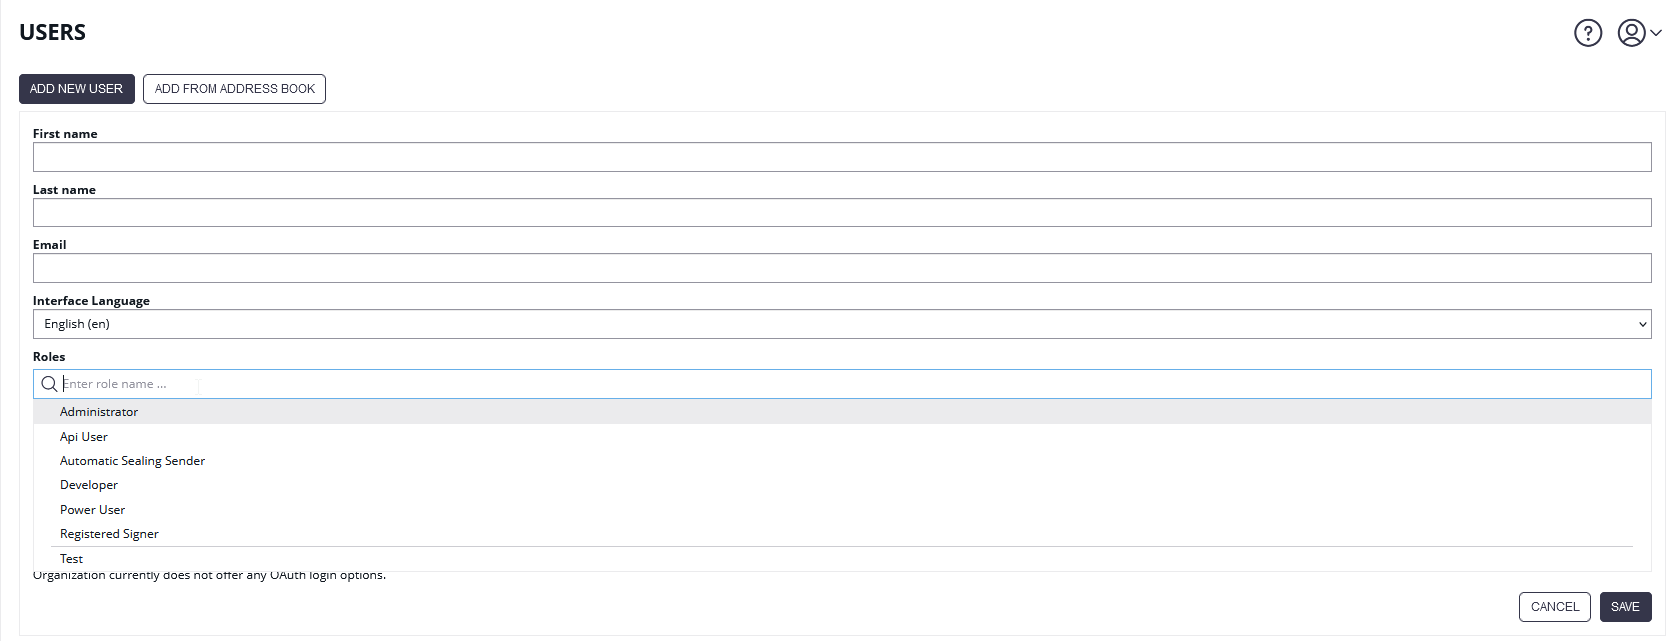
Searching for a role is triggered by clicking on the role search field. Then start typing the role name, and the results are automatically filtered. The result will list all matching roles, including the predefined roles and also the custom roles defined for your organization:

For more information about how to create a new role please have a look at this guide: Roles and Permissions
User Permissions
There are the following predefined roles:
Users with the role “Power User” can send and manage envelopes.
Users with the role“Registered Signer” can sign documents and see the signed documents and tasks.
Users with the role “Administrator” are able to change organization settings, manage users and the user can define teams.
Users with the role “Automatic Sealing Sender” can use the automatic remote signatures in a workflow.
Users with the role “Developer” can download the envelope XML/JSON of his/her envelopes.
Users with the role “Api User” are allowed to use the SOAP/REST API
After you added a new user, the user gets an email with a link and has to activate his profile and set up his password. |
Note that it is not possible to change a user's email address. In case a user's email address changed, please download all the documents of signed envelopes (if not done before), and then create a new user with the new mail address and let the user log in to be sure the user was activated and is working as intended. After that, delete the user with the old email address. During deletion of the user, you will be asked to reassign the in-progress envelopes, drafts etc to another user. Here you can select the newly created user.
Action which allows a user to delete another user's account on eSignAnyWhere. A user cannot delete his own account.
Before deleting a user account, the current user who performs the action will be asked to confirm the user deletion. Note that a deletion, once confirmed, cannot be undone.
The dialog will show the user's name and email address, to ensure that the intended user account is deleted.

When the user account who should be deleted was used for sending envelopes, and the envelopes are not yet deleted, it is mandatory to specify another user to whom the already sent envelopes in any state (including in-progress and completed ones) are re-assigned. The dialog allows (but does not require) to reassign also drafts, templates, clipboard entries and address book entries to another user.
| Figure | Description |
|---|---|
|
|