...
The eSignAnyWhere Platform is sending an e-mail to invite signers. This e-mails can be configured by the sender organization, including full logo and color adoptions and layout changes. By default, it would look like the following e-mail:
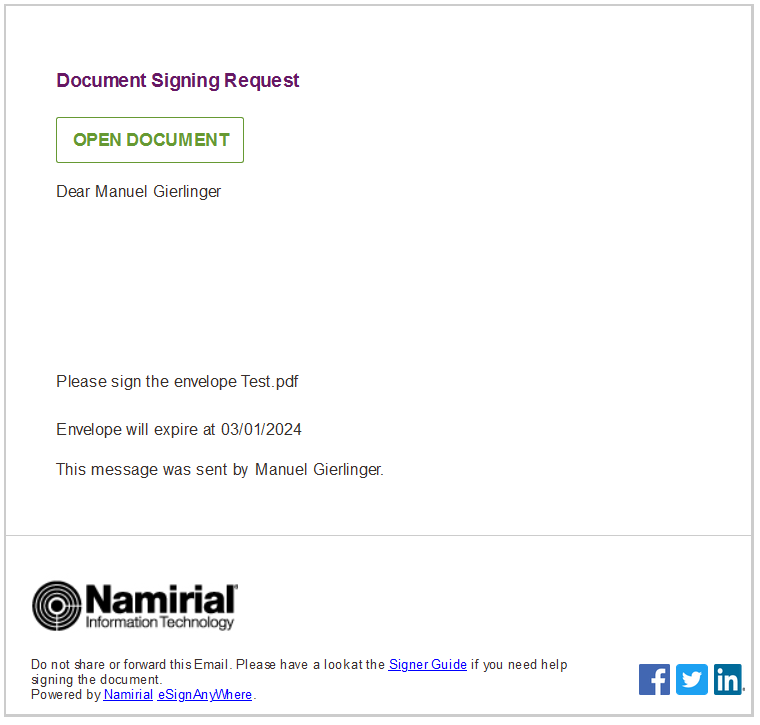
Get access to the document
...
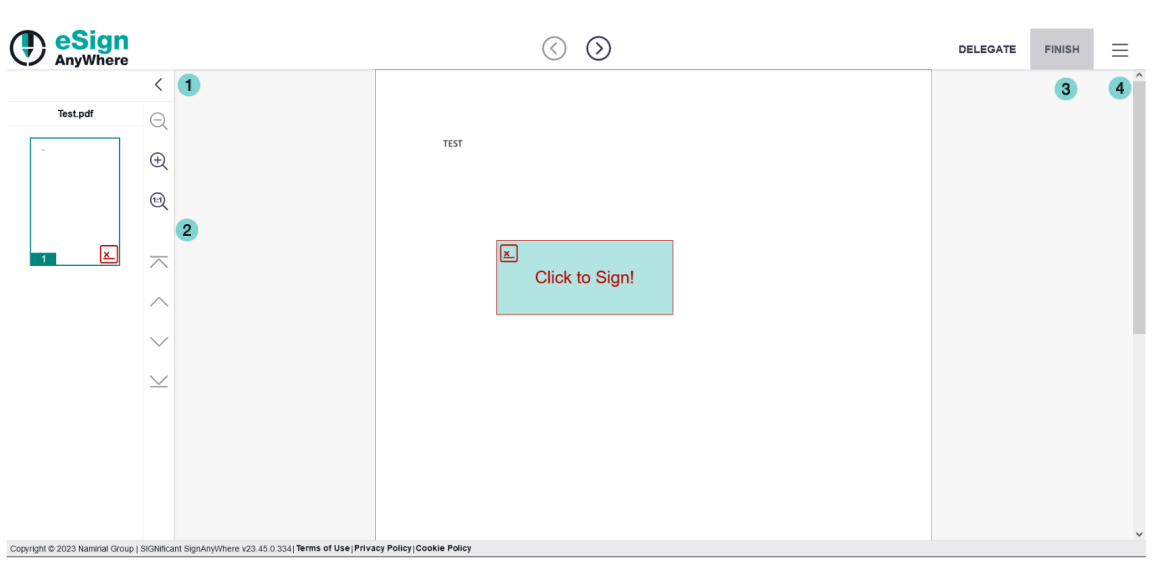
After both steps completed (in case they have been configured), the signer's view will be shown. We call that web application "SignAnyWhere Viewer". The layout is responsive, so that the available area is used dynamically and filled efficiently.
| Figure | Description |
|---|---|
|
|
...
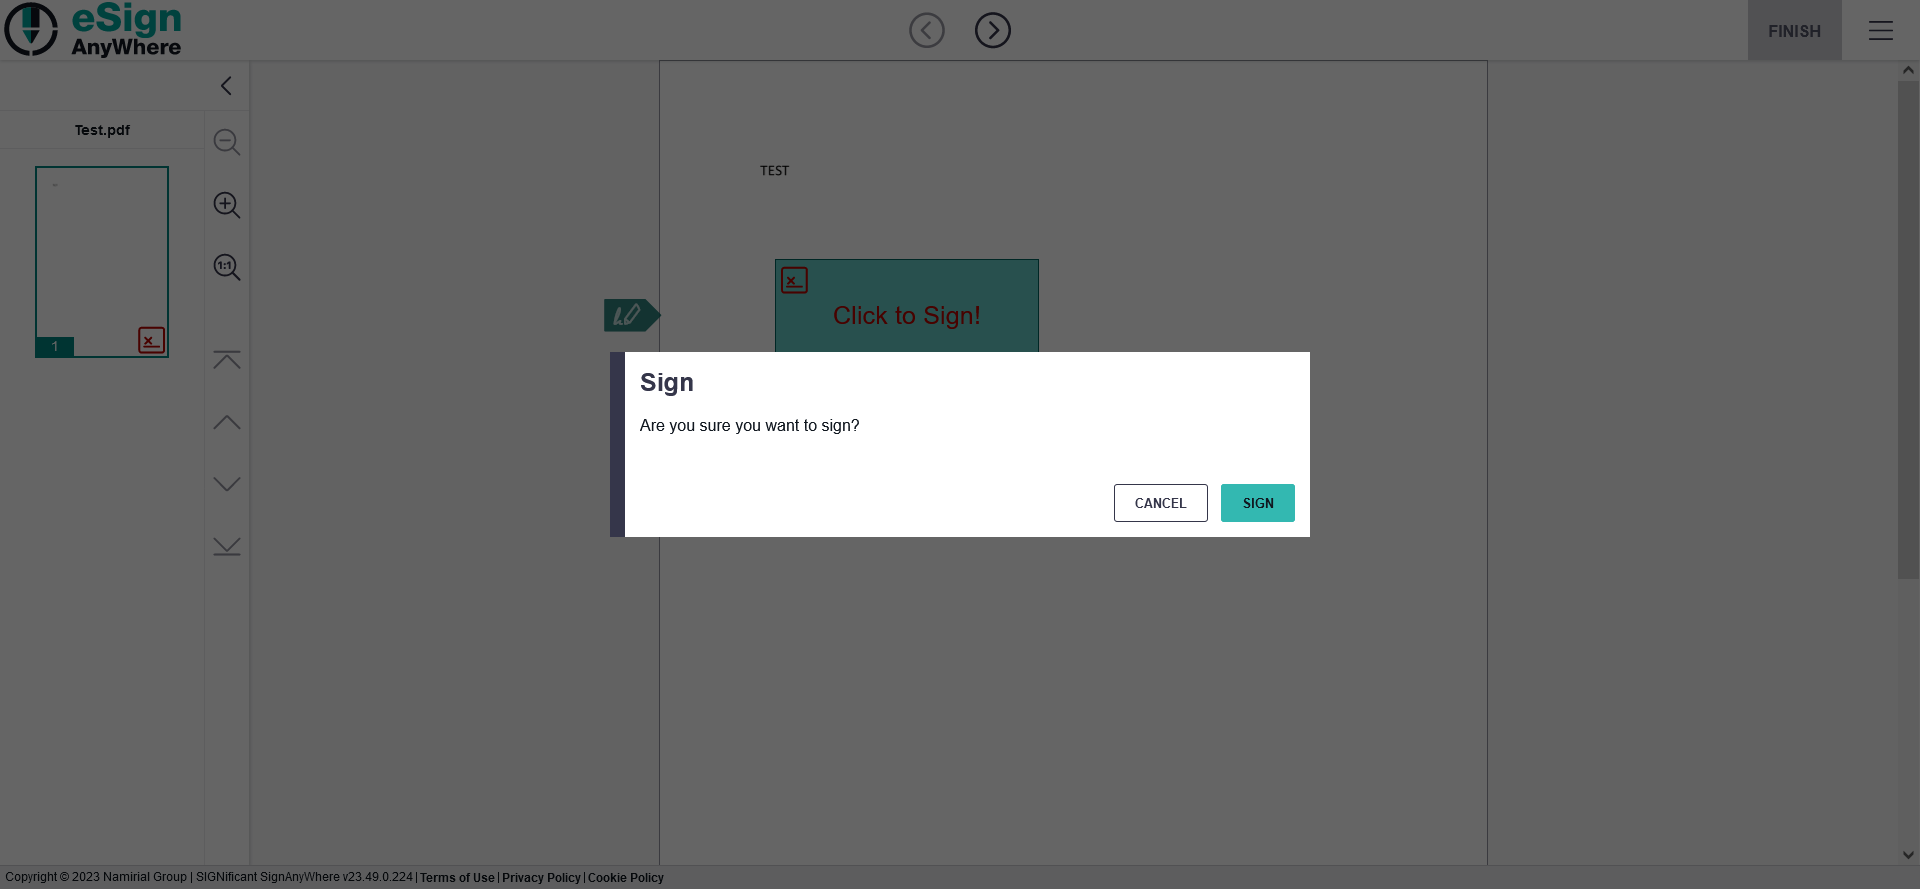
As a signer, you can now read the entire document content. If the sender requested it, you can (or have to) perform form filling activities. By clicking on the signature field, or by field activation through the step-by-step guiding, the signature task can be executed. Note that the screen below is showing one of the simplest signing experiences the software is offering; we are explaining the different signing experiences in detail in chapter "Signature Types" of this guide.
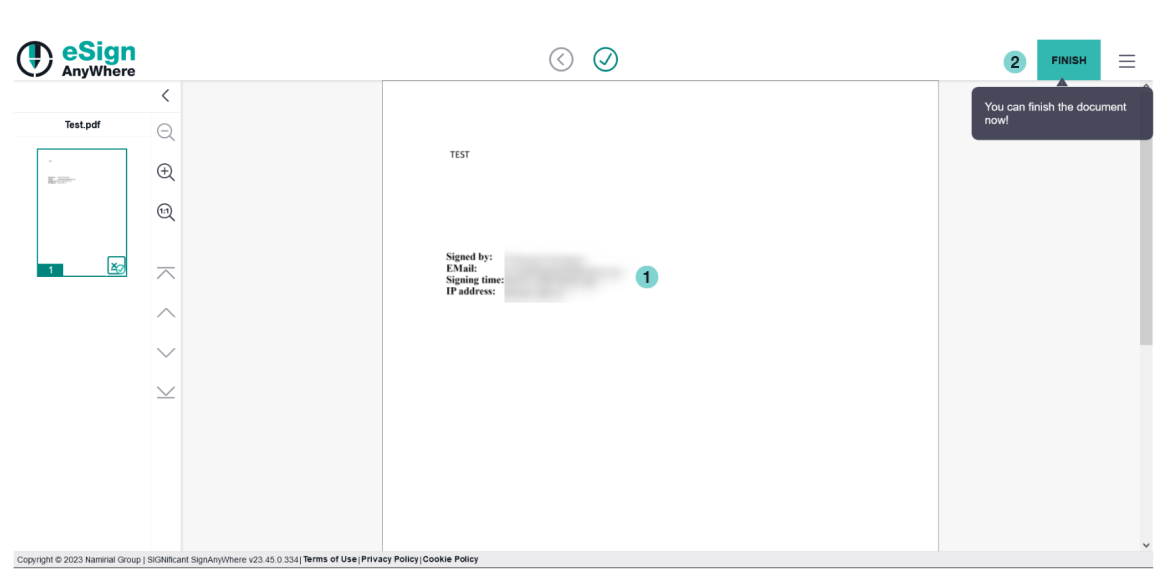
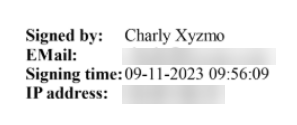
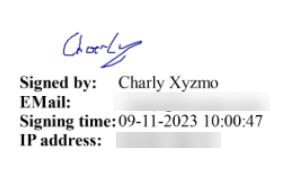
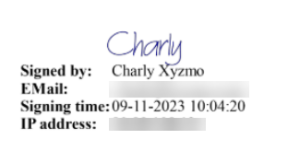
After the signature has been performed, a representation of the signature will be shown instead of the interactive signature field. Even if the signature does not look like the handwritten signature and may be just a technical representation of the consent, depending on requested or selected signing experience, the signature is embedded into the PDF document according to the "PDF Advanced Electronic Signatures" Standard and based on the ISO 32000. In addition with a process protocol ("audit trail"), or with some signing experience even without that, the sender can give the proof that a document was signed, and also by whom.
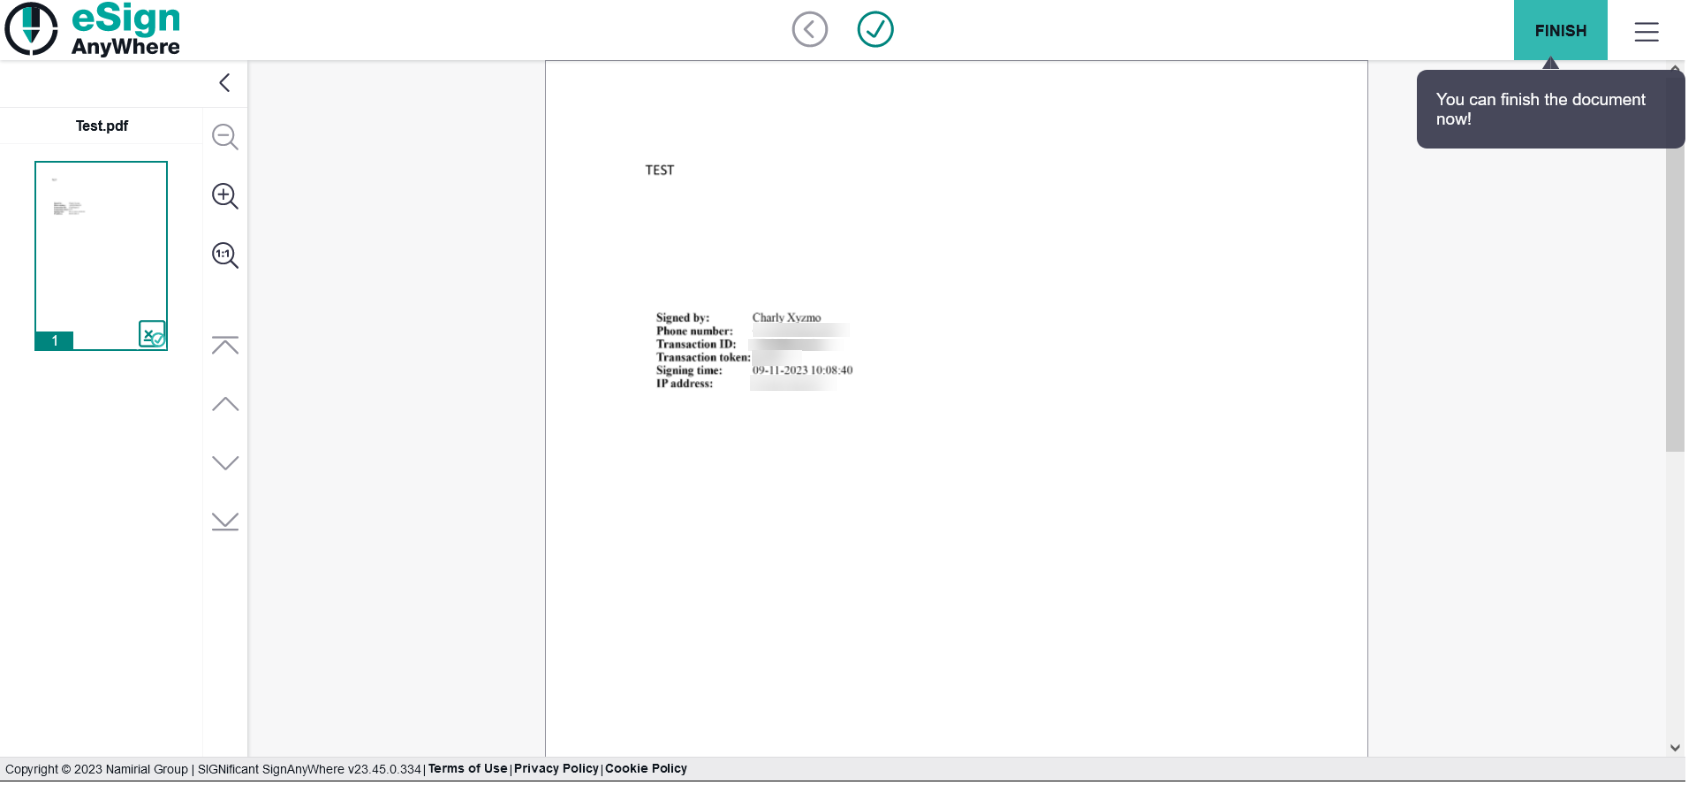
Finish the document
| Figure | Description |
|---|---|
|
|
...
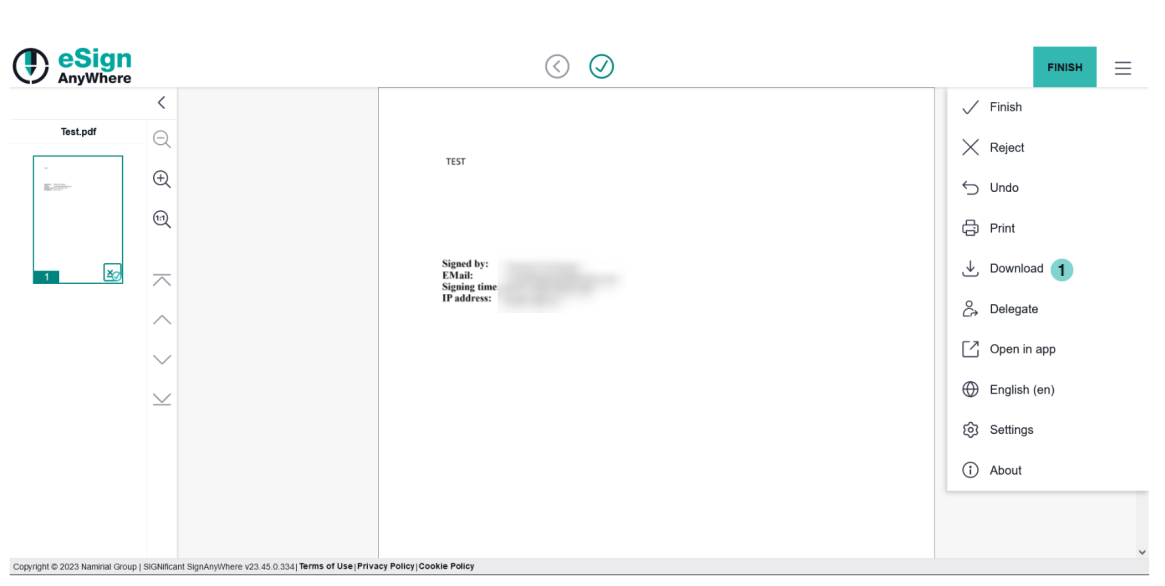
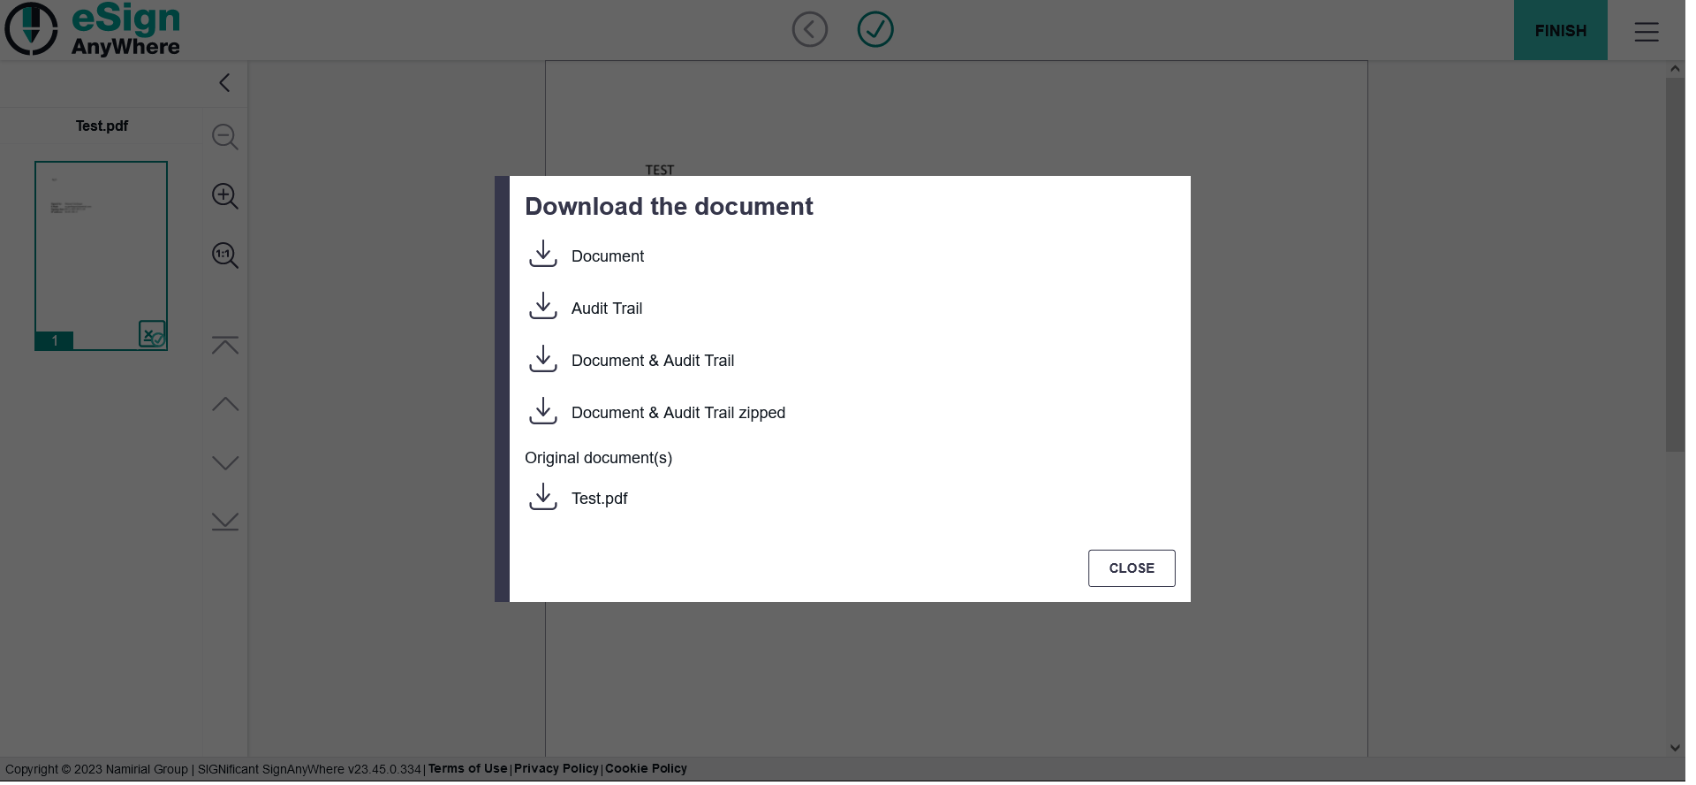
Optional download of the document
| Figure | Description |
|---|---|
|
|
Signature Types
...
This is the simplest signature type, with the most convinient user experience. The signer has just to click on the signature field to sign. As it is a pure browser-based signing experience, we consider the "ClickToSign" signature type as one of the "HTML5 signature types" - which doesn't make big difference for you as a signer, but requires careful consideration of configuration of the activity to reach the necessary expression of power.
| Multimedia | ||||||
|---|---|---|---|---|---|---|
|
DrawToSign
This type allows the signer to draw his signature by mouse, finger or pen. Just an image of his signature is created and embedded into the document. In this case, only the flat picture of the signature and technical parameters of the session are recoeded, but no biometric data. We consider also the "DrawToSign" signature type as one of the "HTML5 signature types".
| Multimedia | ||||||
|---|---|---|---|---|---|---|
|
TypeToSign
With this type the signer has to type in his name to sign the signature field. The signature itself is printed in a computer font that may look like someone's handwriting, but actually isn't the signer's handwriting itself. It's the third and last one of this guide which we consider as one of the "HTML5 signature types".
| Multimedia | ||||||
|---|---|---|---|---|---|---|
|
SMS-OTP 
First of all there are two different ways to configure SMS-OTP. The first case (Phone number entered when signing) shows that the recipient can choose the phone number on which he/she wants to get the SMS. The second case (Phone number is already defined) shows that the sender define the phone number on which the recipient gets the sms.
...
After you have opened the envelope and clicked on the signature field, the following window appears: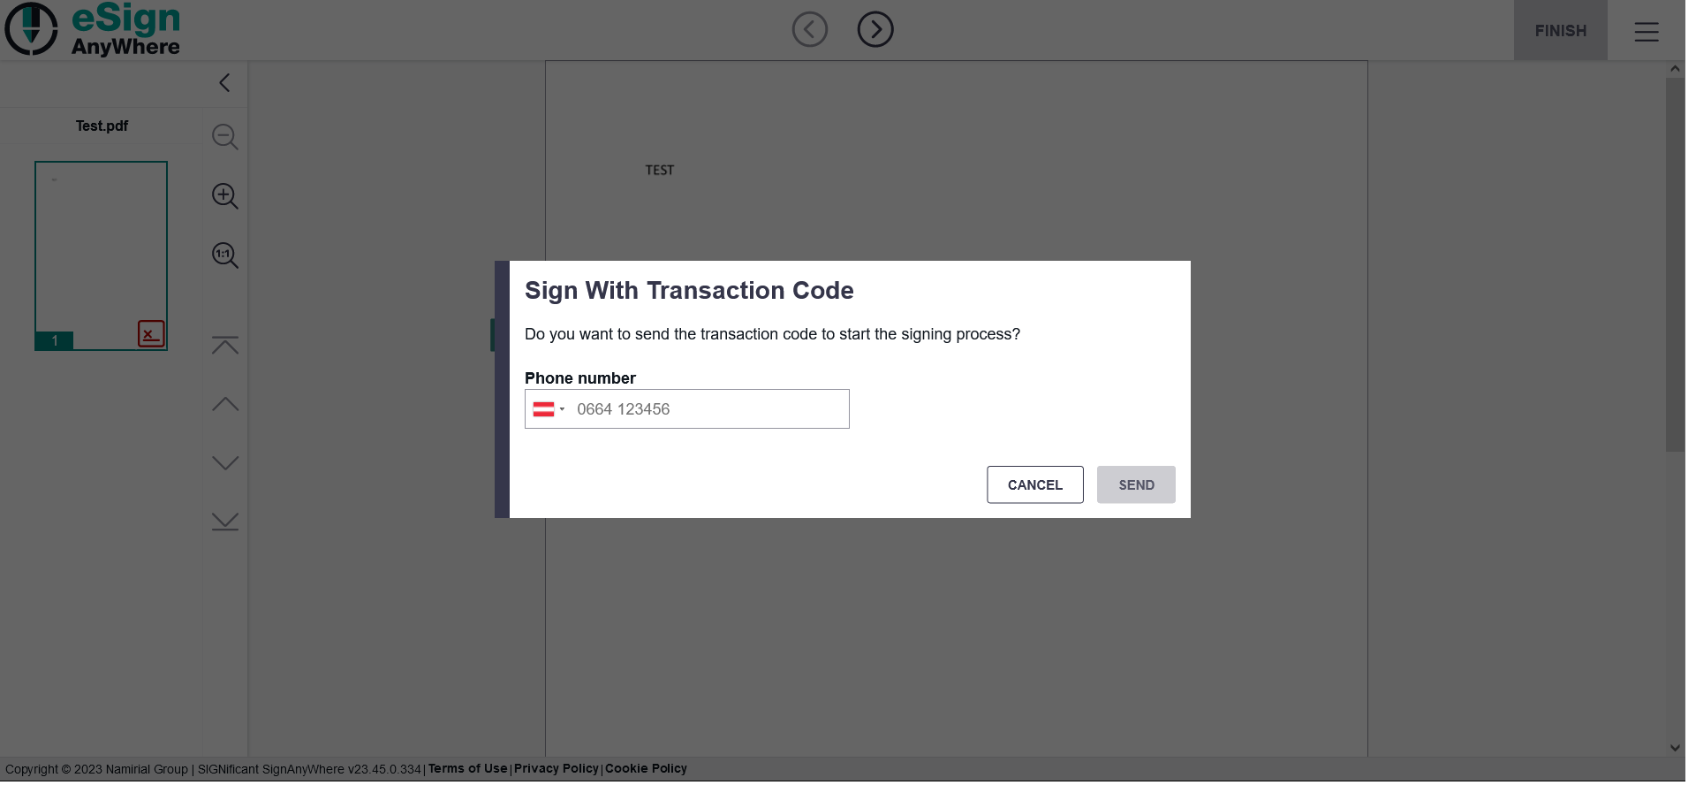
| Info |
|---|
You can select your country by clicking on the flag. Then you can see how you have to write the phone number. |
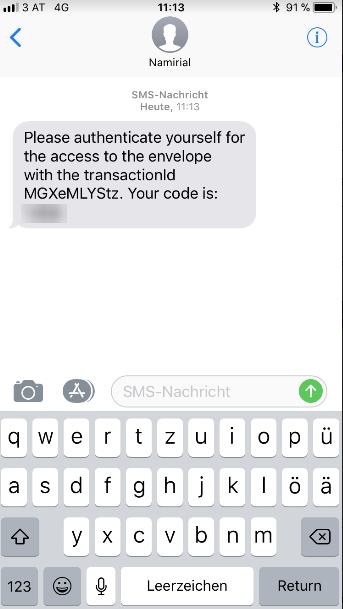
After entering your phone number you get a sms and the following window appears. There you have to fill in the code which you got via sms. Please have a look at the following figures.
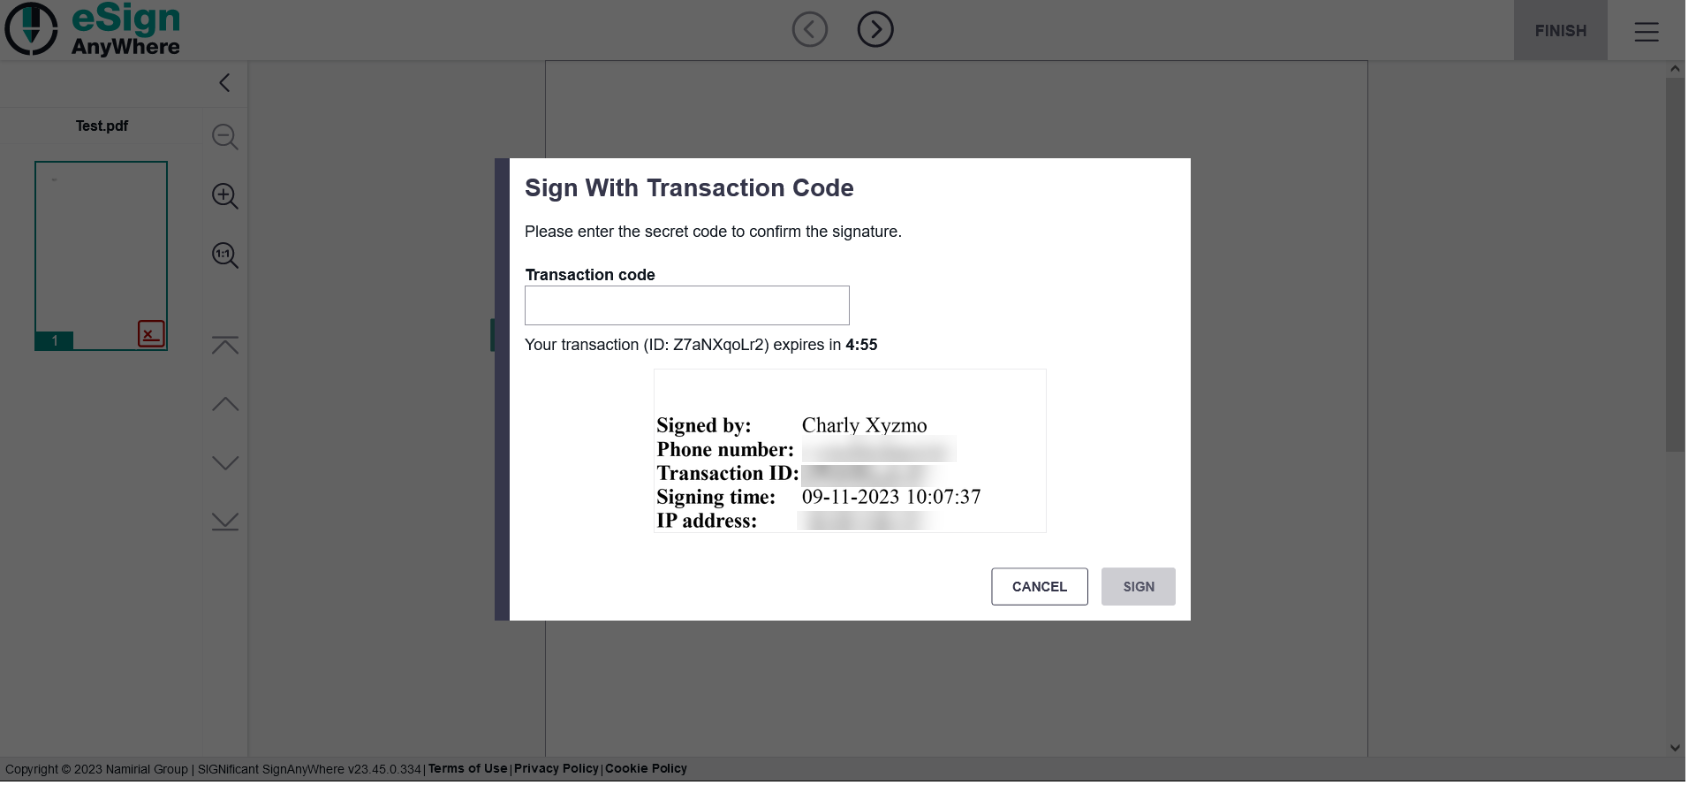

Once you have filled in the code the document is signed.
SMS-OTP (Phone number is already defined)
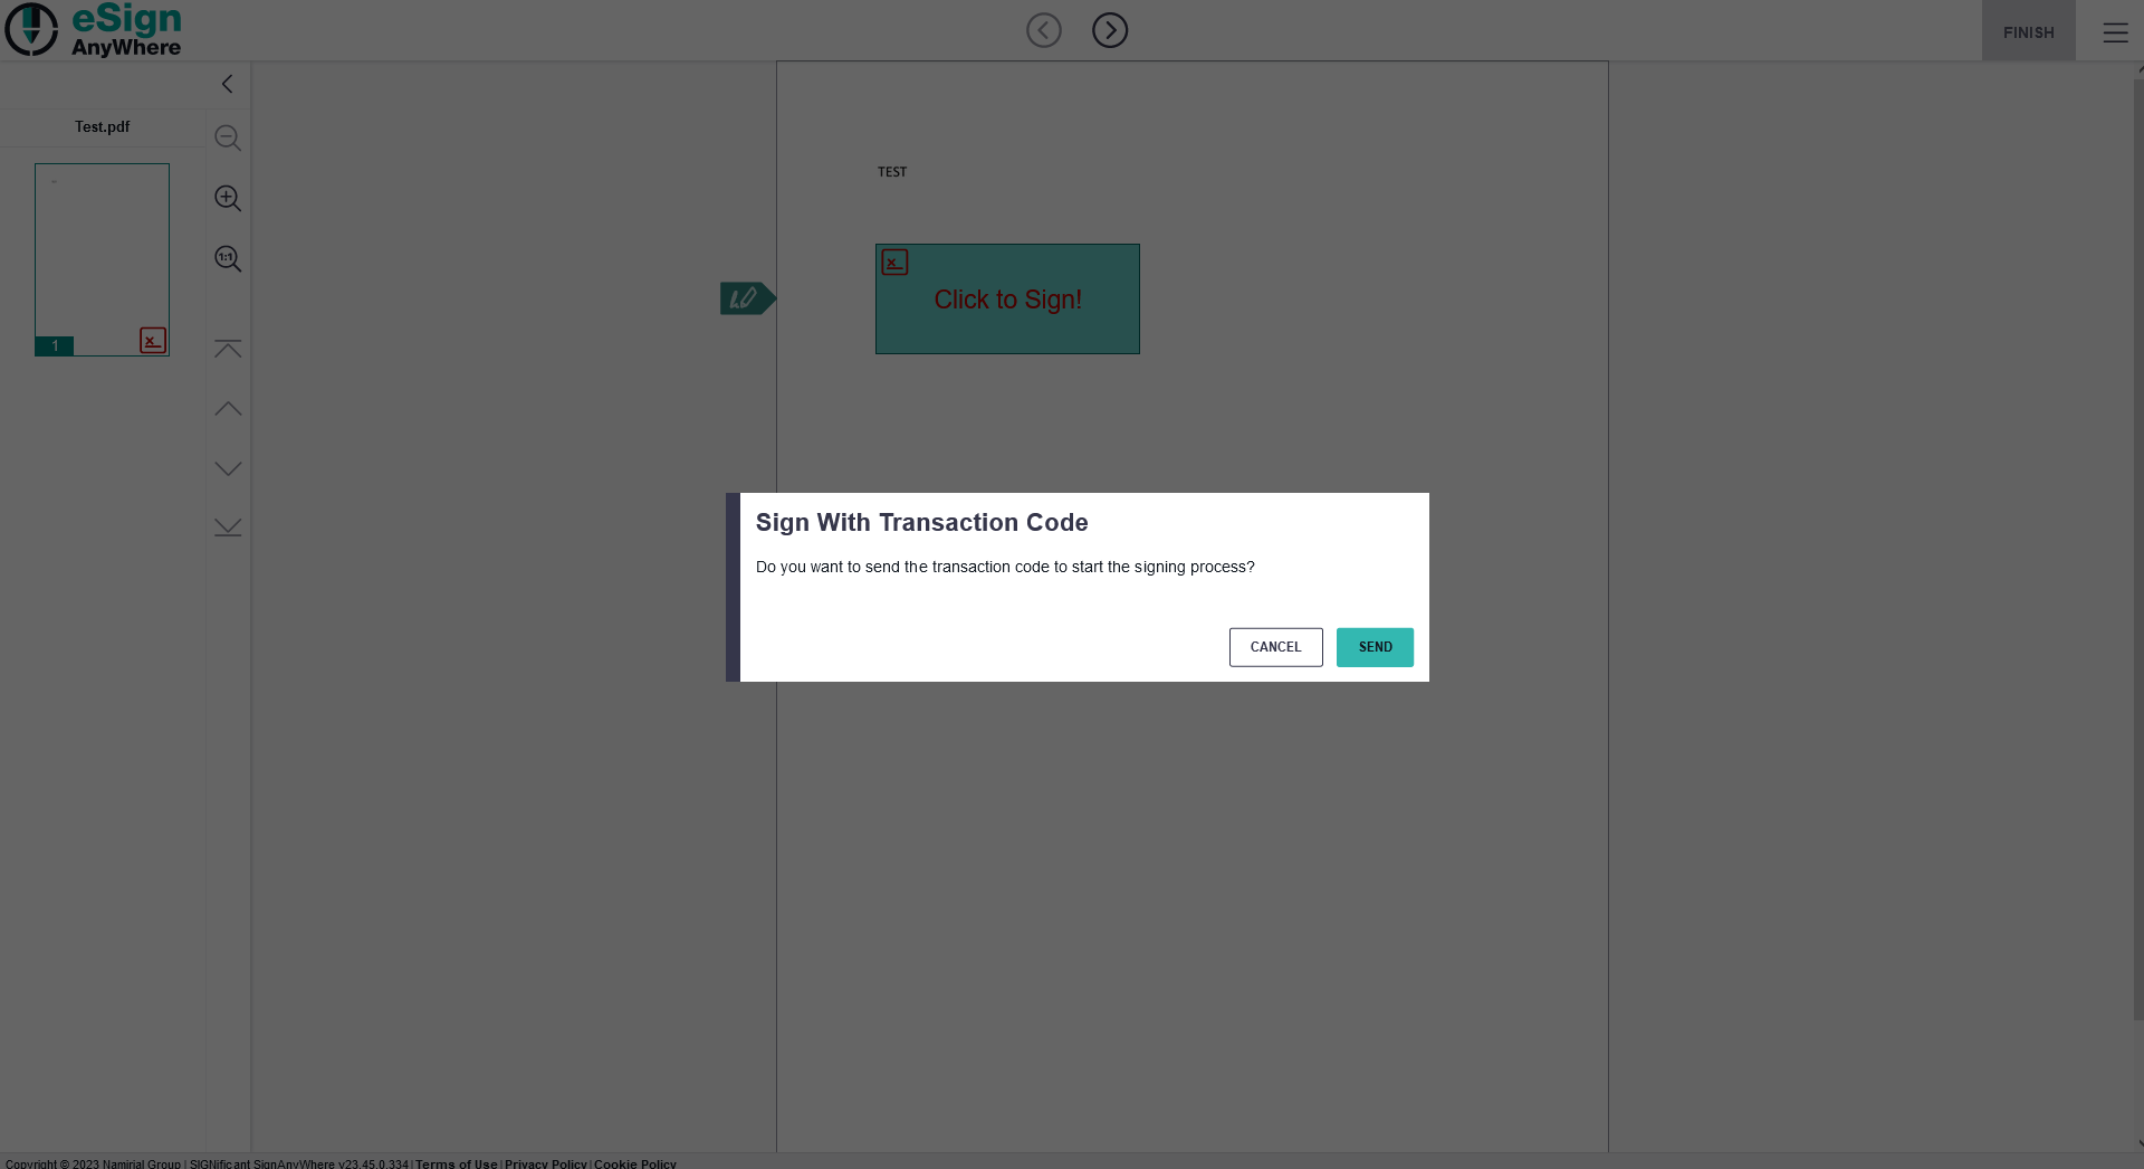
In this case the recipient has just to accept the sending of the transaction code and automatically receives a SMS on the phone number which has been chosen by the sender.
Biometric Signature 
...
The Biometric Signature requires a smartphone or tablet with the SIGNificant SignOnPhone App. The App is used to record the biometric signature. The smartphone or tablet is required because of security reasons to ensure high encryption and security of the biometric data. The App is available for free download in the App-Stores of iOS, Android and Windows.
| Multimedia | ||||||
|---|---|---|---|---|---|---|
|
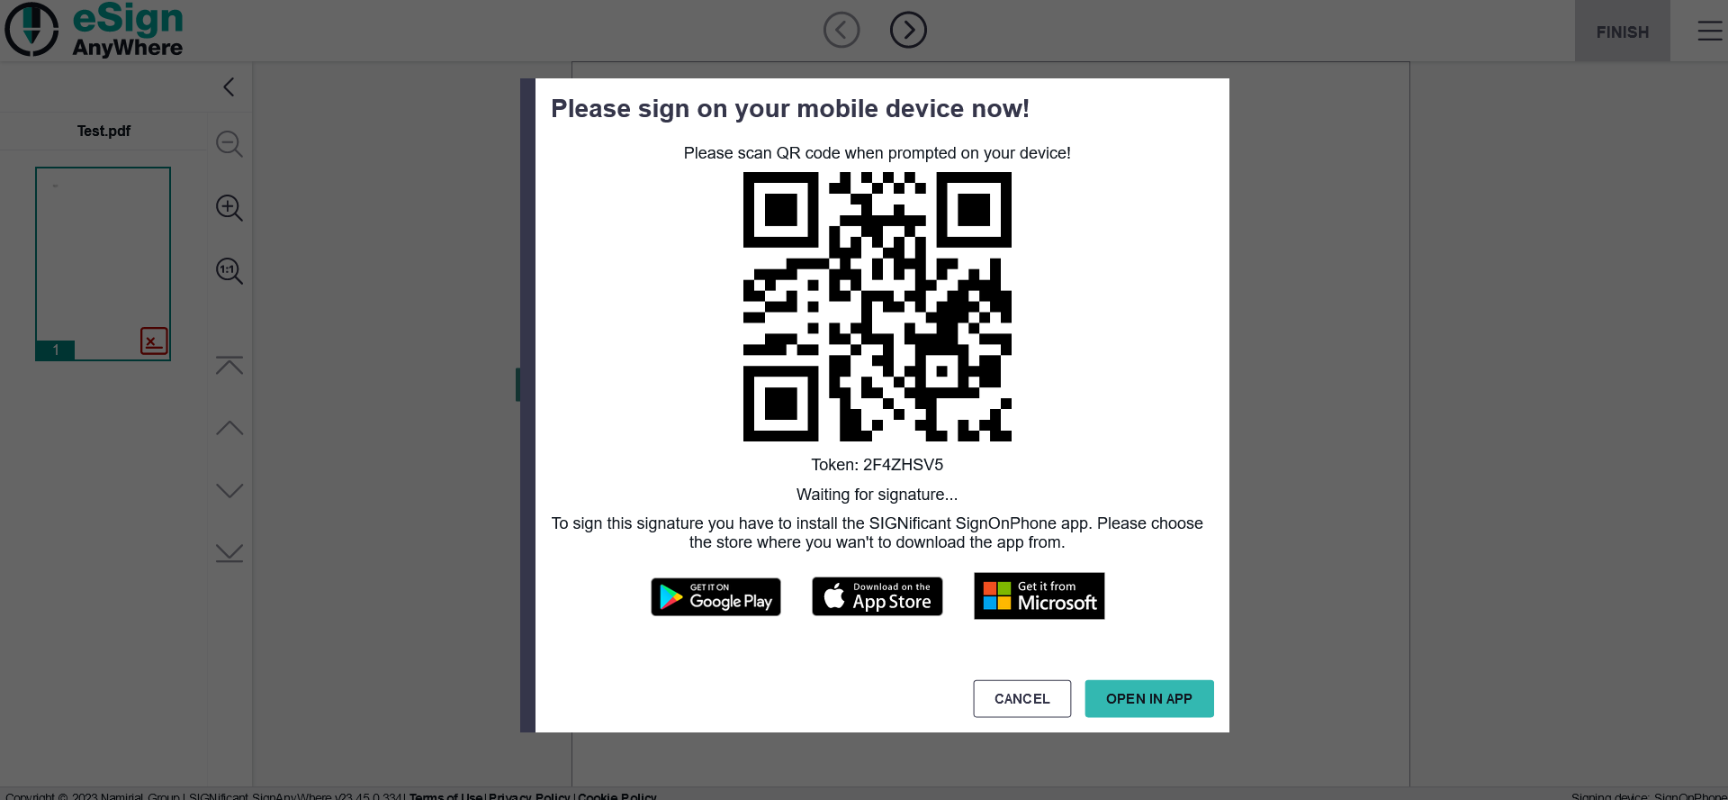
Web browser: When signing a biometric signature a QR Code is generated and displayed to record the biometric signature on a smartphone or tablet.
Figure | Description |
|---|---|
|
|
...
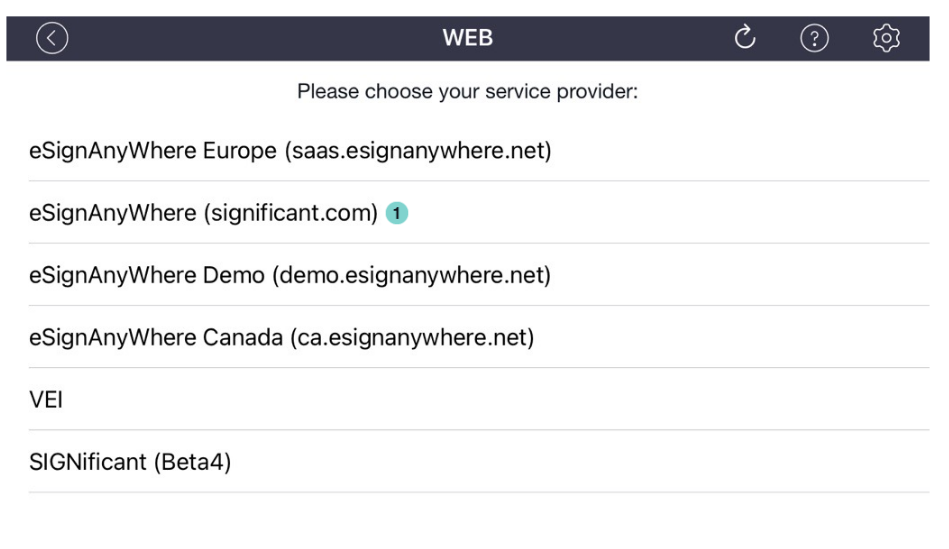
SignOnPhone App: The SIGNificant SignOnPhone App. The signer has to select the correct server “eSignAnyWhere (significant.com)”. If you are using eSAW on premise you have to define the endpoint in the settings of the app. To change server settings the signer just selects it from the service provider list.
| Figure | Description |
|---|---|
|
|

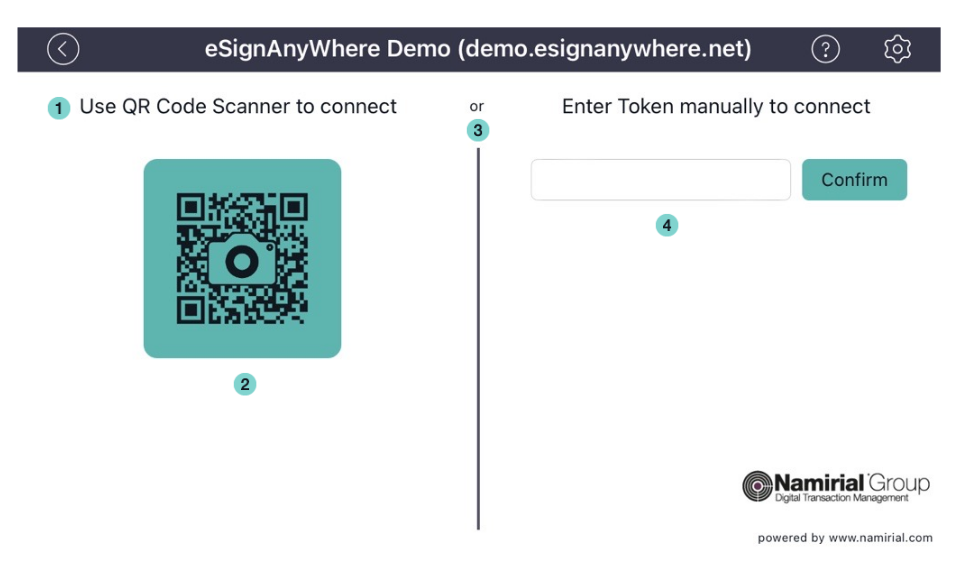
SignOnPhone App: Scan the QR Code in the app.
| Multimedia | ||||||
|---|---|---|---|---|---|---|
|
SignOnPhone App: Sign the contract in the app. The biometric data are directly encrypted on the device.
...
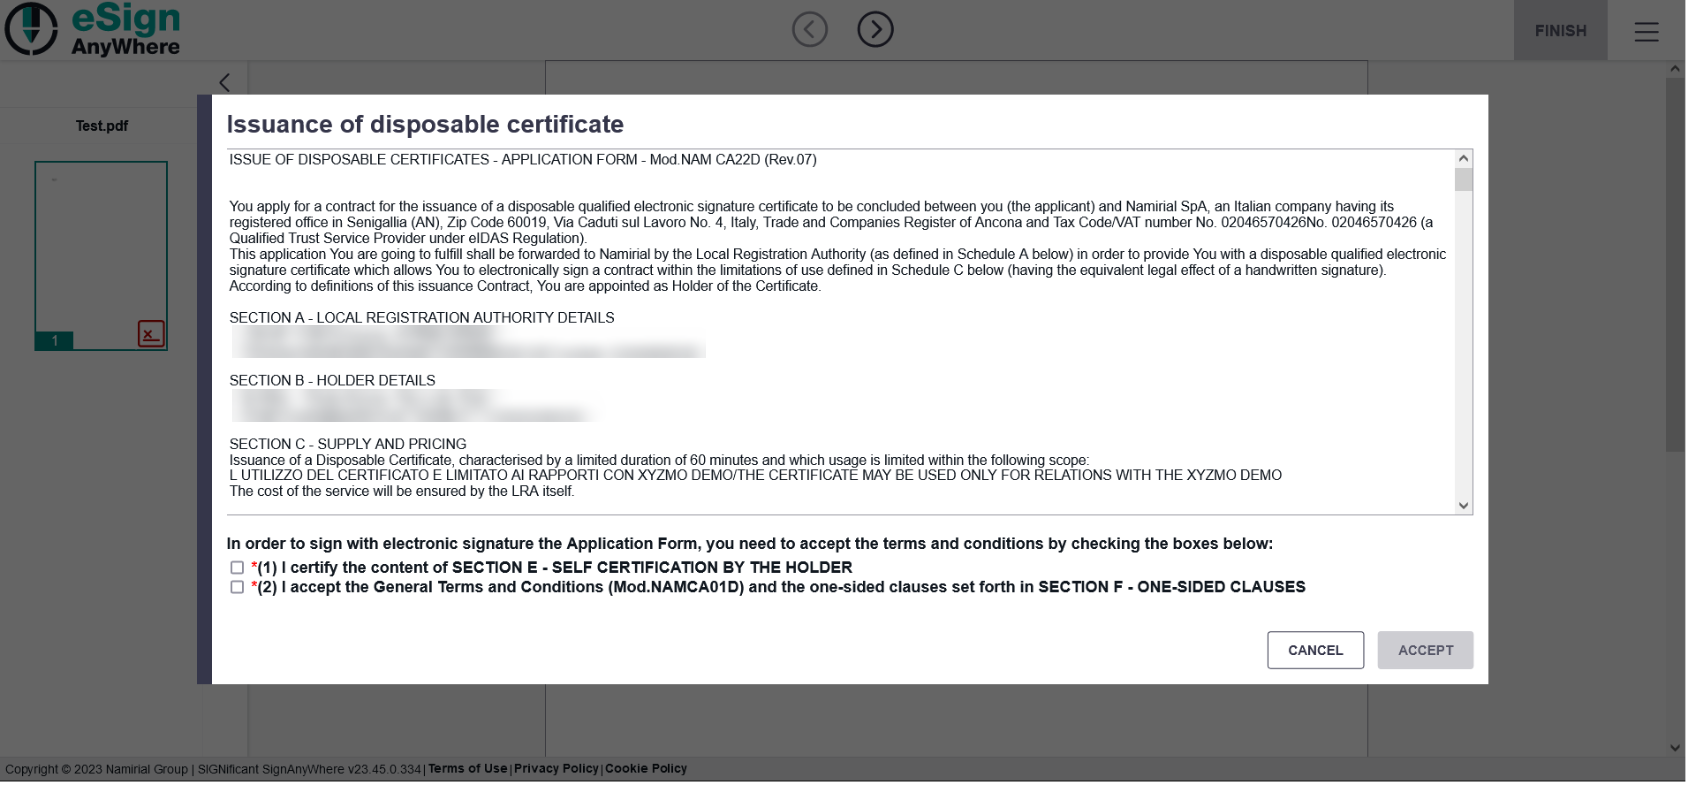
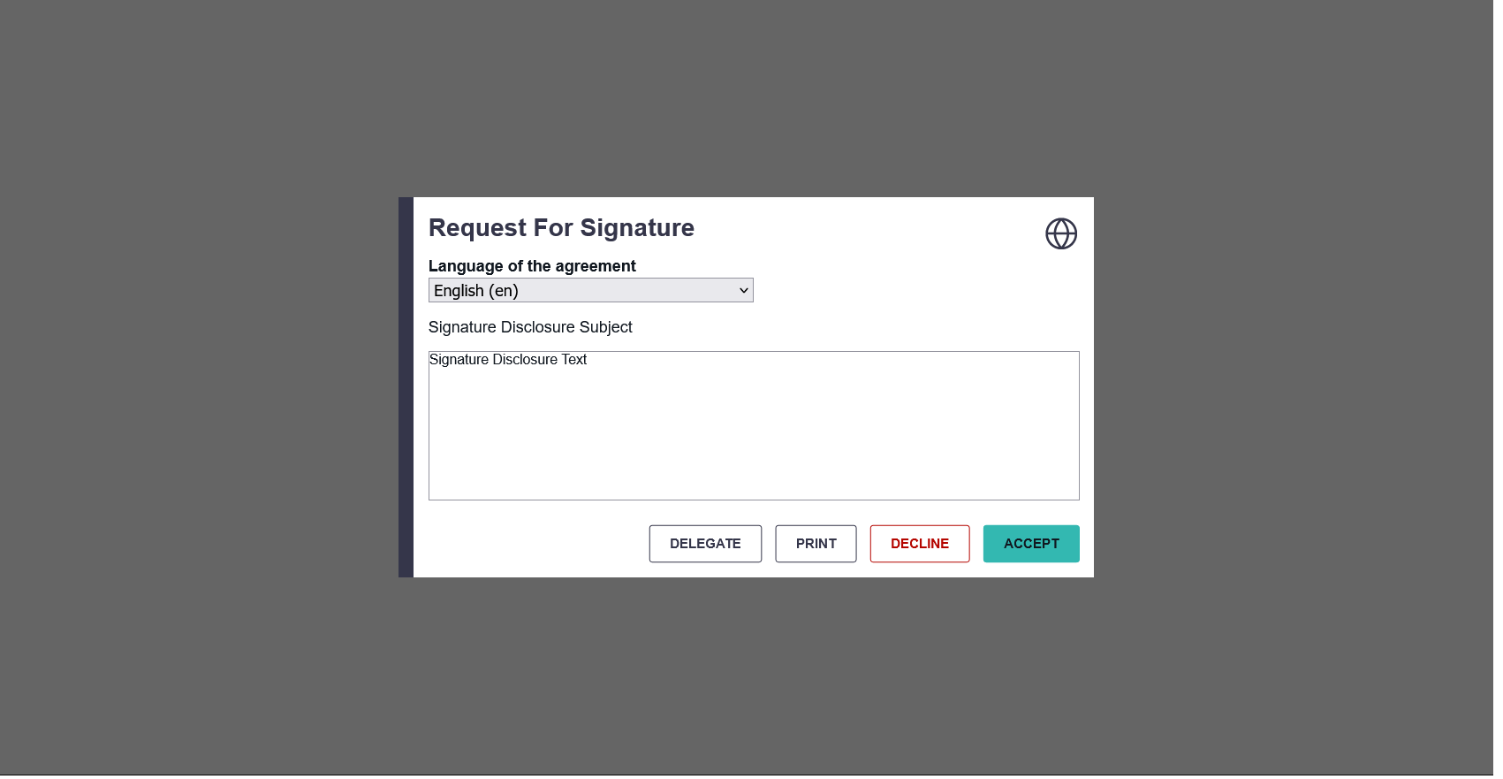
The process of signing with a disposable certificate is different to the process of signing with the signature fields above. Therefore this explanation and figures will guide you through the process of signing with this signature type. First the signer receives an email to sign the envelope. After clicking on the signature field a new window appears that you have to accept the general terms and conditions. The next figure shows you how the agreement looks like.
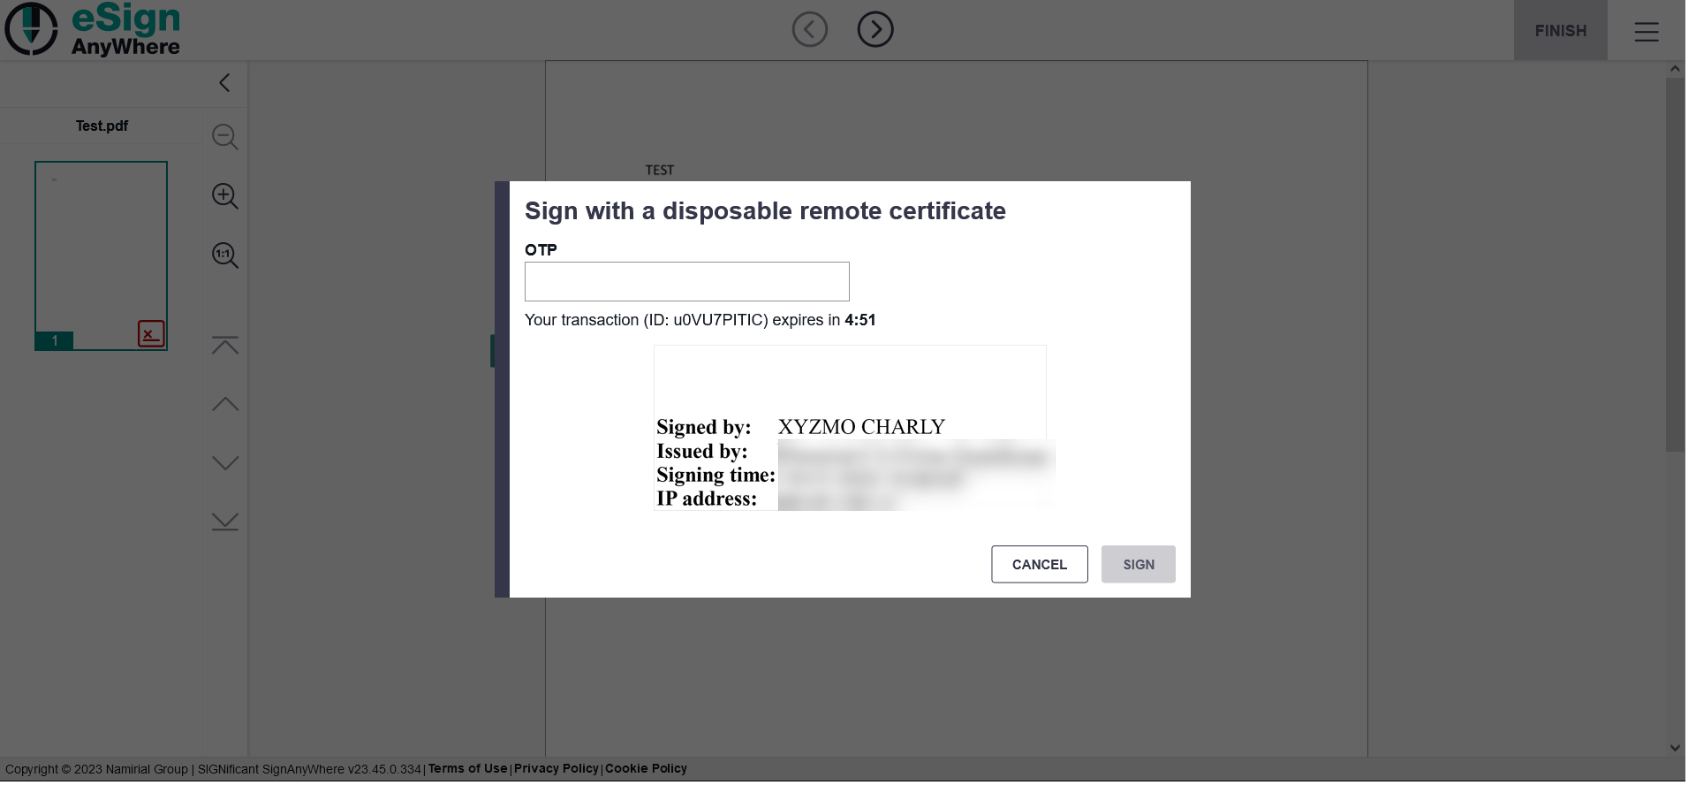
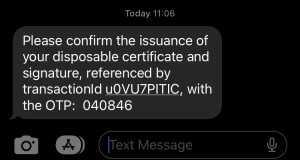
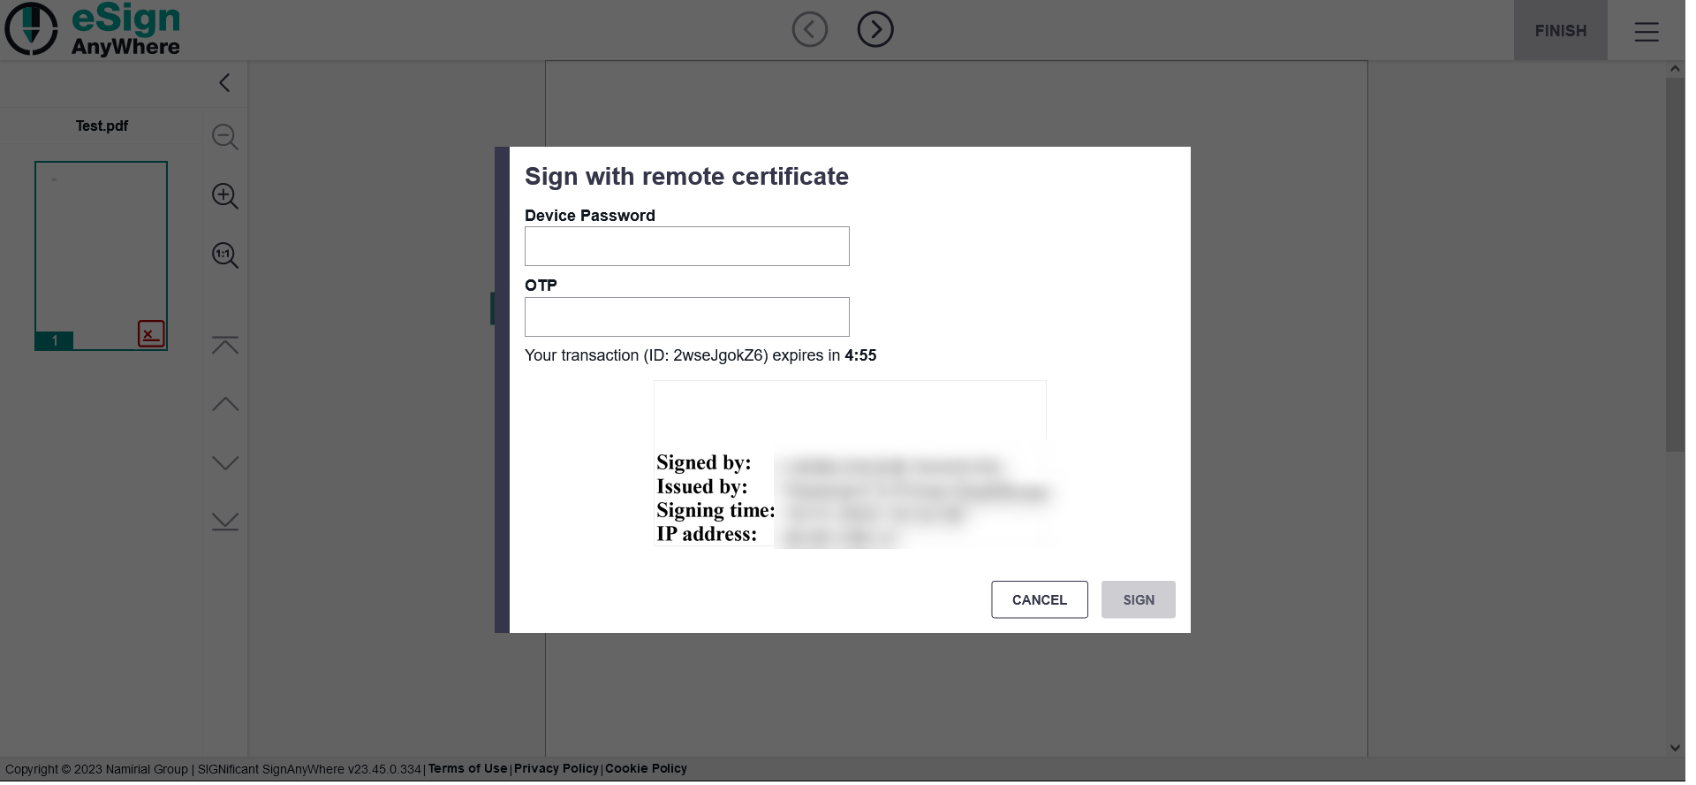
After accepting all three points of the agreement you get a sms OTP. Enter the code which you got via sms and fill it in the field next to OTP. The next figure gives you an overview of the notification you get.
After entering the correct code you have signed the document successfully.
...
If the recipient gets an envelope with a local certificate signature following window appears after clicking on the signature field:
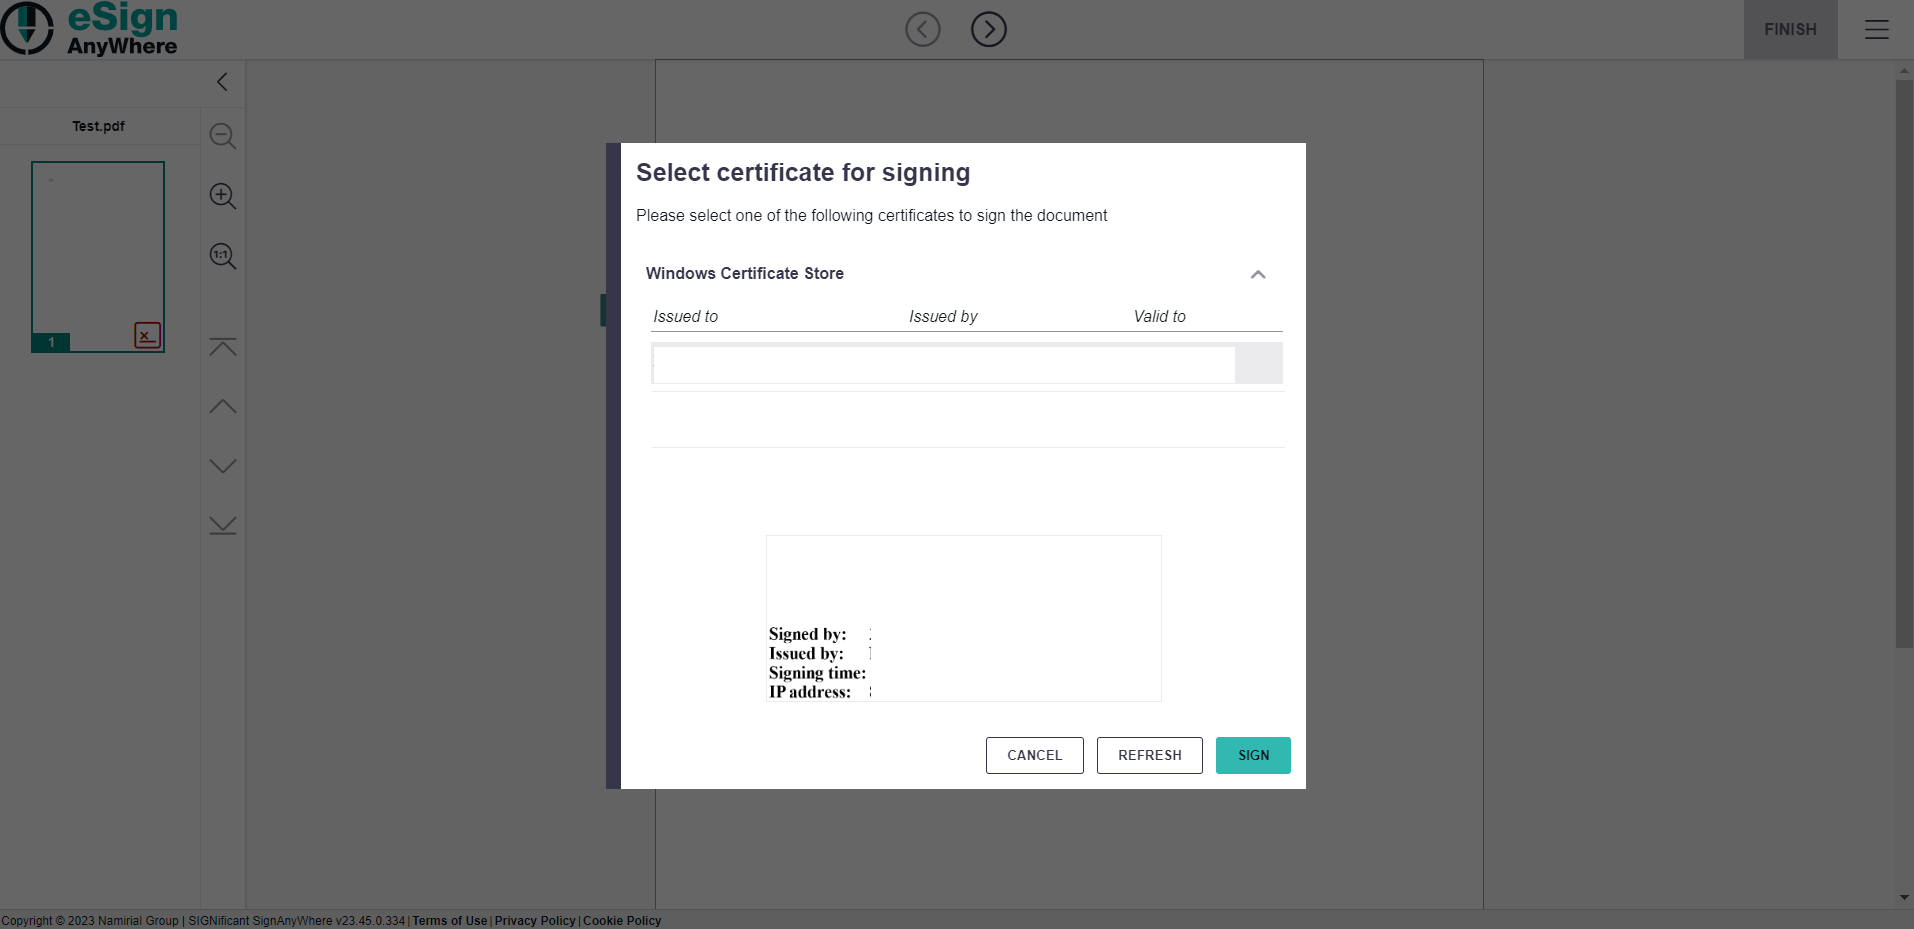
There, the recipient can choose between his/her certificates and sign with them.
...
After clicking on the remote signature field following window appears:
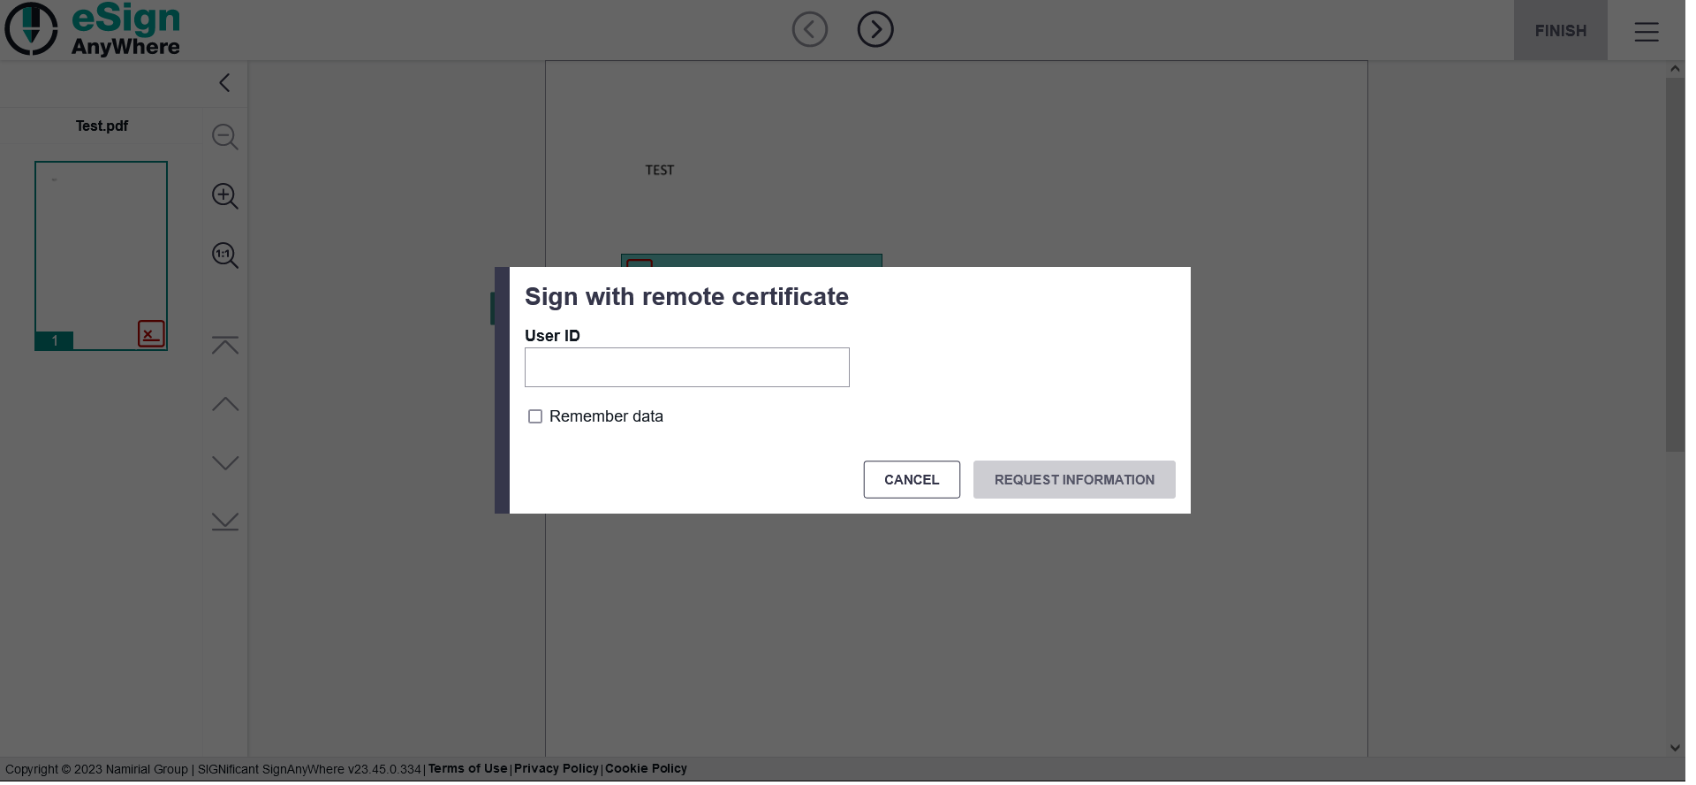
After you filled in the user Id you can select the device id and OTP. The following screenshot shows the configuration:
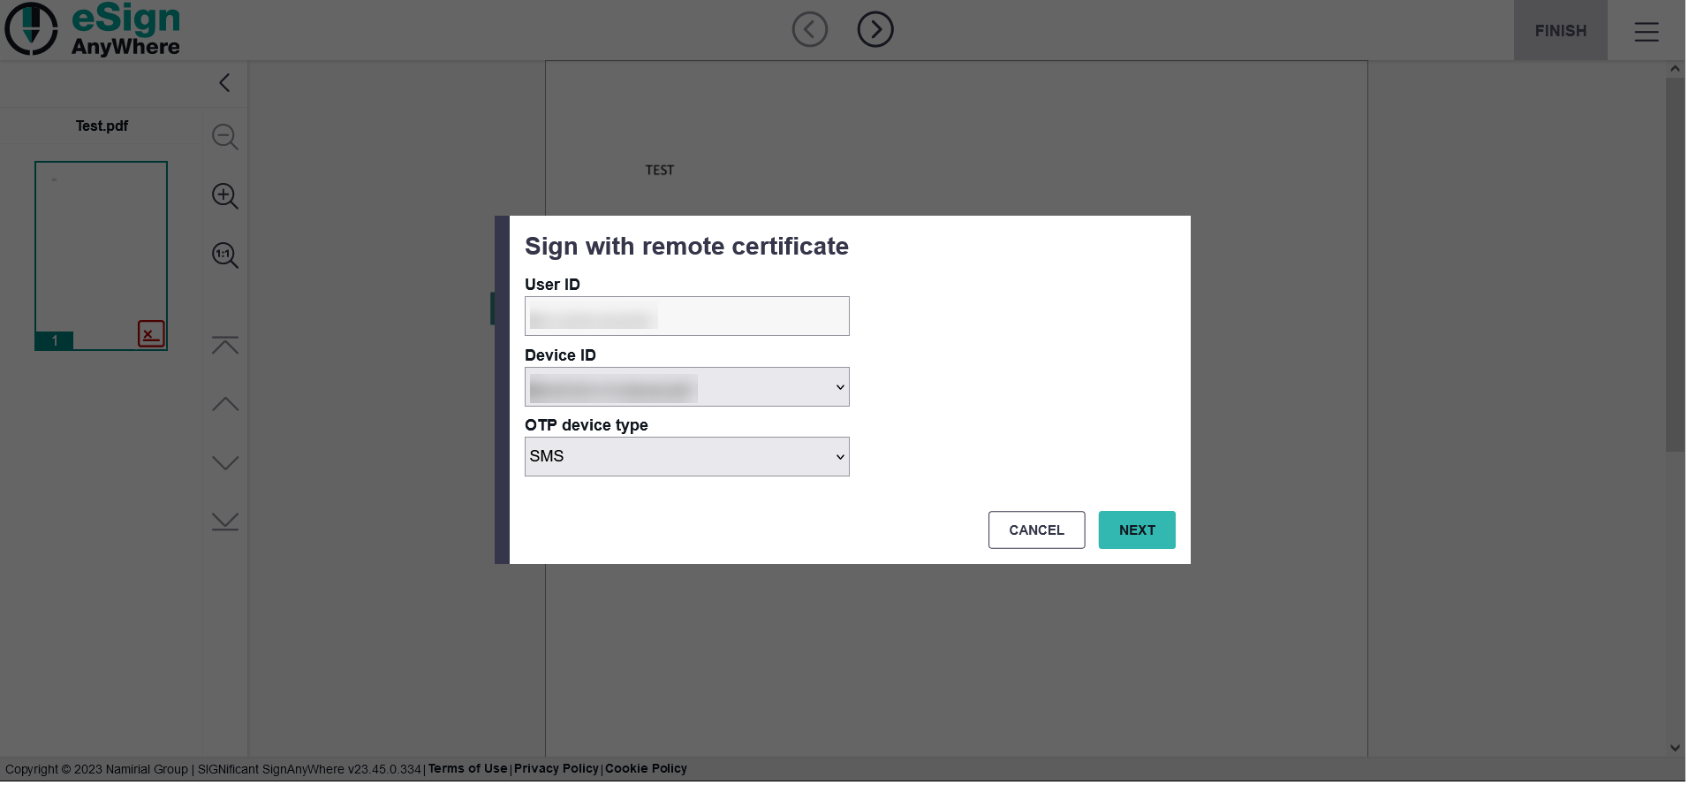
After this configuration you can request a OTP:
Note: This is the configuration if the sender does not fill in the dates for the recipient. If the sender defines the user Id you just have to sign.
...
Please see the next video for more information about signing a generic signing plugin signature.
| Multimedia | ||||||
|---|---|---|---|---|---|---|
|
Optional Features
...
If the Signature Disclosure is used, the signer will just get access to the document if he accepts the Signature Disclosure.
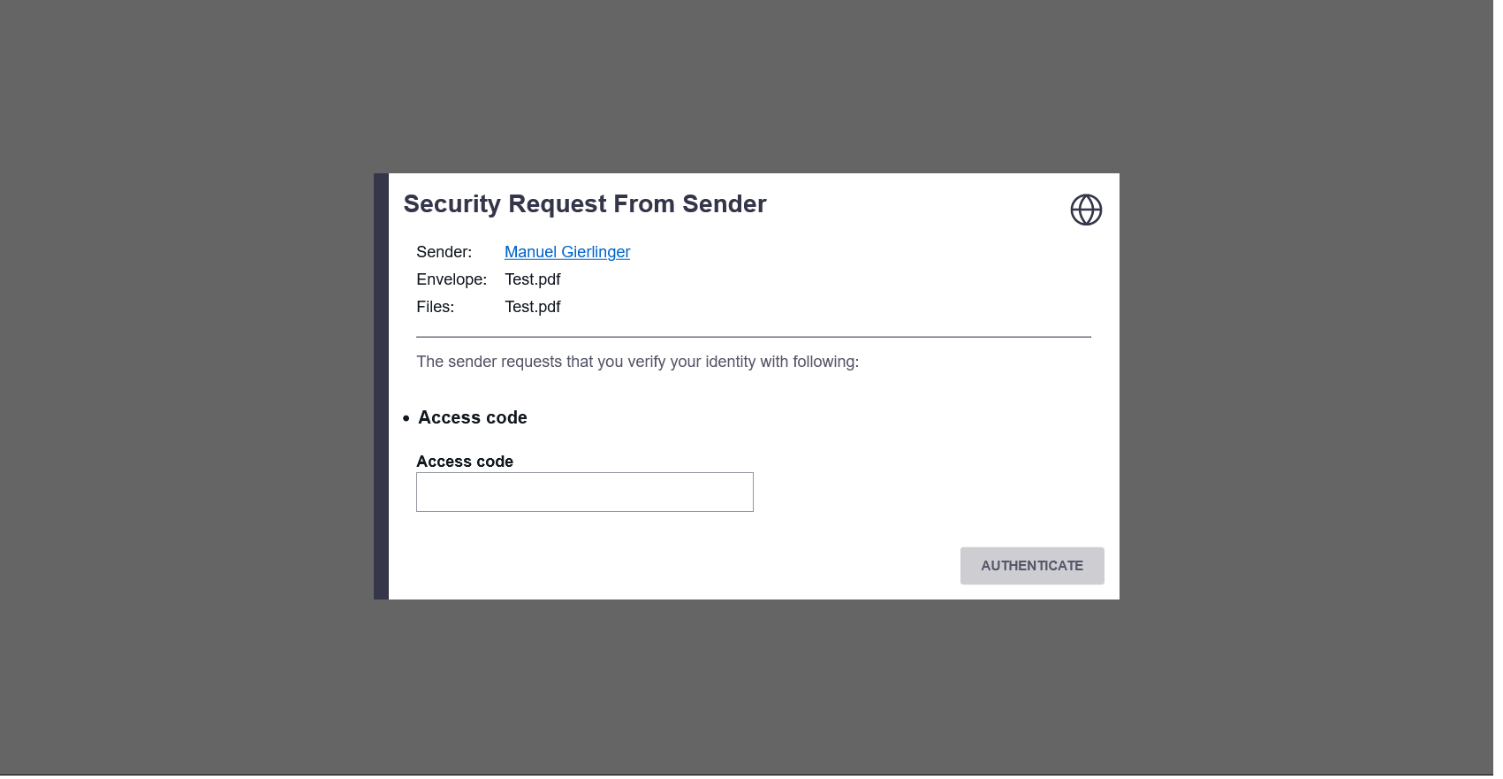
Authentication
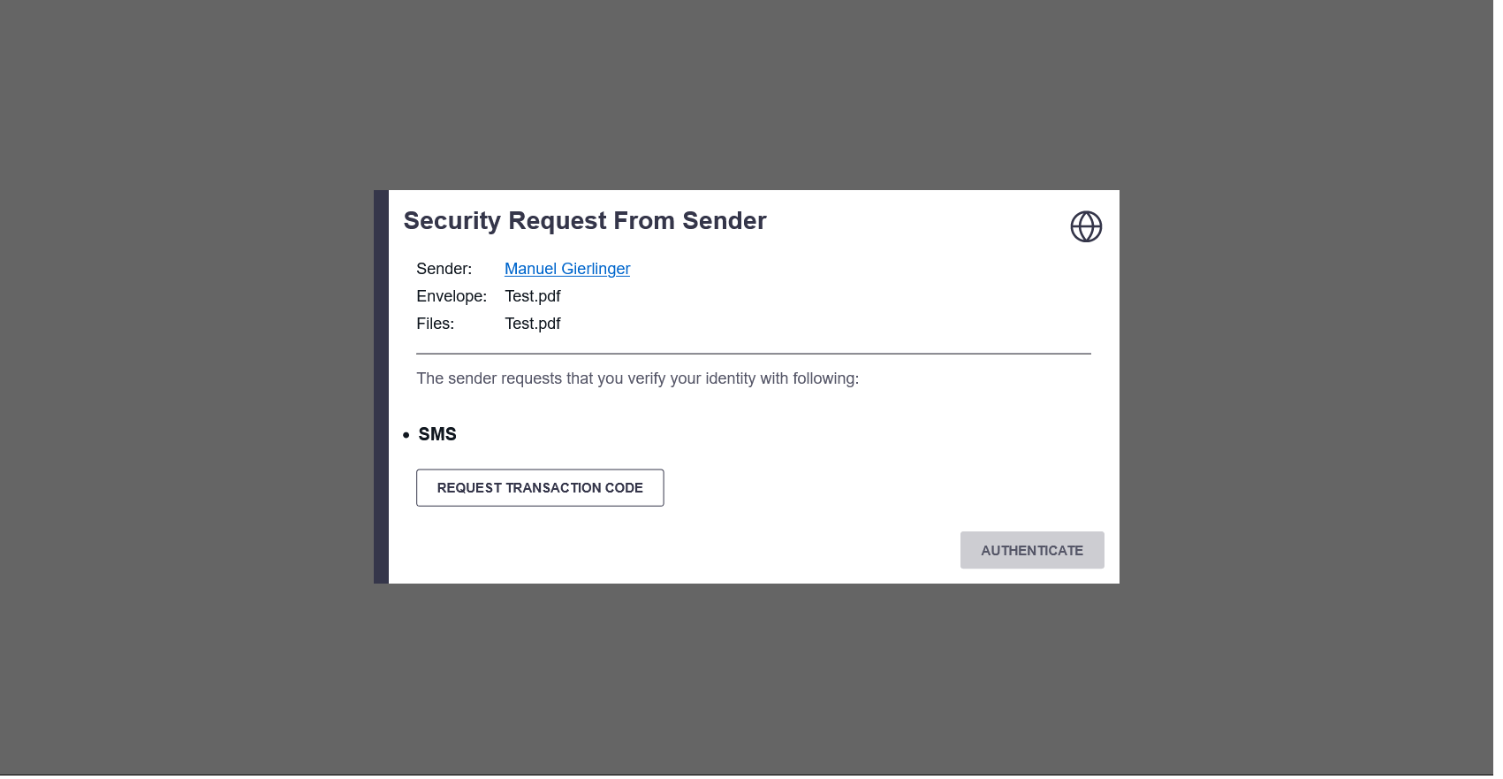
When Authentication is used (e.g. SMS, PIN or Windows Live) the signer has to authenticate himself before he gets access to the document. So the content of the document is protected and access is just granted to the signer. If there are more than one authentication methods for the signer available, the signer can select the one he/she prefers.
PIN
SMS
Windows Live

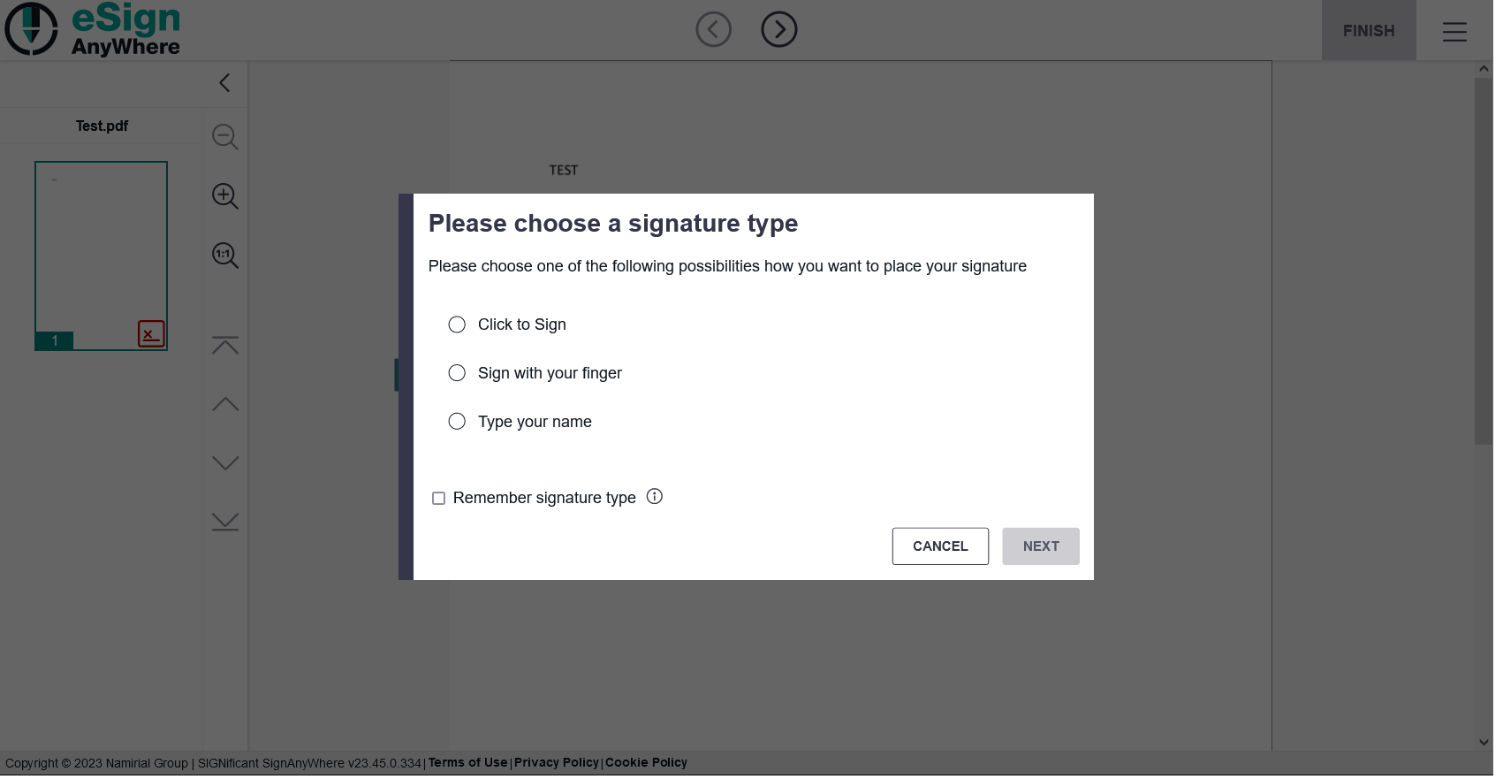
Multiple signature types
The sender of an envelope can select more than one signature type, so that the signer is able to choose his/her preferred type.
Batch Signature
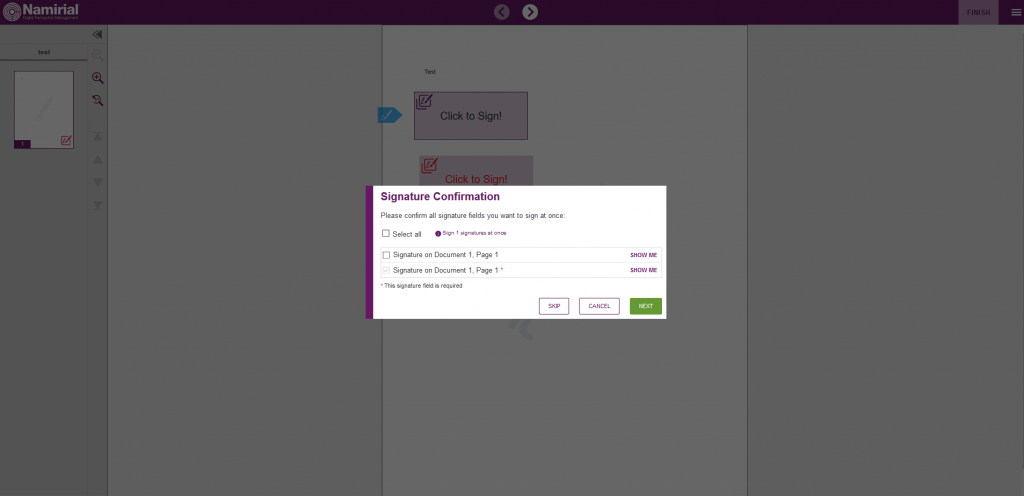
With the batch signing the recipient can decide if he/she wants to sign all signatures within a document at once or each by each.
If the sender selected signature listPlease see following options:
- preselected or

- unselected
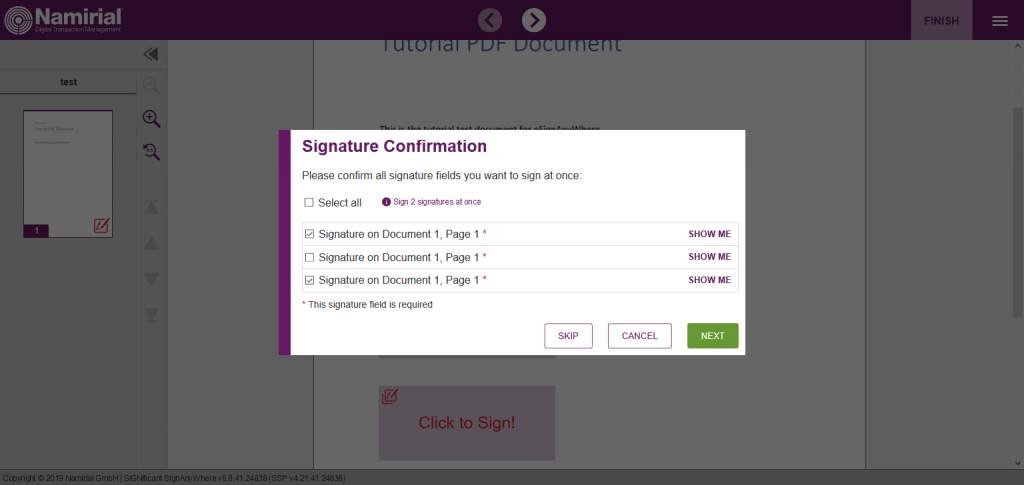
the recipient gets a window like in the last screenshot. If the sender selected “simple batch” the recipient gets the following window by clicking on the signature field:
...
- selected (required mandatory)

- or unselected (required mandatory)
you will see a window like the next figure shows:
There you can see that all required signature fields are pre selected and unchangeable, all other signatures are either preselected or unselected depending on the settings of the sender.For more information please see Batch Signing Dialog
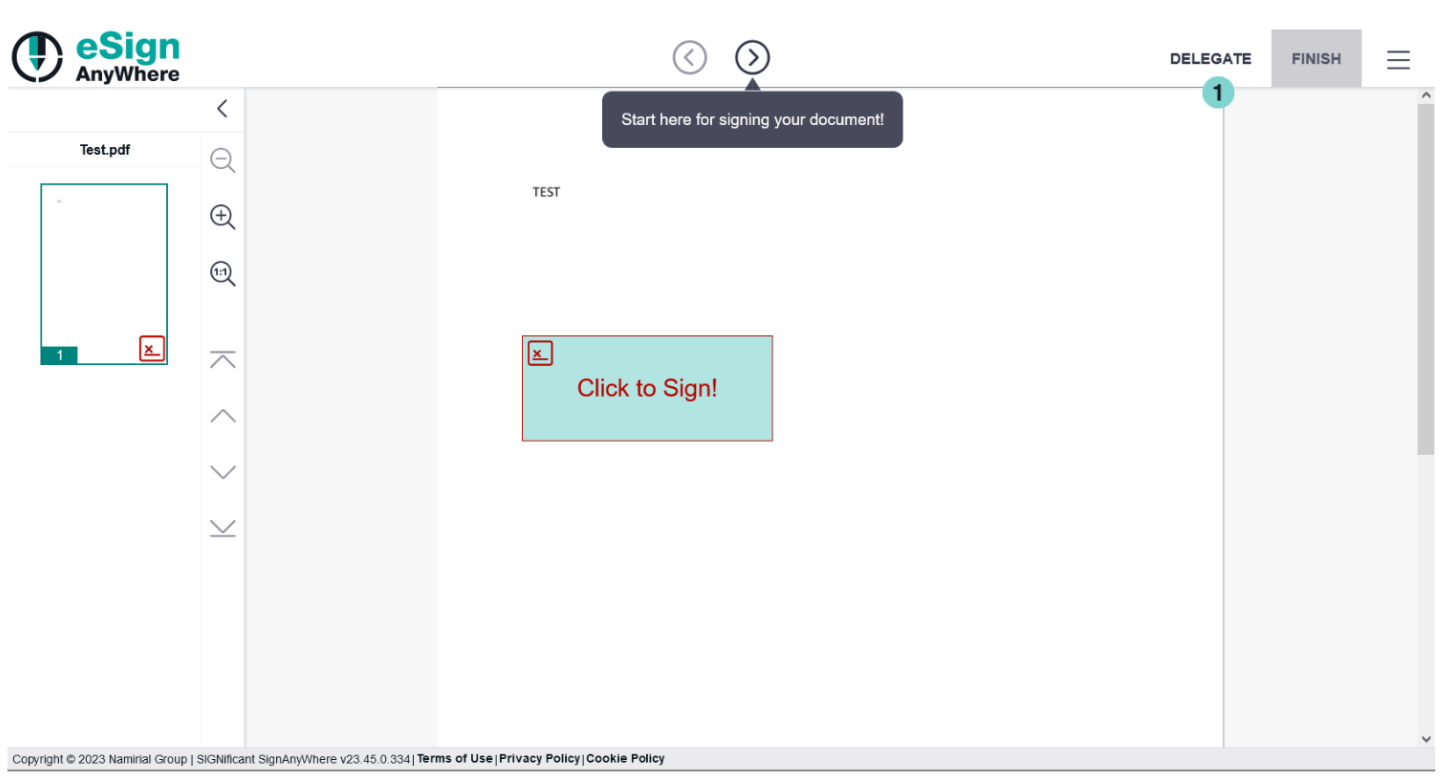
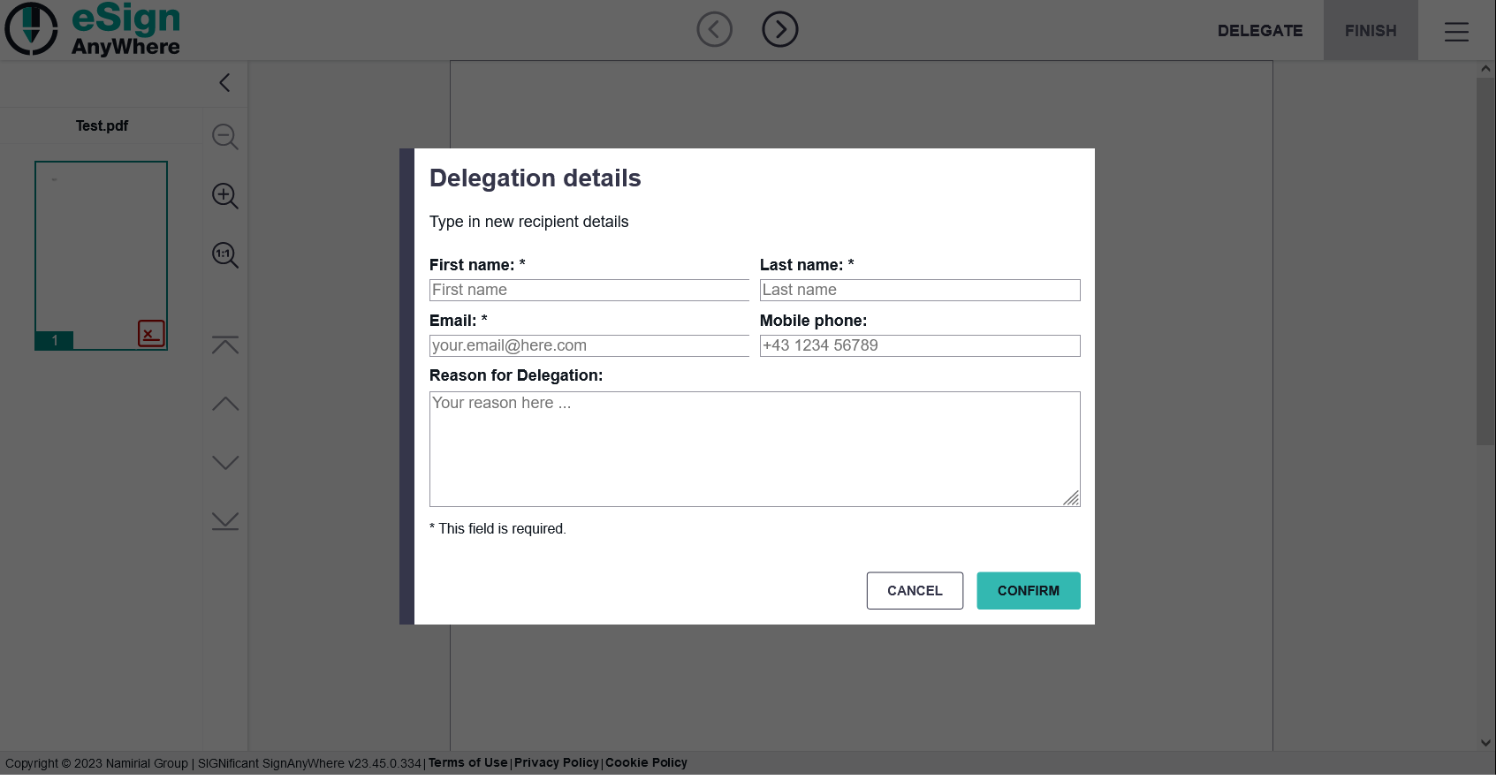
Delegation
If you allow recipients of an envelope to delegate the signing task (see envelope setting in Step3 or organisation settings), the recipient will see the following options:
| Figure | Description |
|---|---|
|
|
Download documents
After signing and finishing the document you can download several documents which are shown in the next figure.
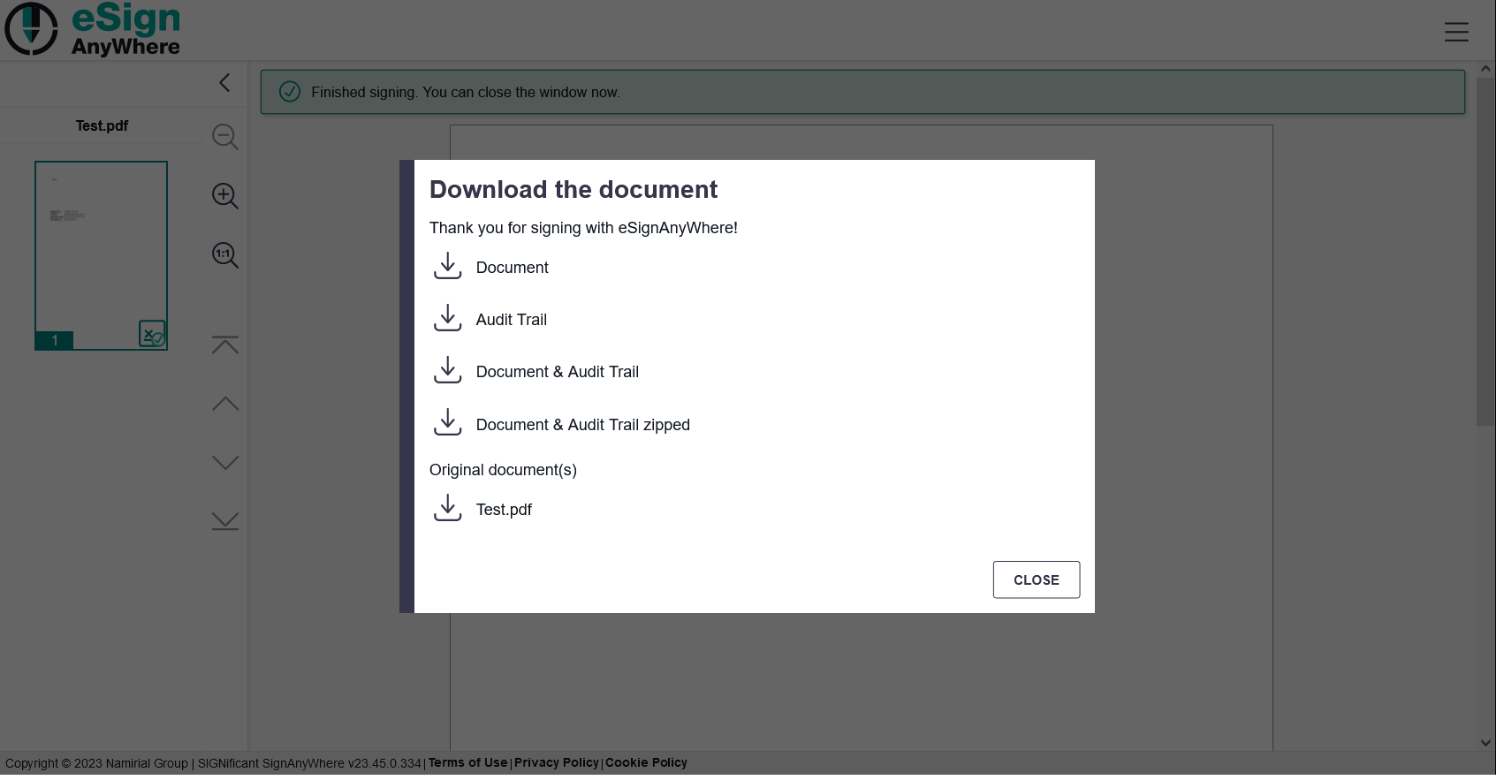
You can either download:
- The document with the signed signatureDocument (Flattened copy with just one sealing at the end)
- The Audit Trail
- The document and the Audit Trail (zipped and unzipped)
- Or the original document (without signaturesThe signed original document)
Document
...

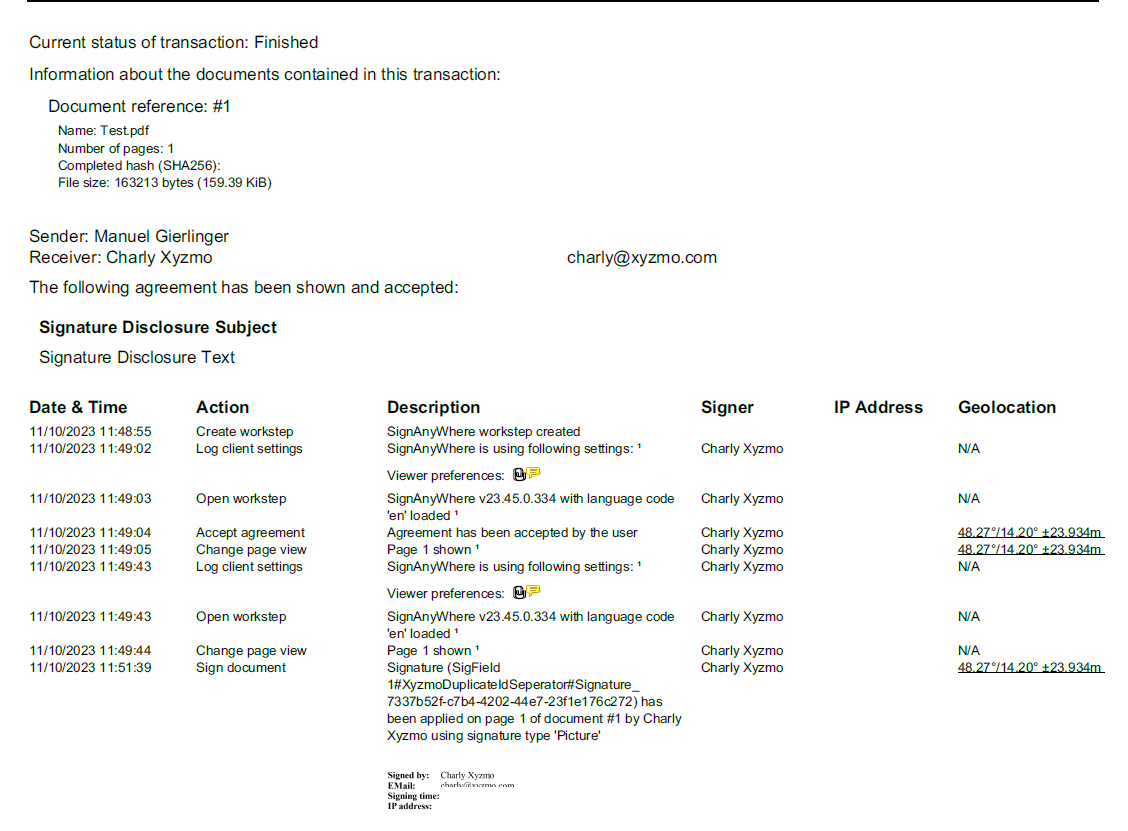
The Audit Trail
...
Following figure shows an example of an Audit Trail:
Document and Audit Trail (zipped and unzipped)
...
If you download this document you get the signed original document without signatures.
For opening the documents we suggest the Adobe Acrobat Reader. Within this program you can download certificates so that you can see if the signatures are valid. The next figure shows you the notification within the program to download the certificates and the other figure shows you a valid signature within a document, opened with Adobe Acrobat Reader.
1.) Download certificates

2.) Valid signature

If the Adobe Reader says the document is not valid signed:
...