...
| Table of Contents | ||||
|---|---|---|---|---|
|
| Section |
|---|
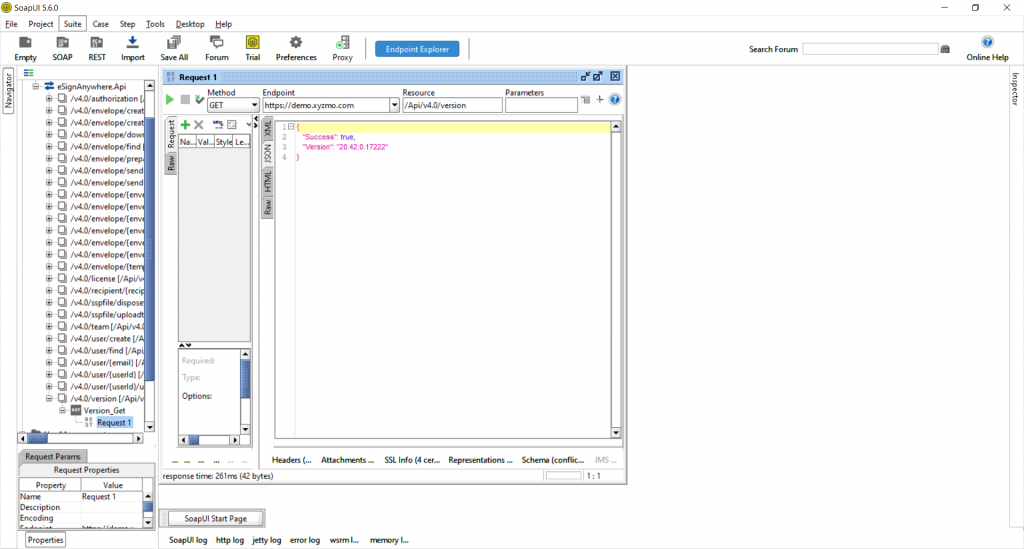
ConfigurationLet us start with the configuration within SOAP to define a new REST collection. Therefore, create a new REST project and import the Swagger. The next picture shows the configuration window and the link for the Swagger definition for https://demo.esignanywhere.net/: Note: In this tutorial the version 4.0 is used. Please check if this version is still up to date (the most recent version). You can copy this link: https://demo.esignanywhere.net/Api/swagger/docs/V4.0 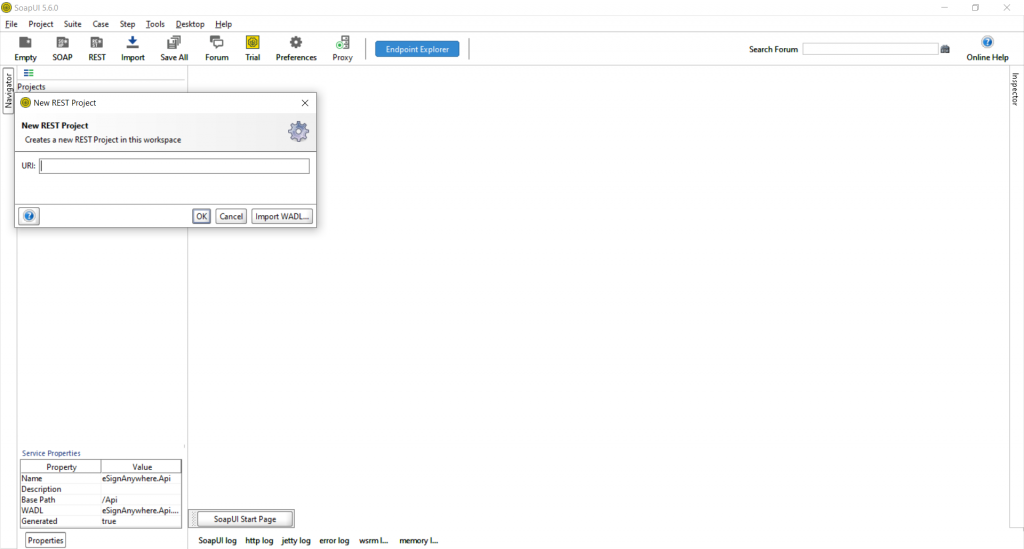 After the import of the Swagger you should now see the api calls: Api CallsVersionThe first api call will be the request “Version_Get”. Open this request like in the next picture and run it with the green arrow (top left). Then you should get an answer which is also shown in the next screenshot. AuthorizationFor authentication, you’ll need an api token. You can find this information in Settings / Api Tokens and Apps. Note that all API methods require authentication. Please note: The API token is a user specific secret which should not be shared with other users. We recommend to create different API keys for different application integrations, to avoid configuring the same key in various integration systems. This allows, e.g. in case of sharing a key by mistake, to disable one key while keeping other integrations working with their existing configuration. |

...
| Info |
|---|
You have to select “Header” for this parameter. Furthermore, you will need this configuration of your authorization for all other api calls below. |
| Section |
|---|
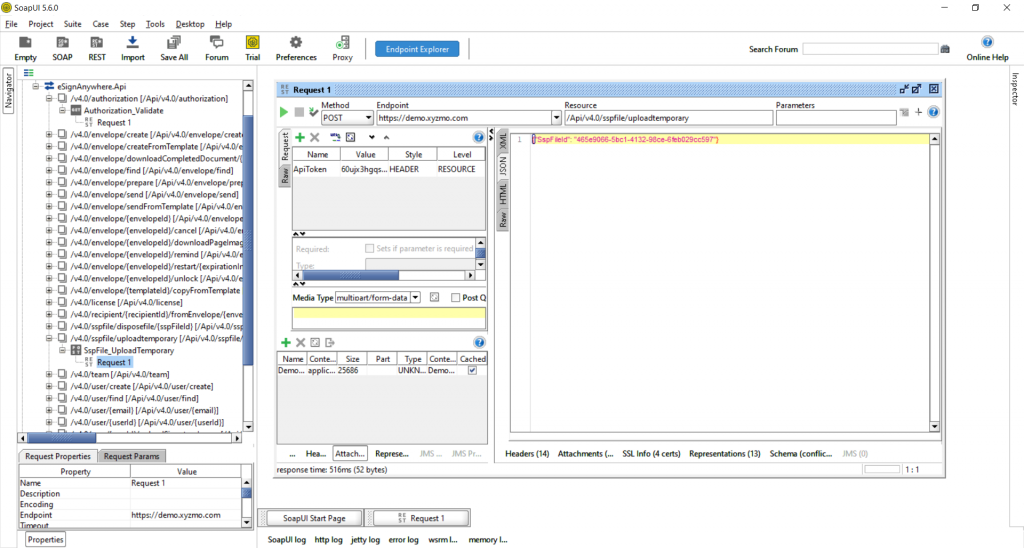
Upload a fileFor this call take any pdf which you want to upload. For this tutorial you can also use this one: eSignAnyWhere_Tutorial.pdf First enter your authorization dates like we did in the authorization call. Afterwards, click on attachment and select the pdf file. Then you can run the call and get a SspFileId like it is shown in the next figure: |
...
| Section |
|---|
The next figure shows the configuration within SOAPUI: 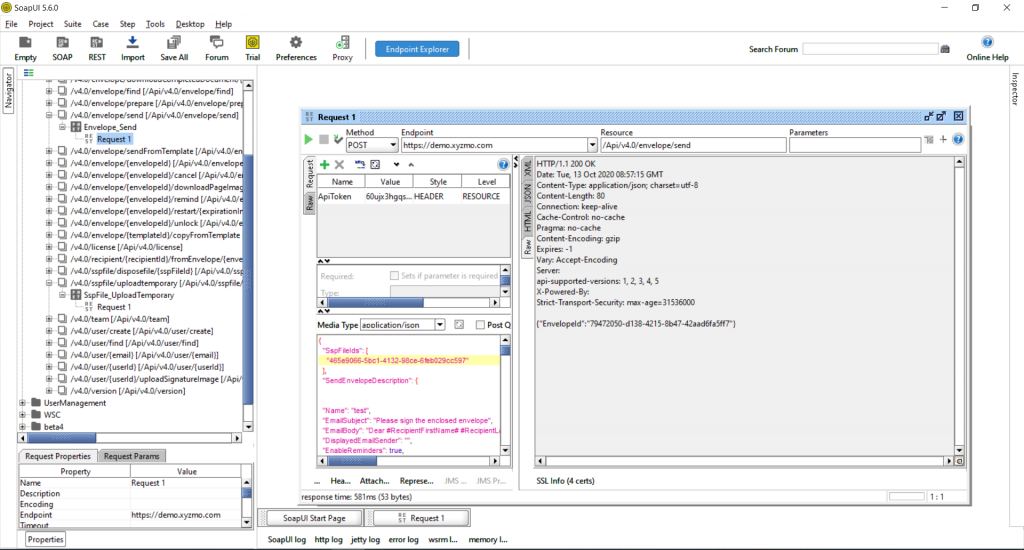 Get the envelopeFor this call you just have to add the envelope Id which you got from the last call. The next figure shows the configuration:  You get the full information about the envelope as response. |
...