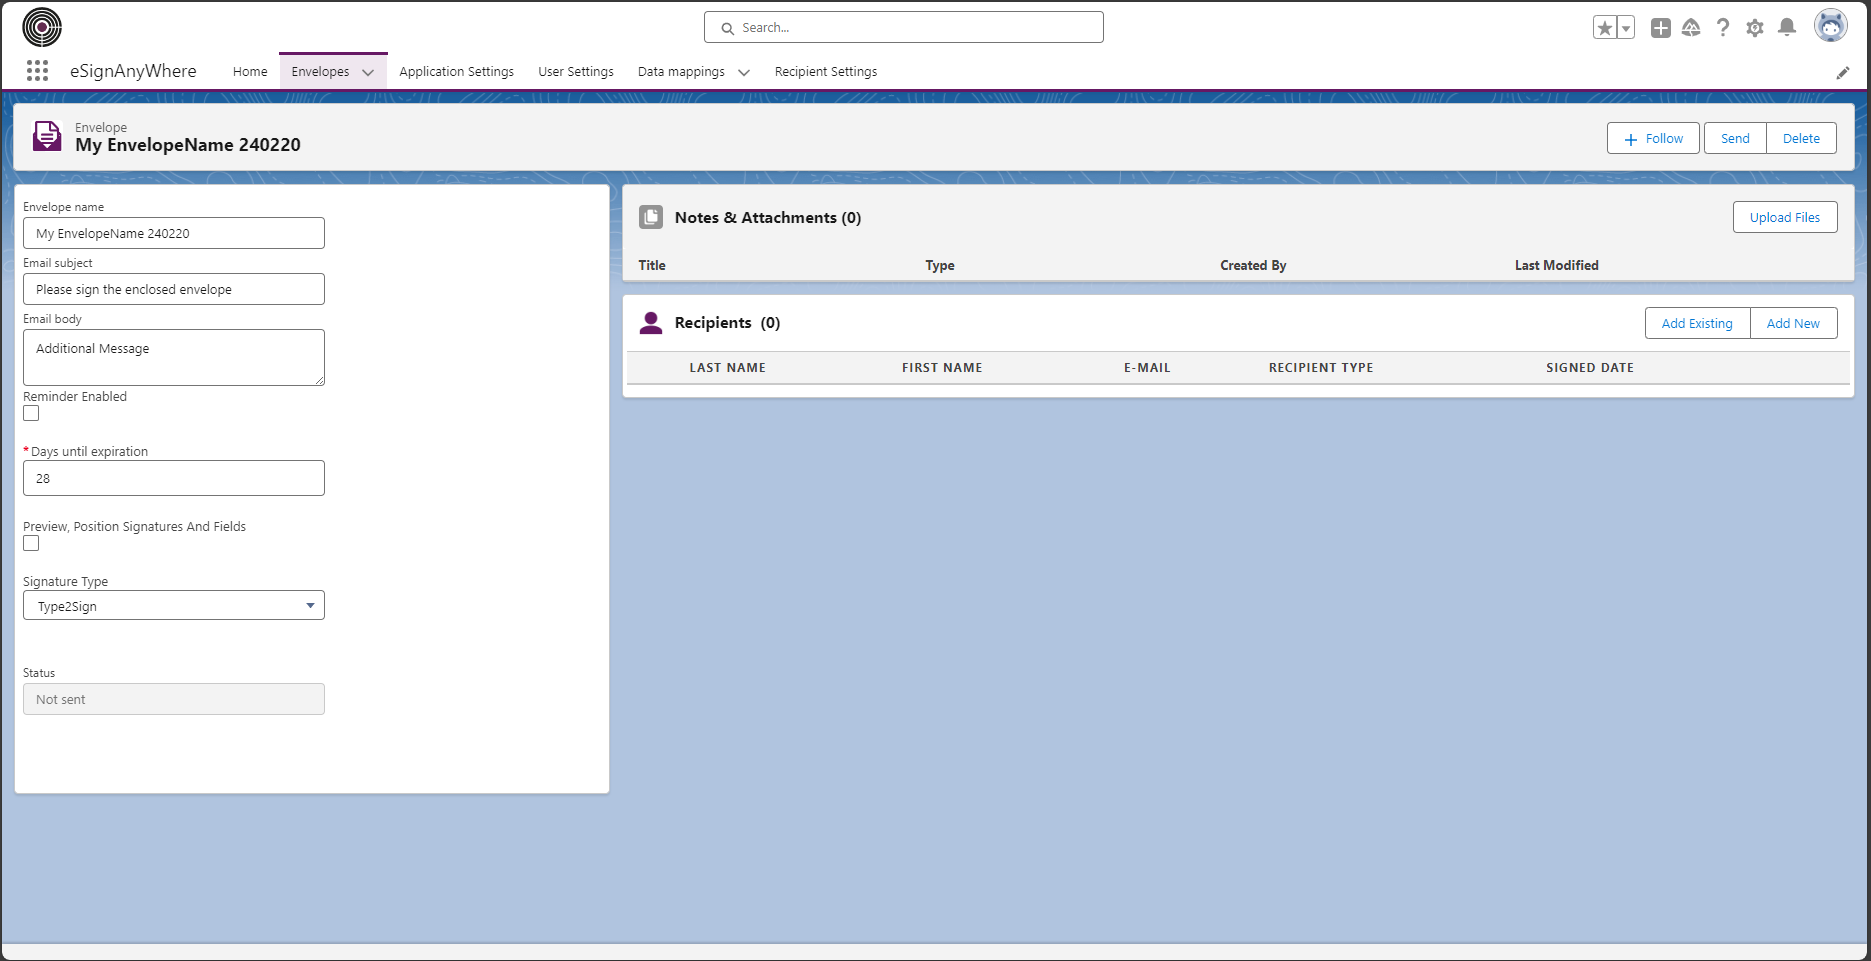
After the envelope creation, you can act on it in the envelope detail.
...
Figur | Description |
|---|---|
|
Manage files to upload:
if the envelope is still not sent to eSAW, you can upload new files or remove the already uploaded ones.
...
if the envelope is still not sent to eSAW, you can add - remove - update recipients.
Add a new recipient
...
.
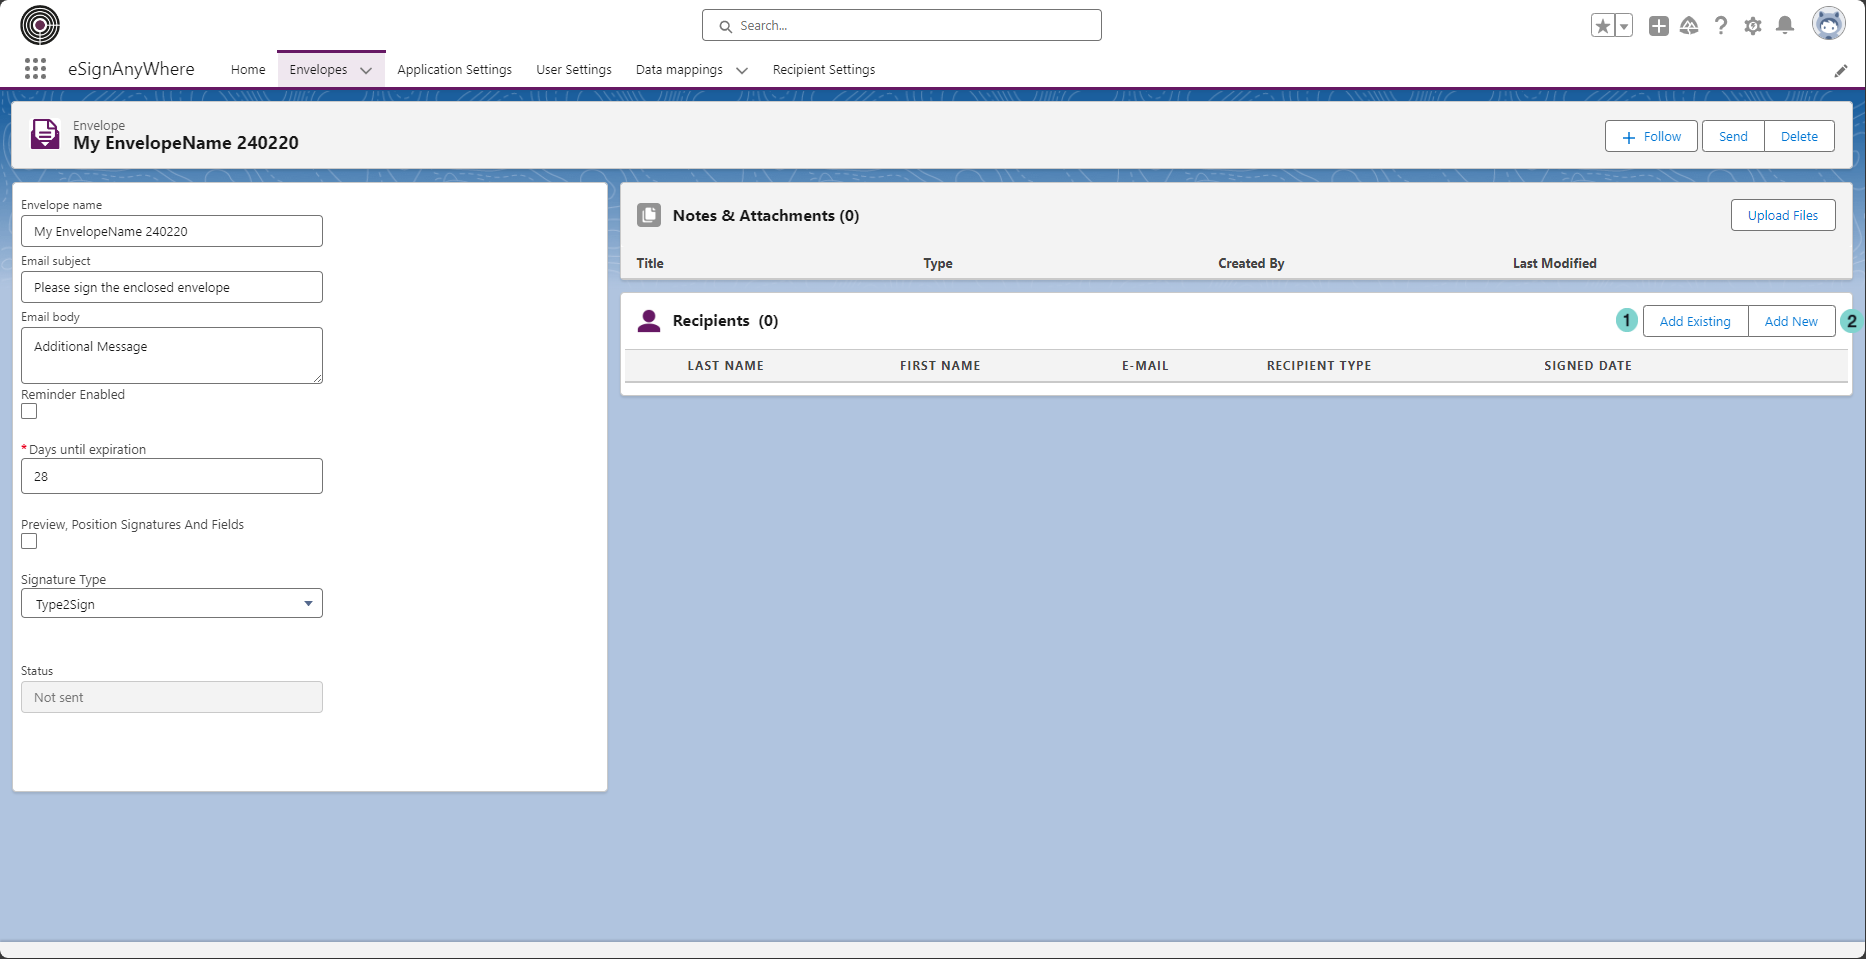
There are two way to add a
...
recipients:
...
Figure | Description |
|---|---|
 |
|
...
|
Add existing
Figure
Description
- Chose the

- Chose the
- 'From'
- Salesforce object where you want retrieve the recipient.
- Fill the 'Search'
- field to filter the result and
- Press 'Search' button.

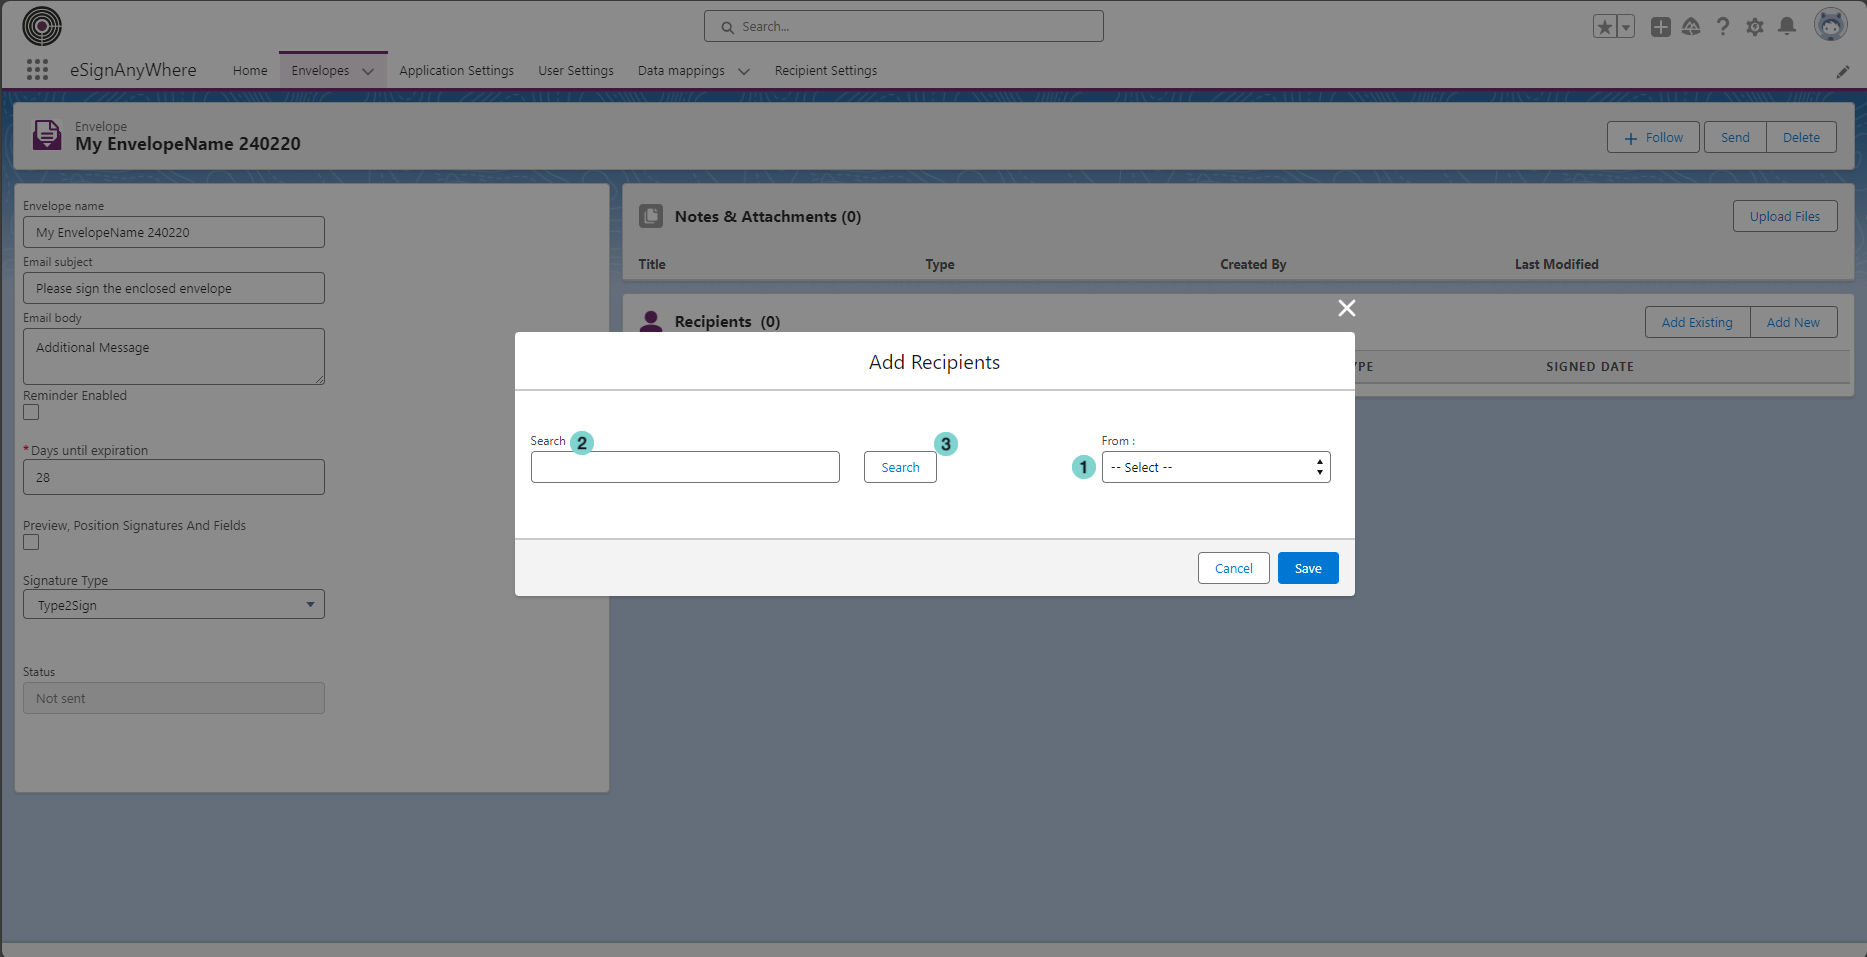
Select the recipients to add
Figure
Description

- Select the
- recipients that you want to add
- Select the
- recipient type
- Press 'Save' button
Add
New

Fill all requested fields and click 'Save' button
New
Figure
Description
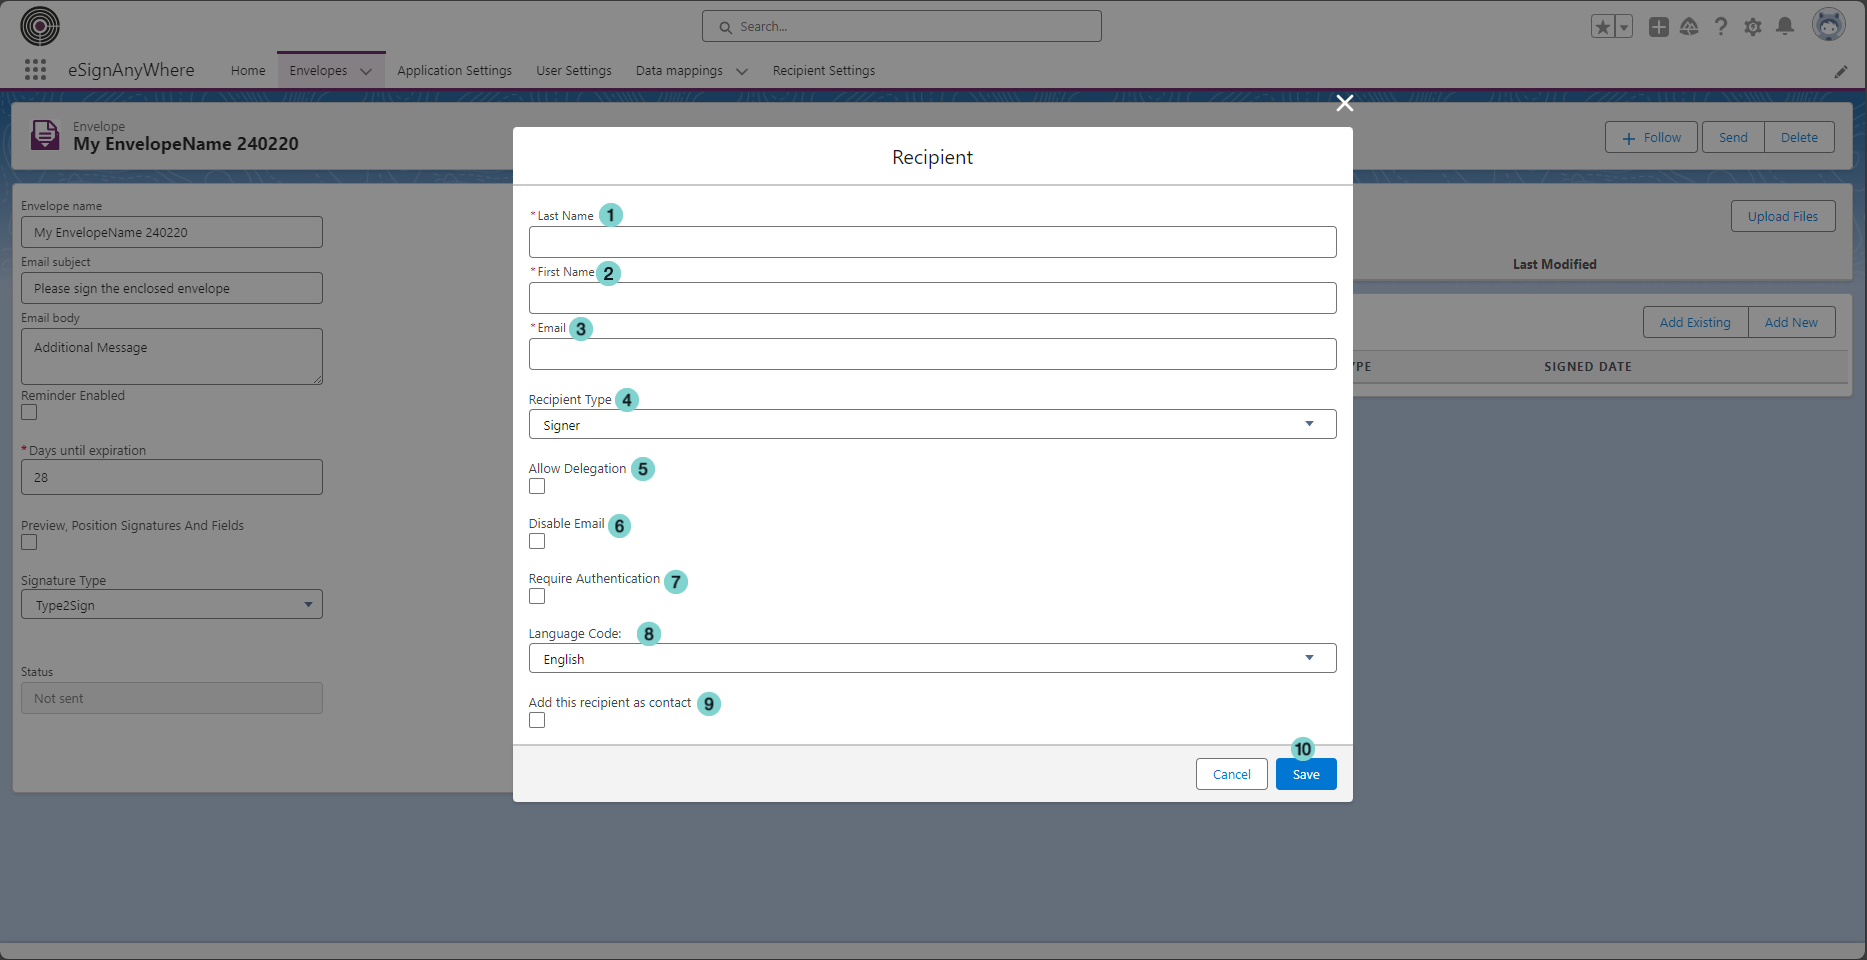
- The
Last name: the - last name of the recipient.
First name: the - The first name of the recipient.
Email: the - The email the recipient.
Recipient Type: the - The eSAW recipient type of the recipient.
Allow Delegation: chose - Chose this option to allow the delegation for this recipient.
- Disable
Email: disable - the email sending from eSAW to this recipient.
Require Authentication: select - Select this option to require an authentication to open the envelope.
- The language of the recipient.
- Select this option to add the new created recipient to Salesforce contacts.
- Save button
If 'Require Authentication' is selected, you must also choose
...
the authentication Method
...

- If you select the SMS authentication, you must fill also this field:

- Mobile phone number: the phone number where the authentication code will be sent.
- If you select the PIN authentication, you must fill also this field:

- PIN code: the PIN code to insert to open the envelope.
-
- Language Code: the language of the recipient.
- Add this recipient as contact: select this option to add the new created recipient to Salesforce contacts.
Figure
Description
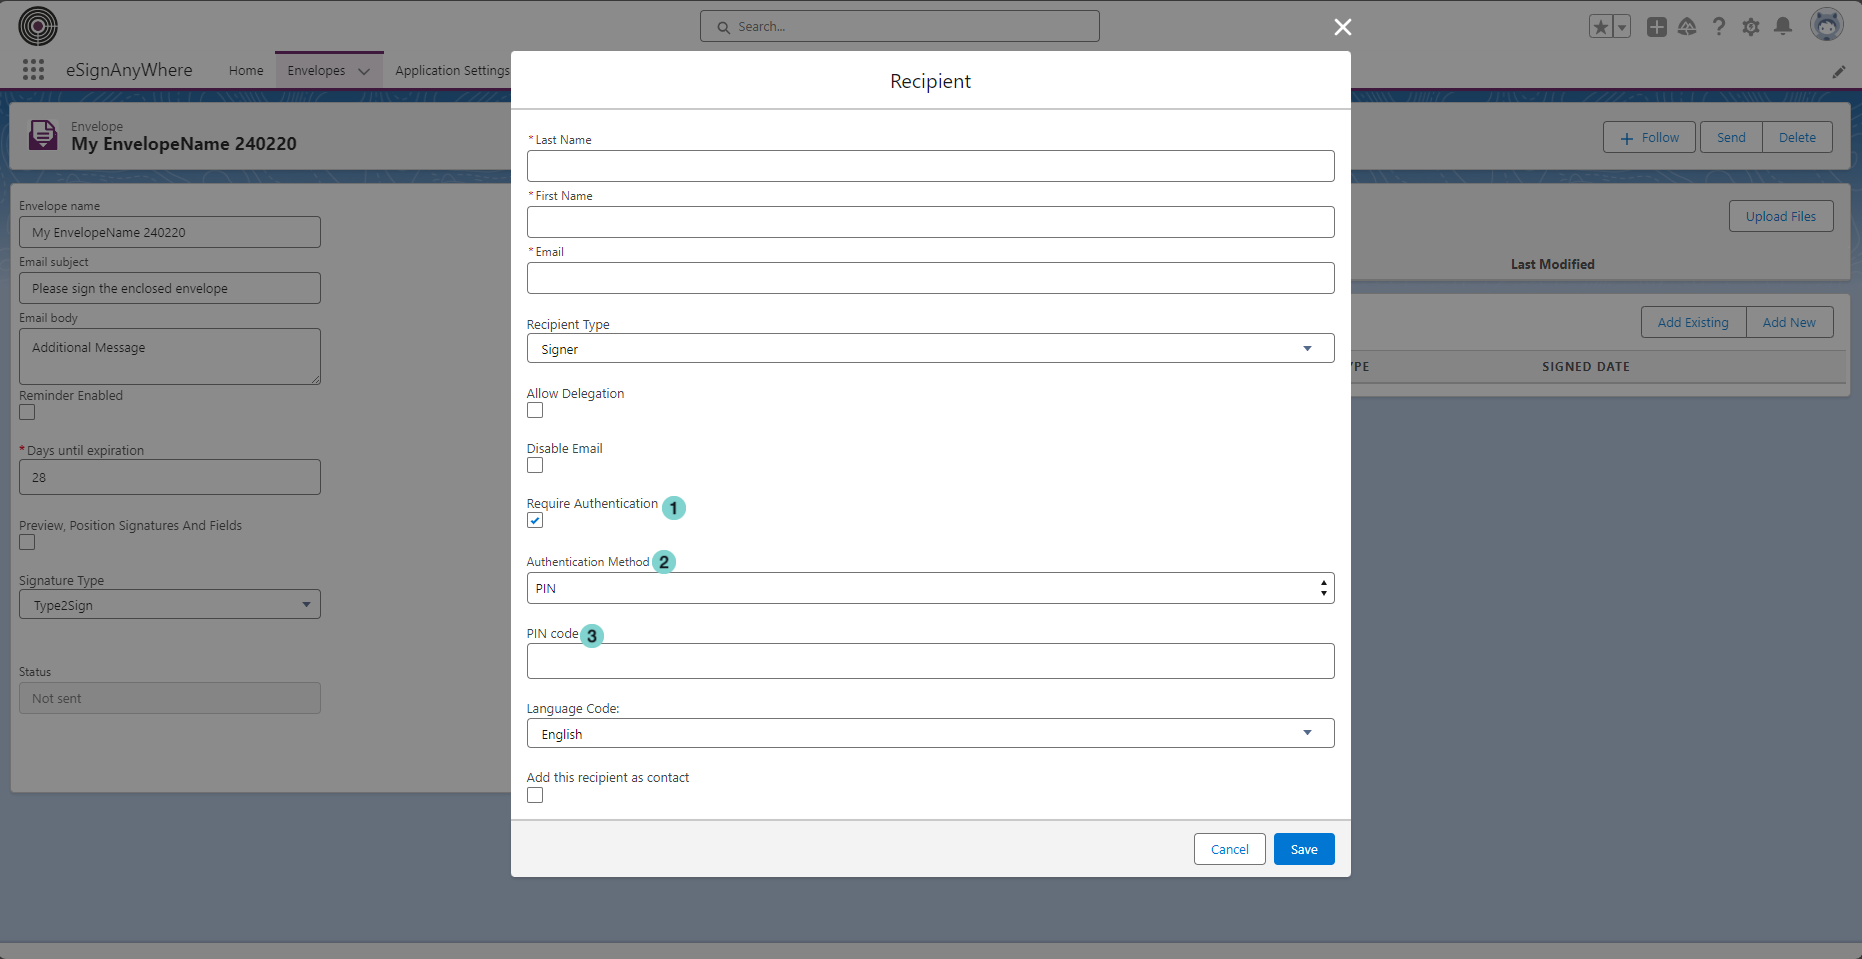
- 'Require Authentication' is enabled
- Choose an authentication method
- Fill Authentication additional info.
Edit and remove recipients:
...
you can Delete and edit recipients from the recipient list.
...
Figure
Description

Delete Recipient
- Edit Rrecipient.
Envelope Actions:
the possible actions that can be performed on an envelope are visible on top of the envelope detail:

...
(different action are available on different envelope status
Figure | Description |
|---|---|
|
|

...
Figure | Description |
|---|---|
|
|

Figure | Description |
|---|---|
|
|

...
|
...
|
...
|
...
|